Restauro do meu Mercedes 220b de 1961(rabo de peixe)

OP
OP
F
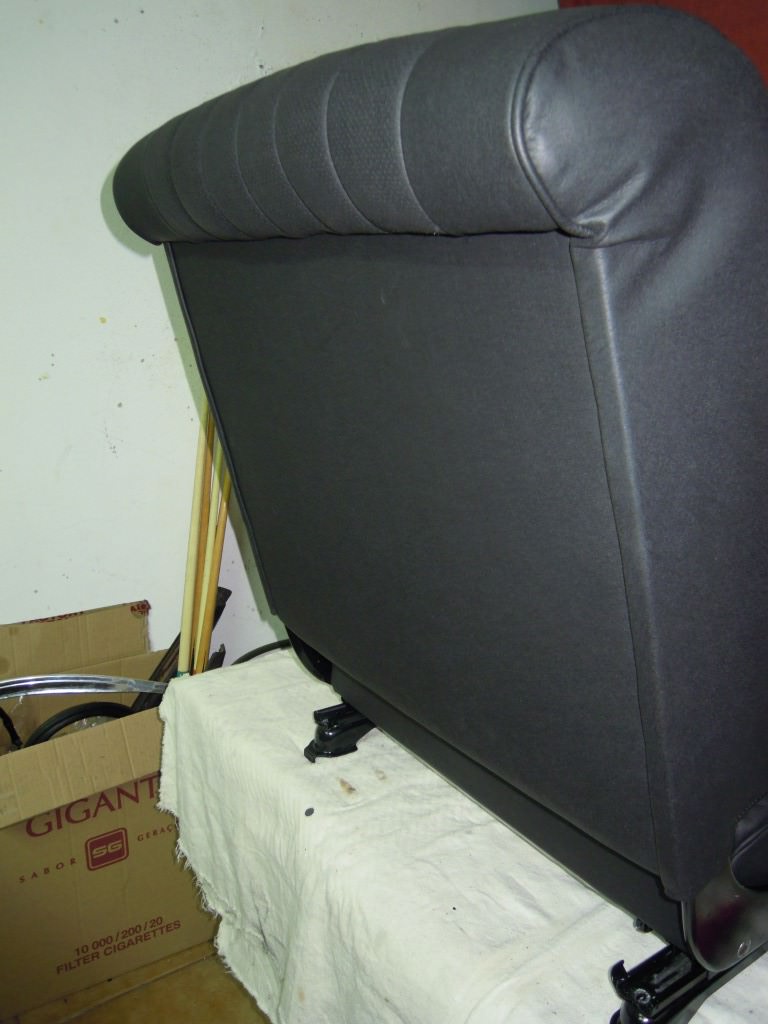
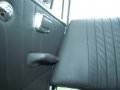
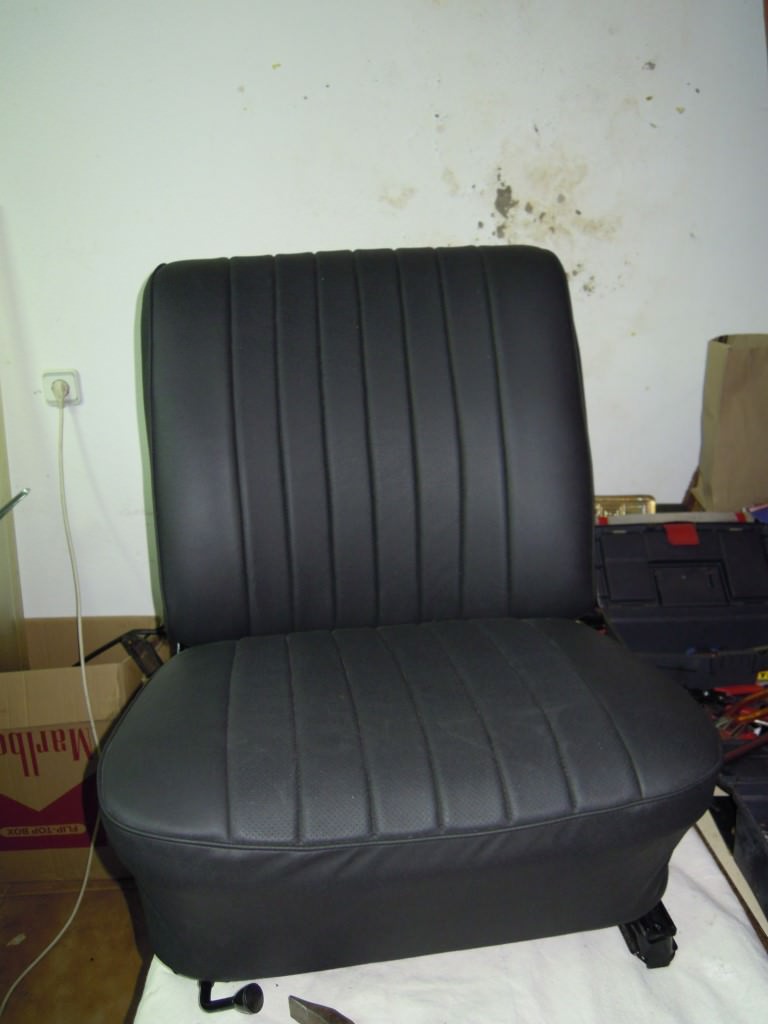
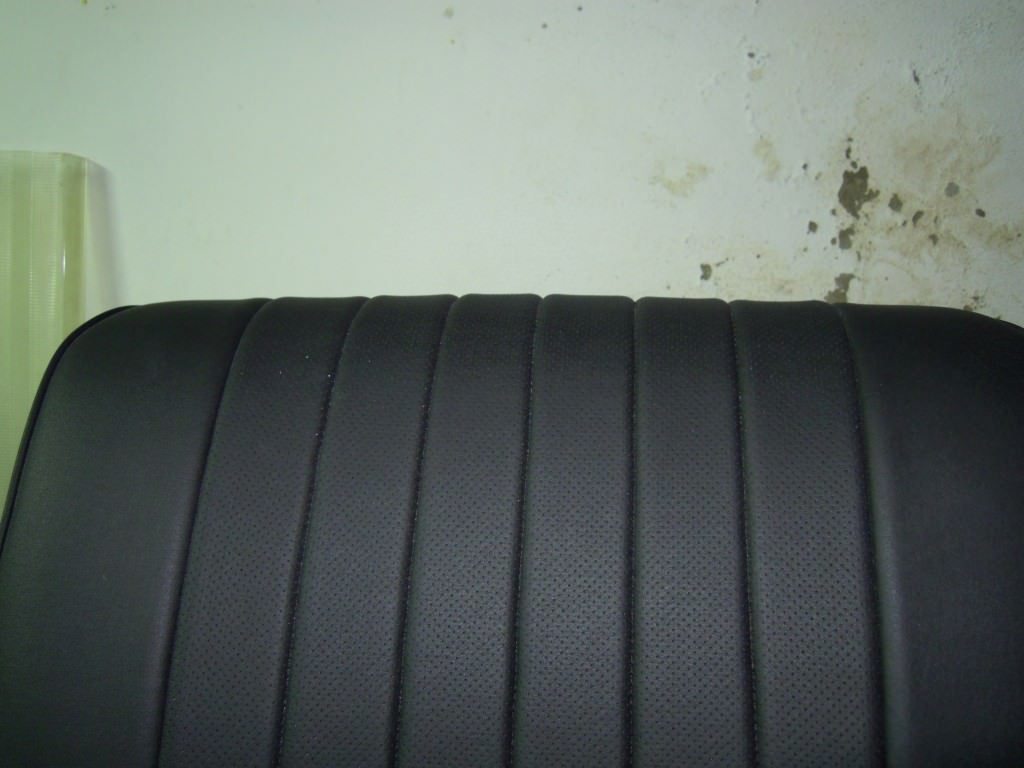
Sim, João, tem, mas ainda não está estofado,vai demorar uns dias.
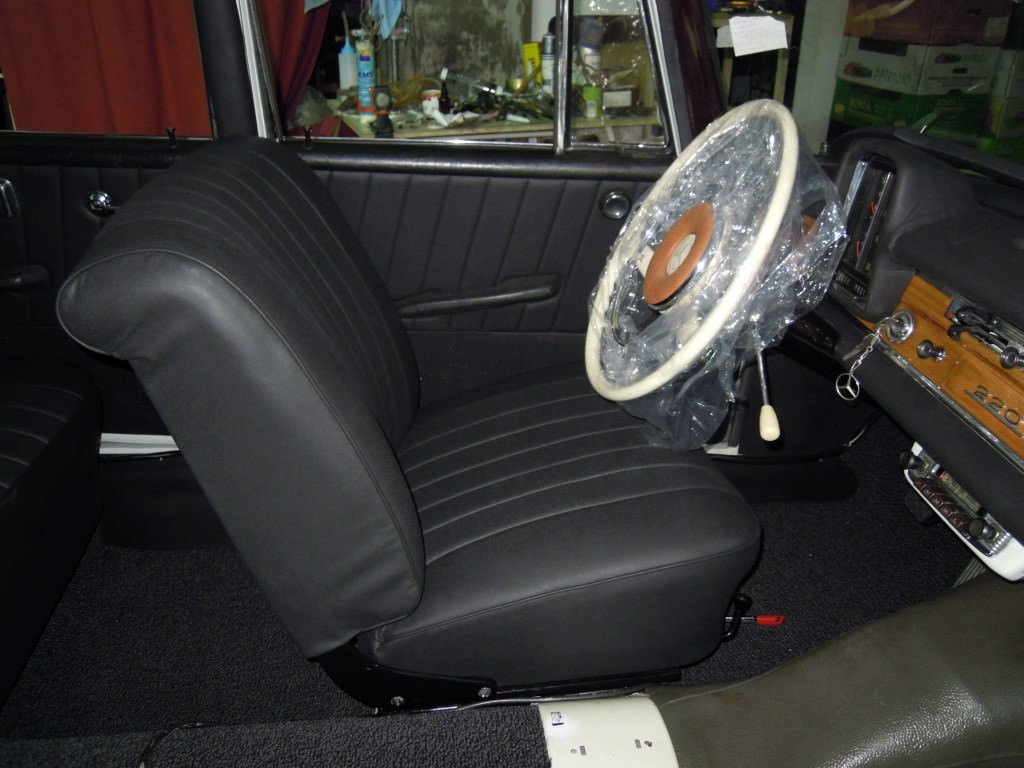
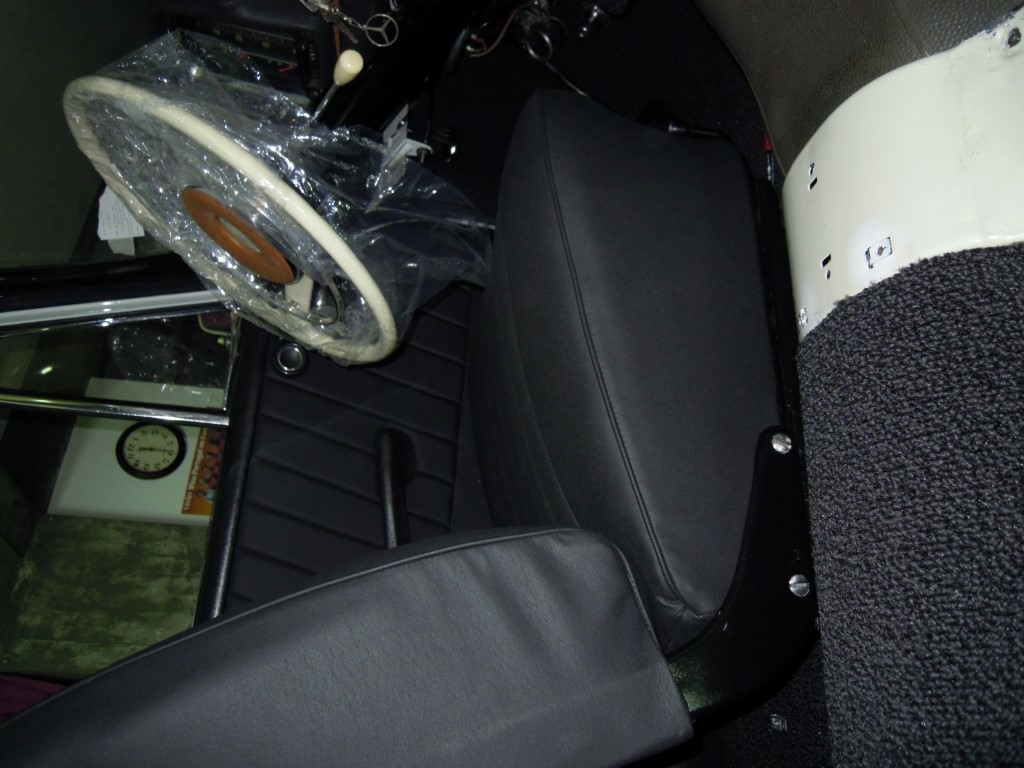
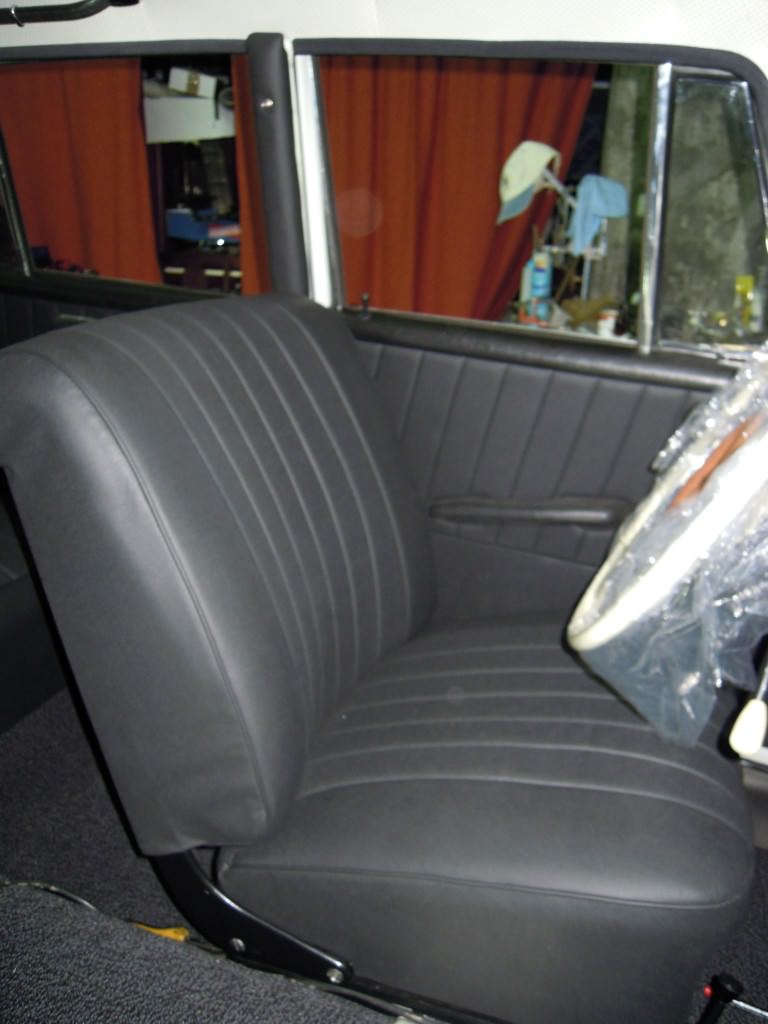
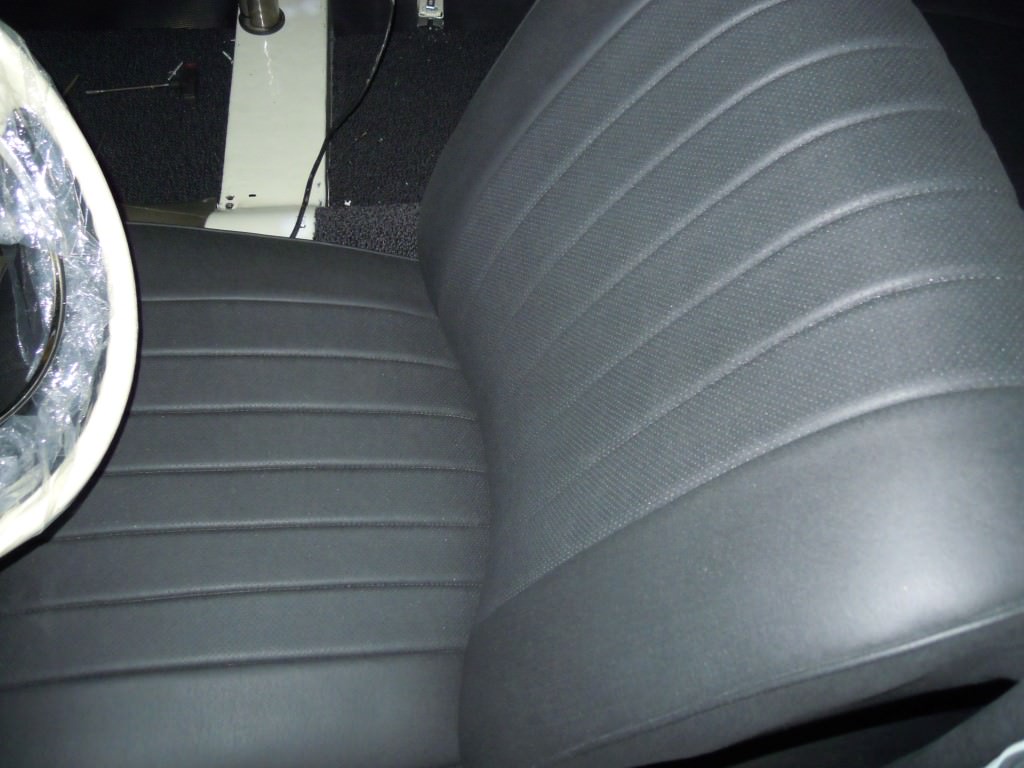
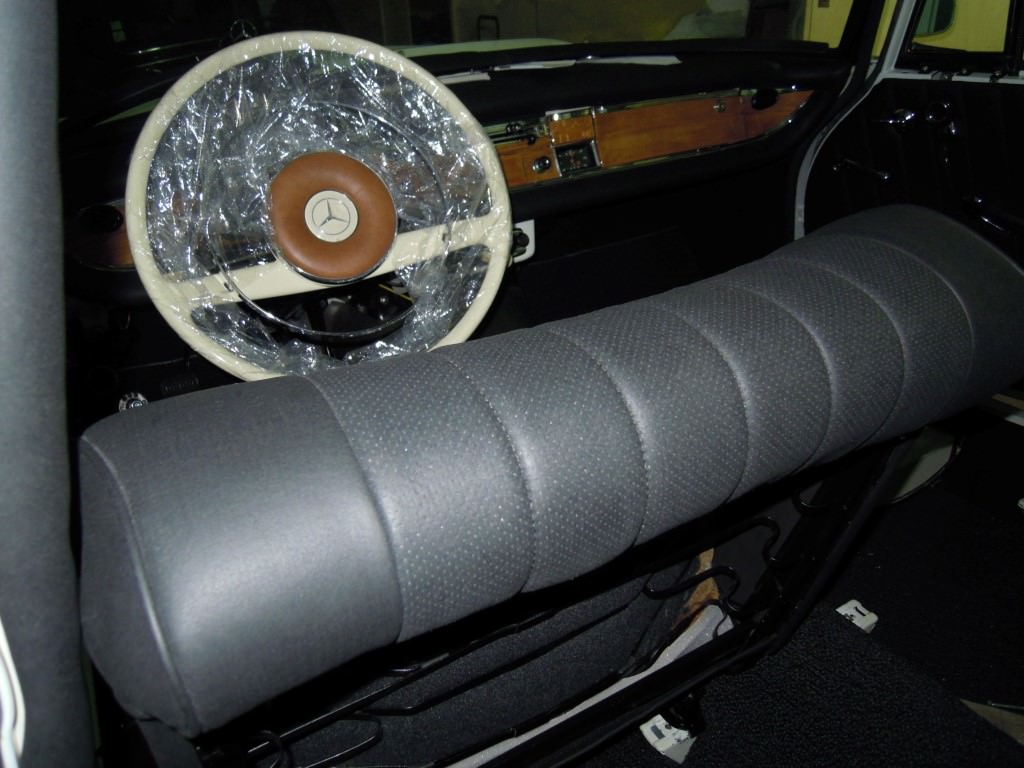
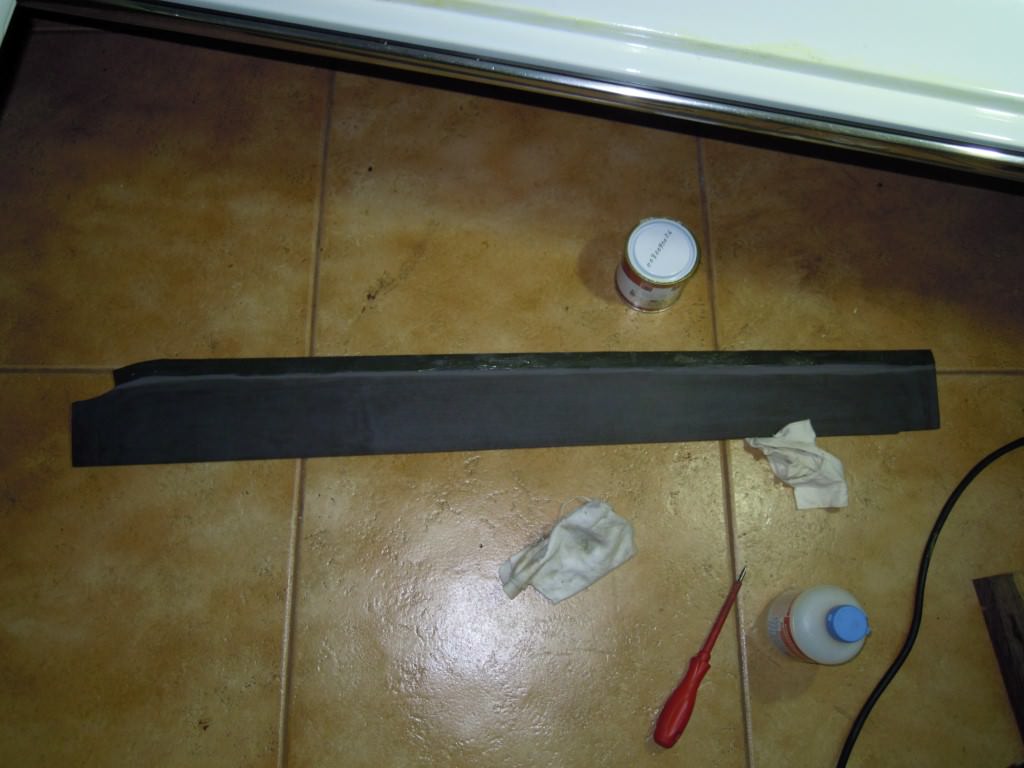
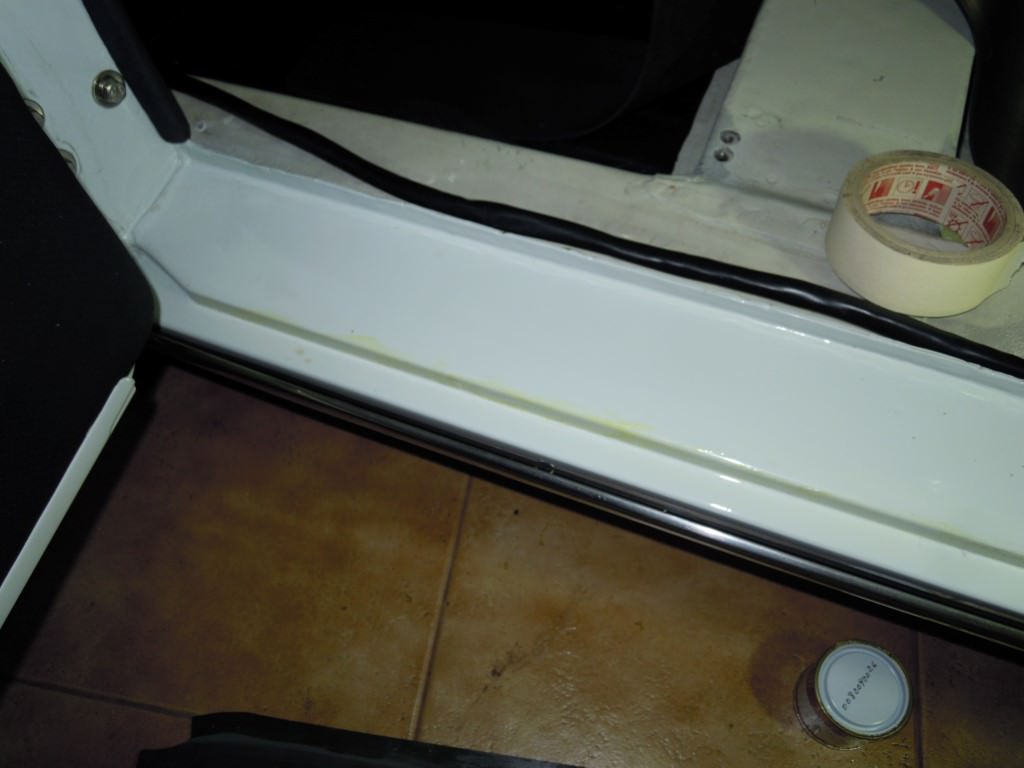
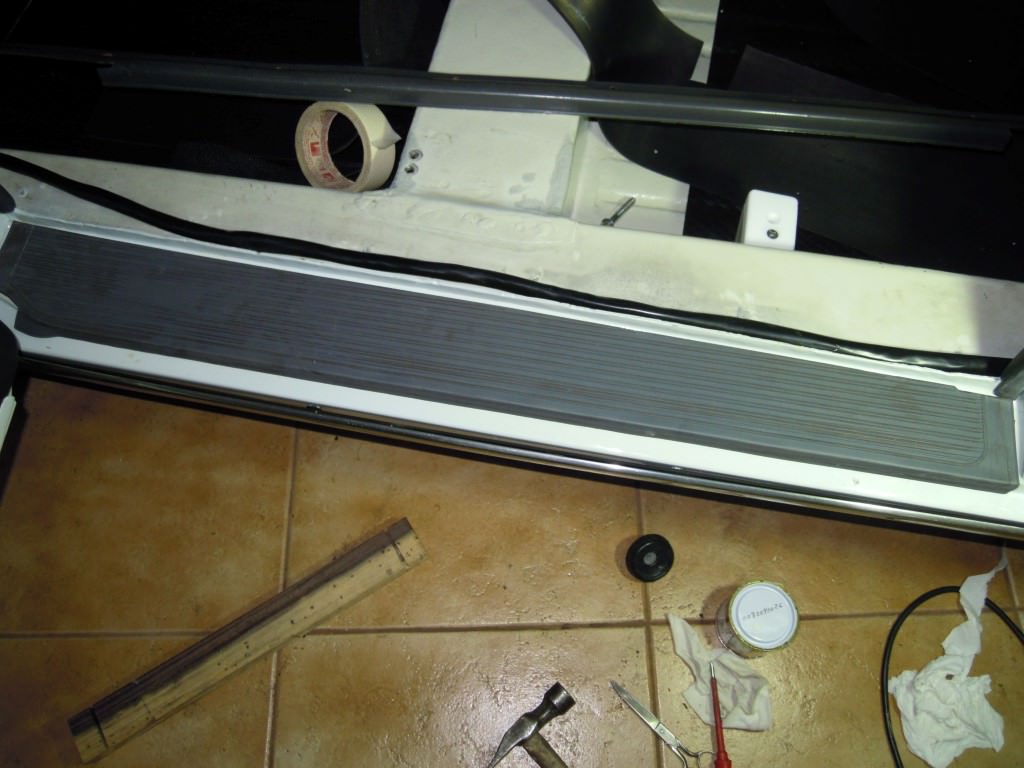
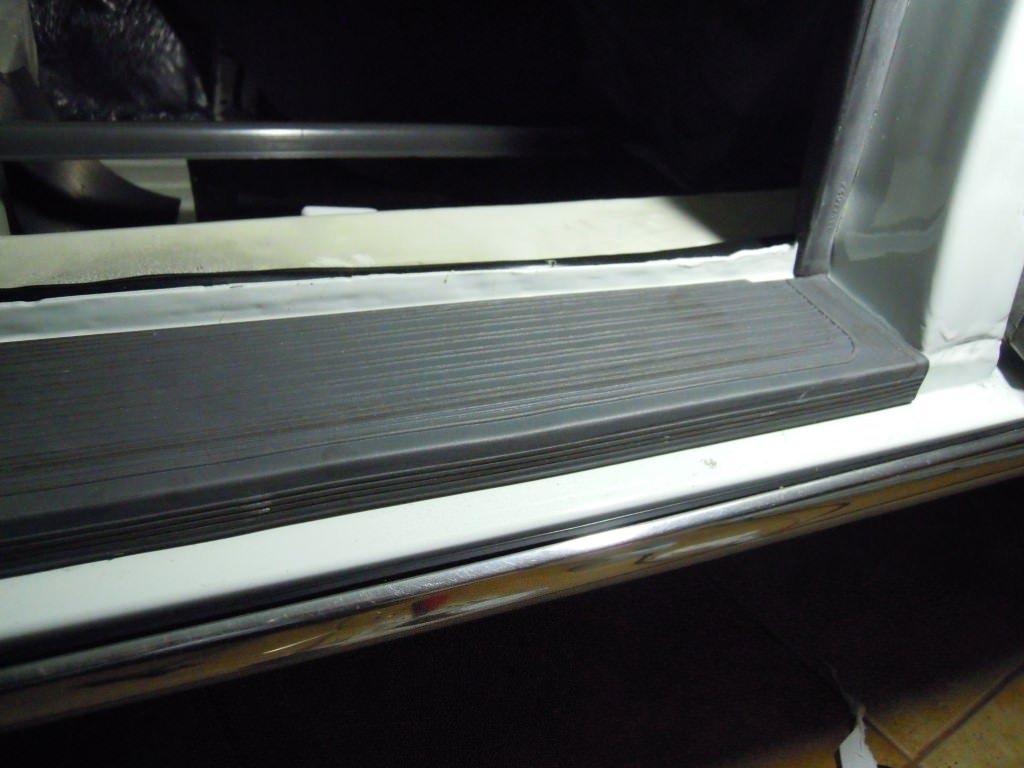
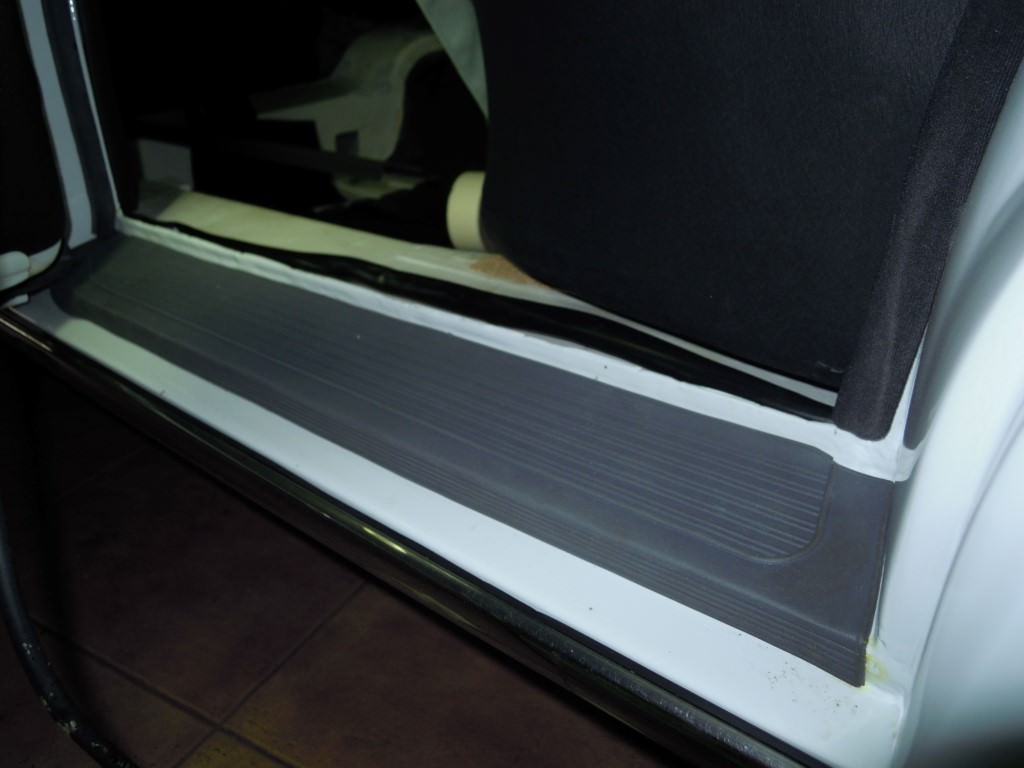
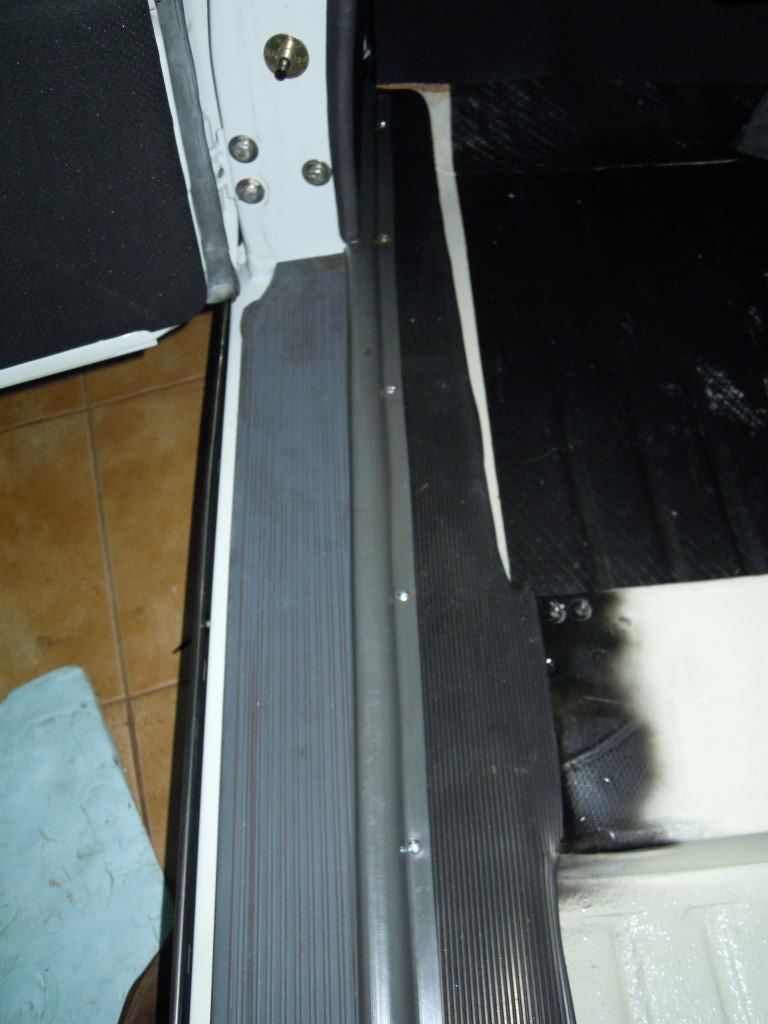
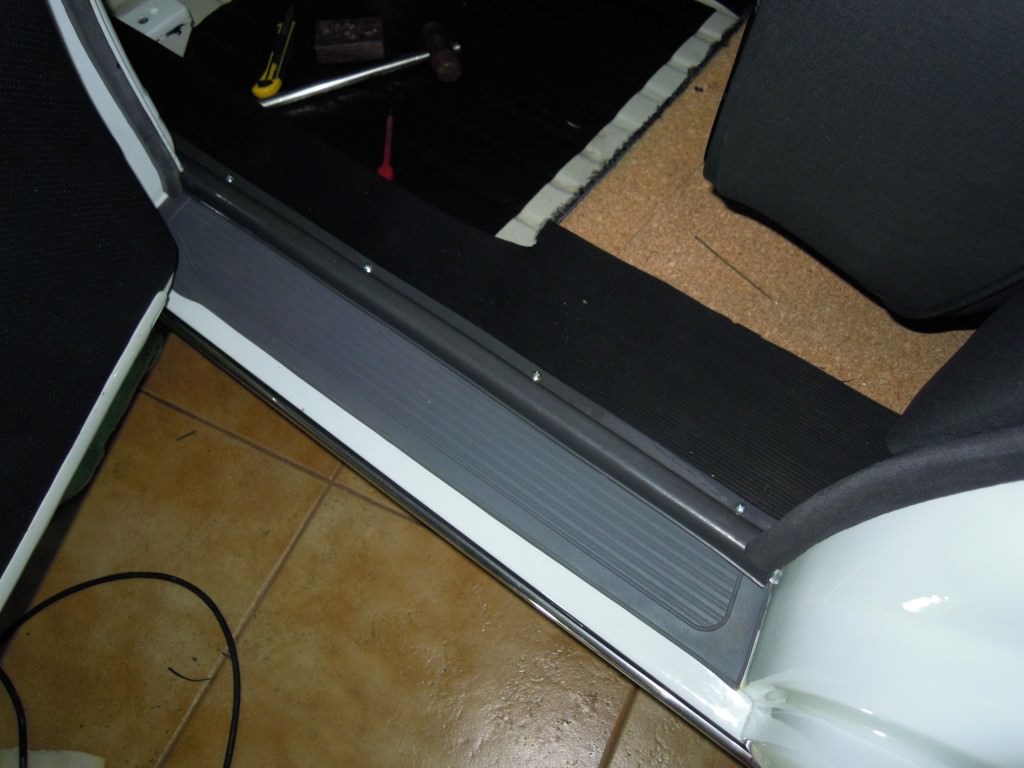
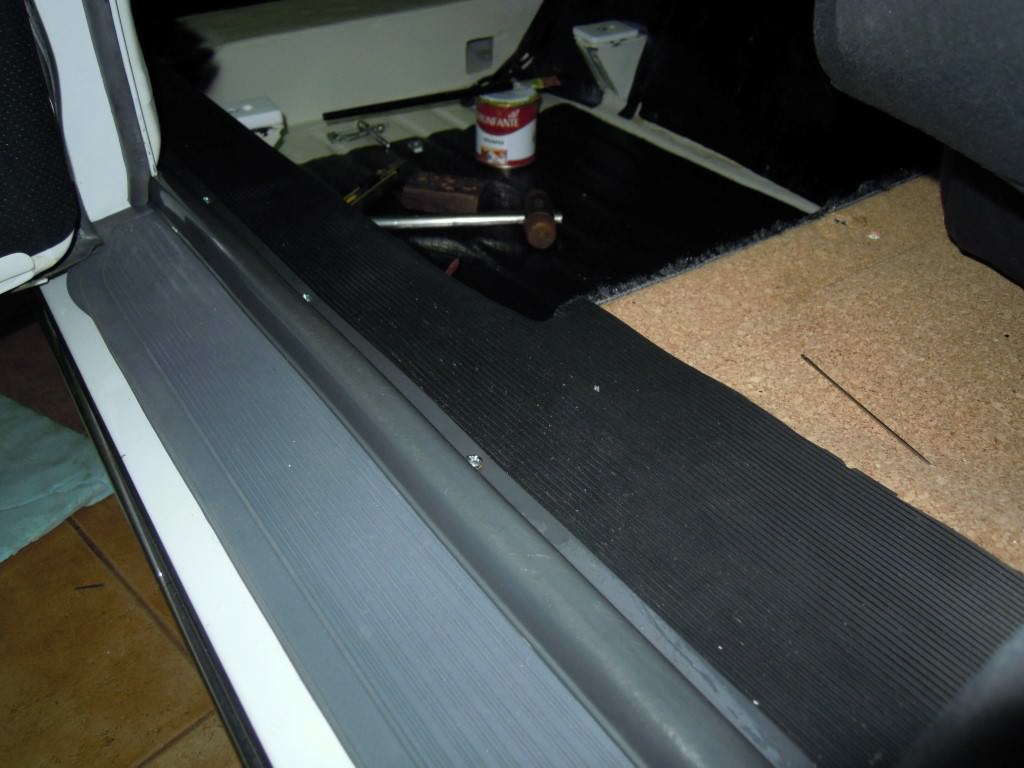
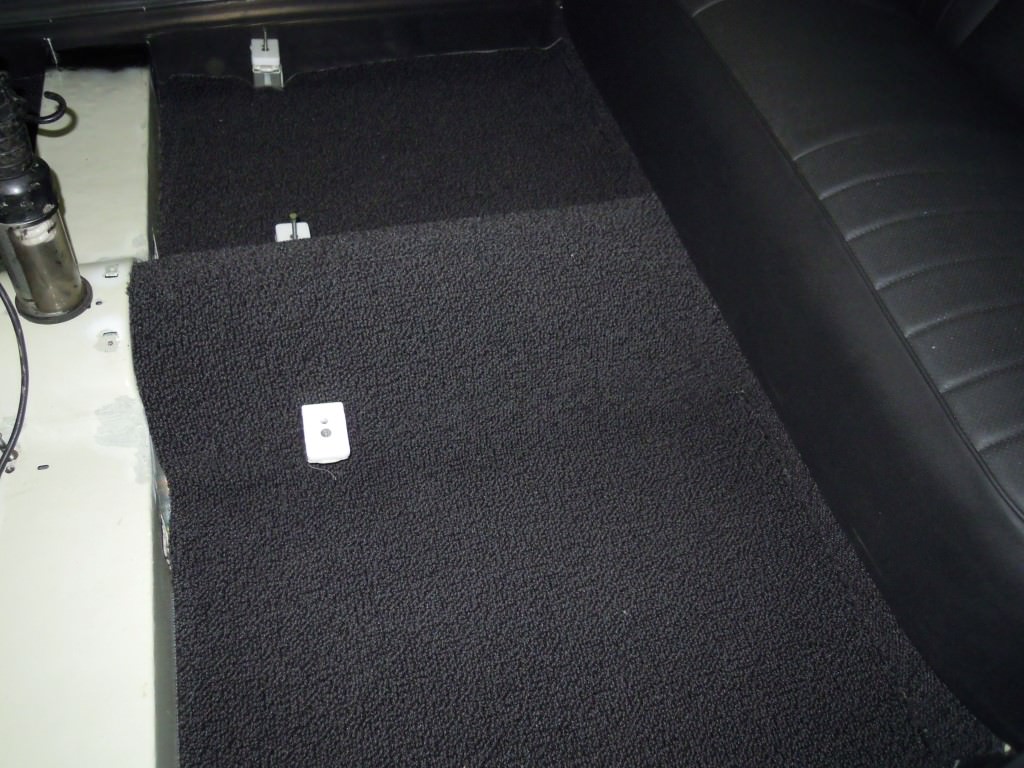
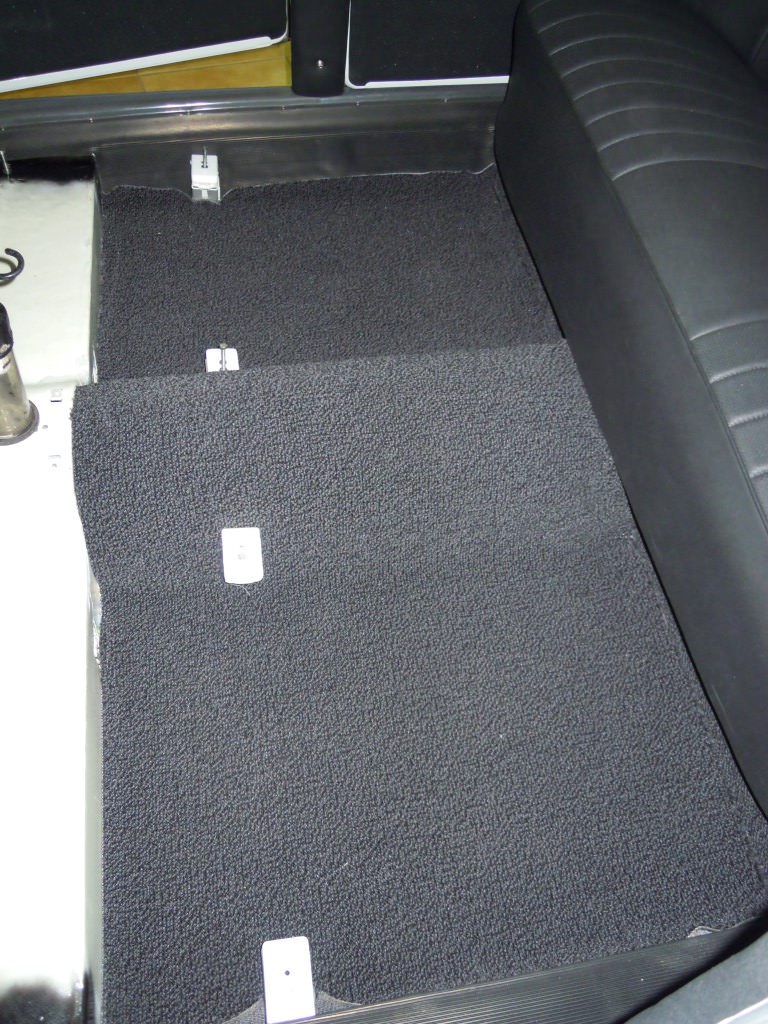
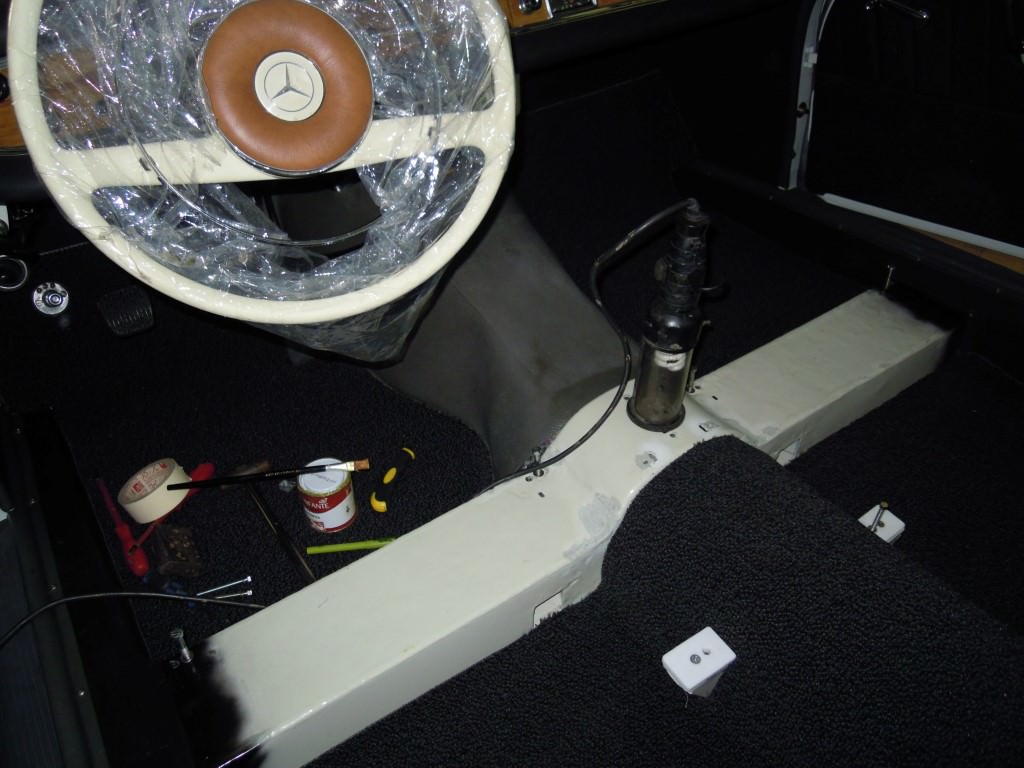
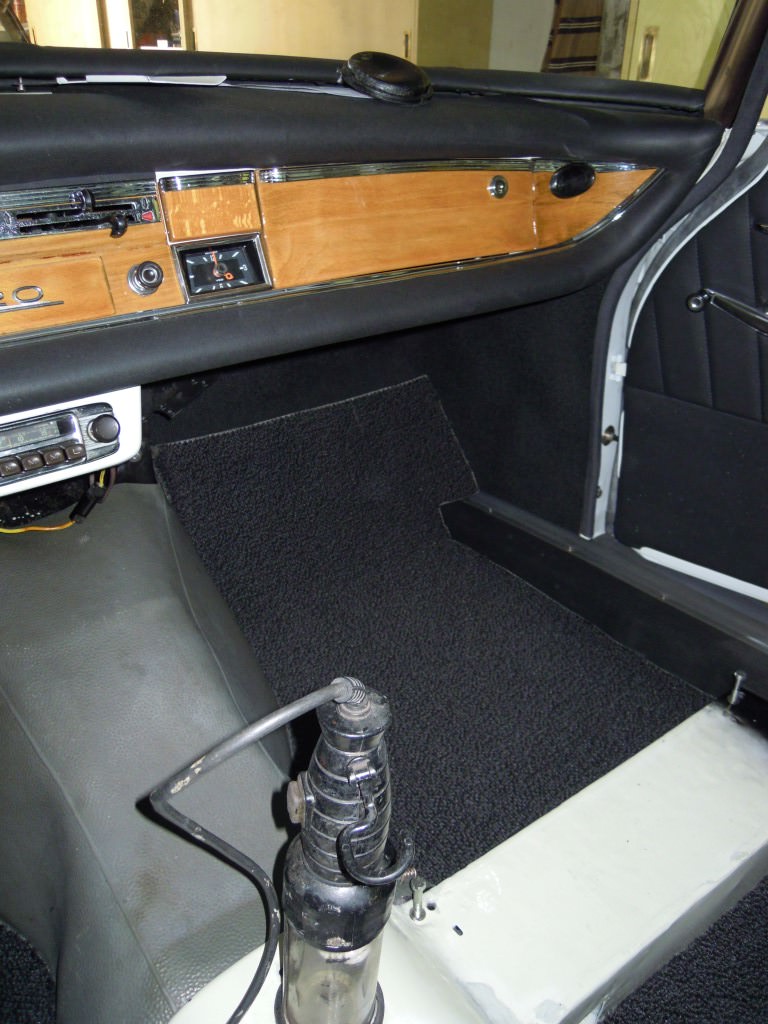
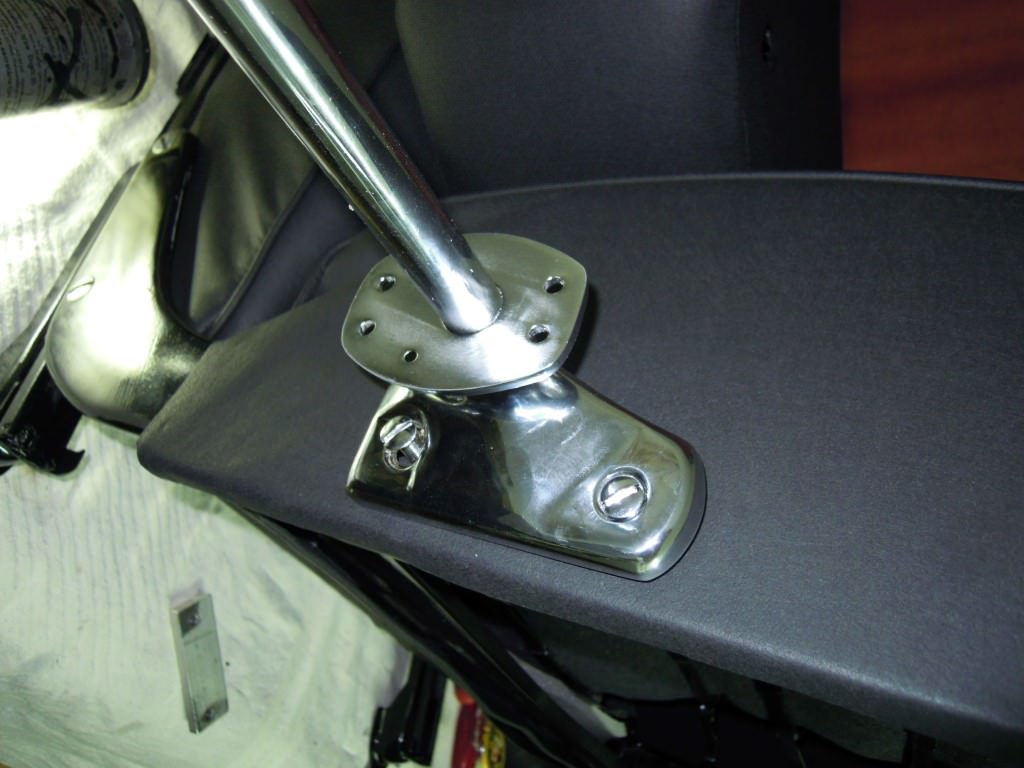
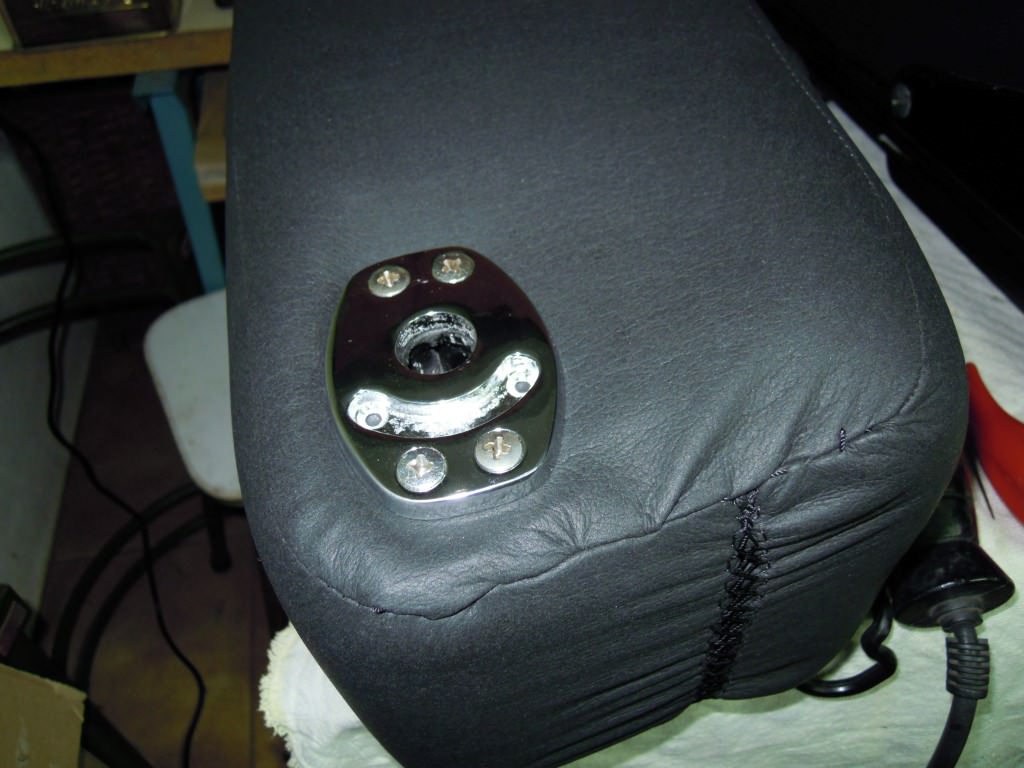
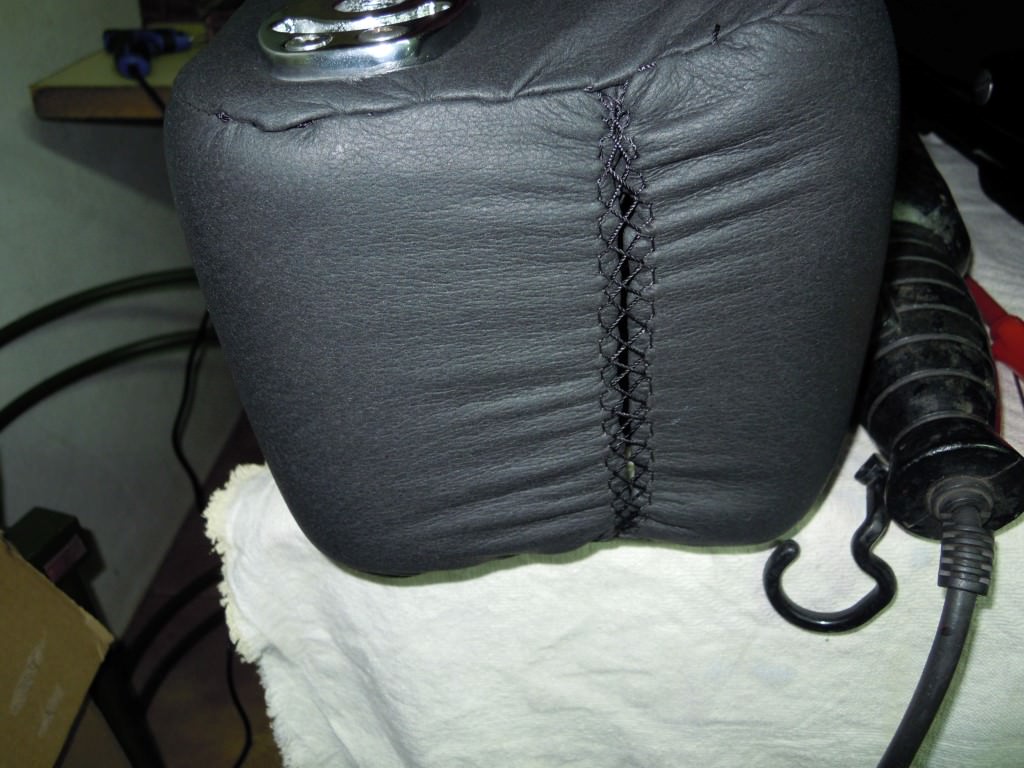
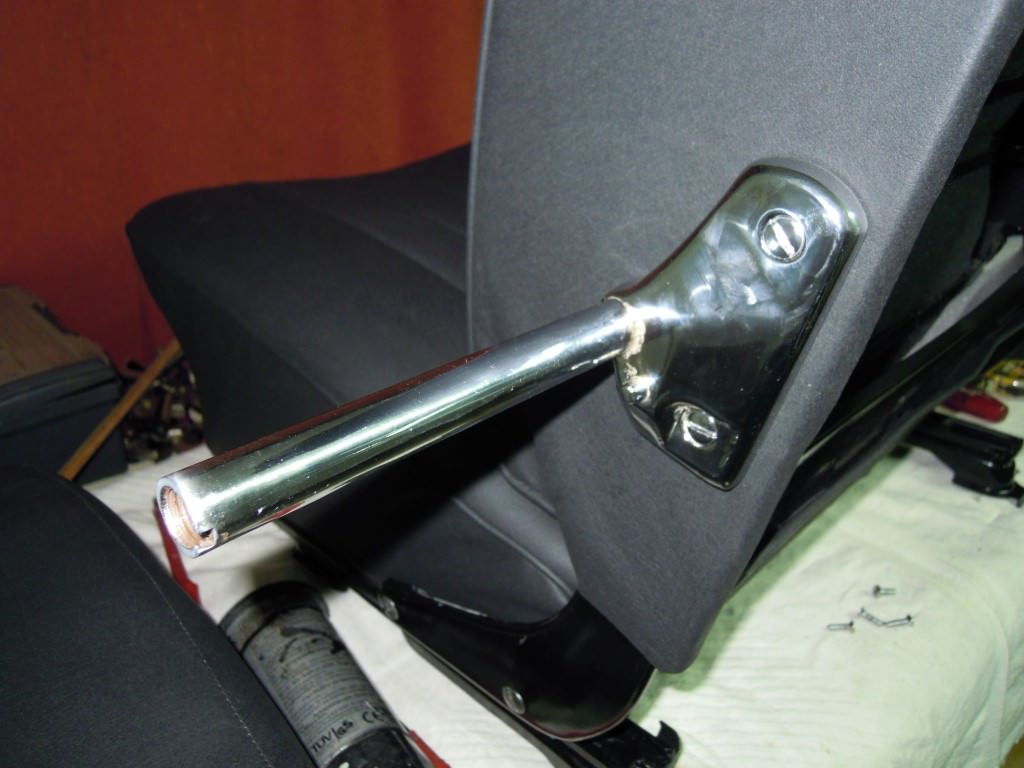
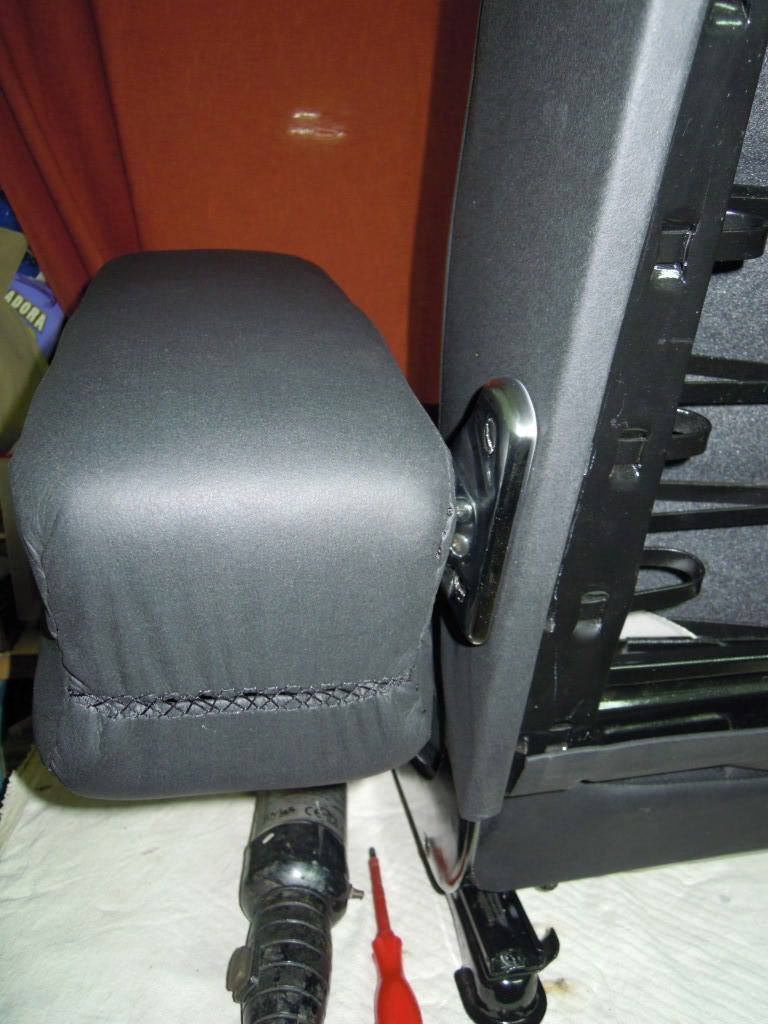
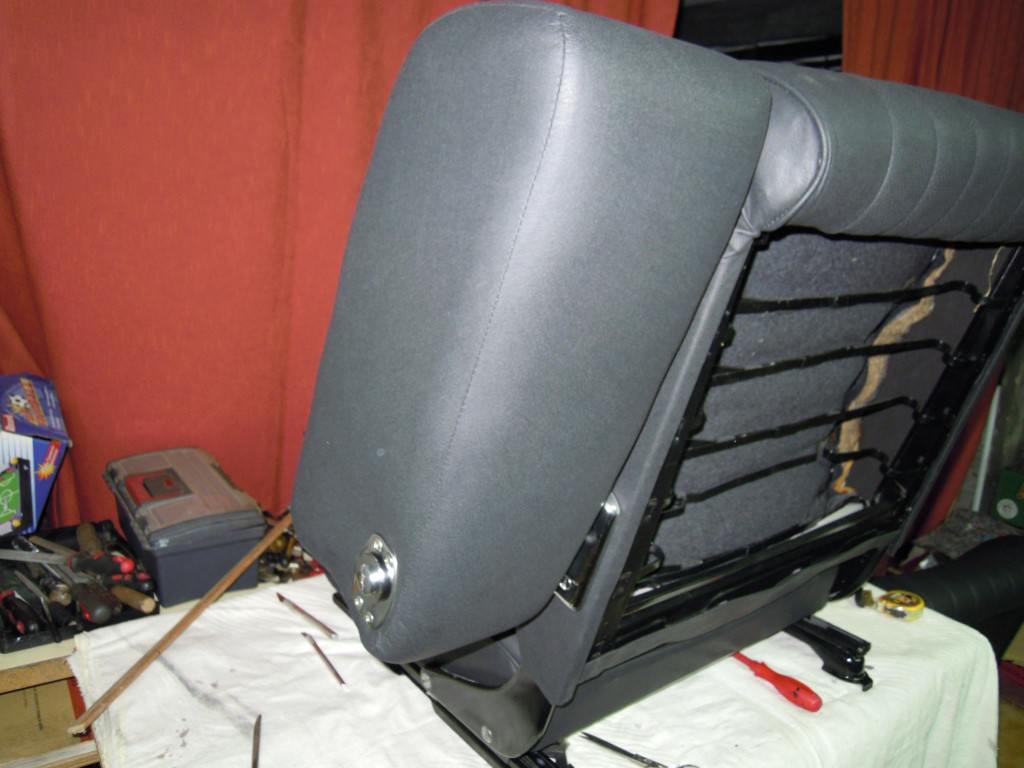
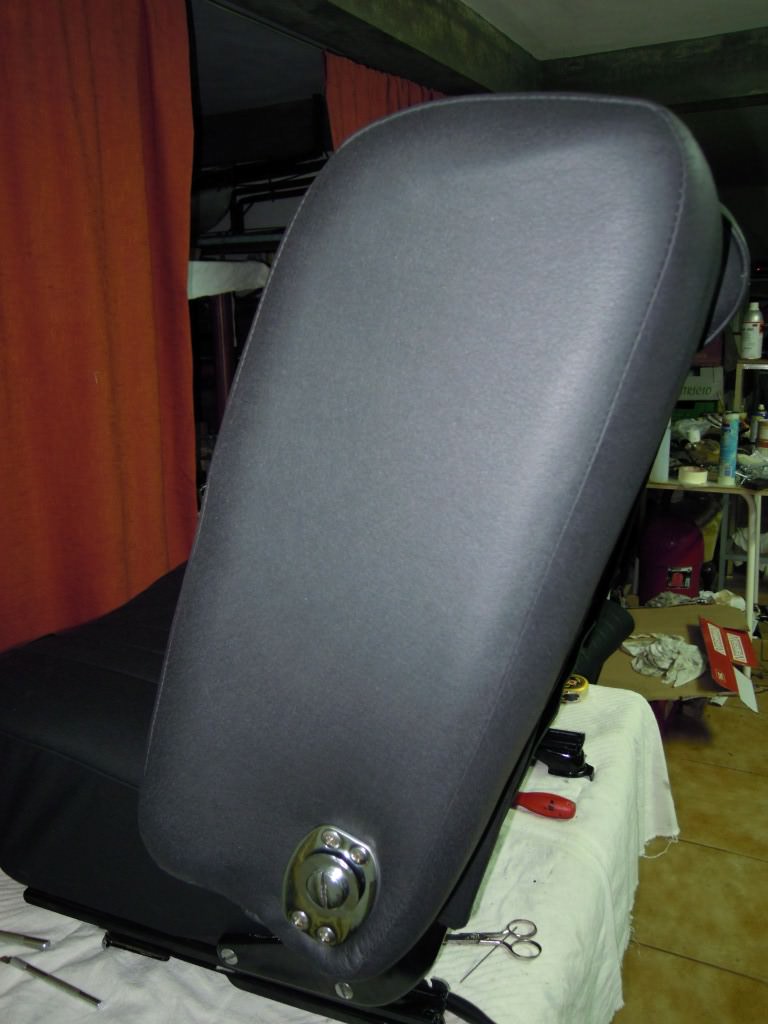
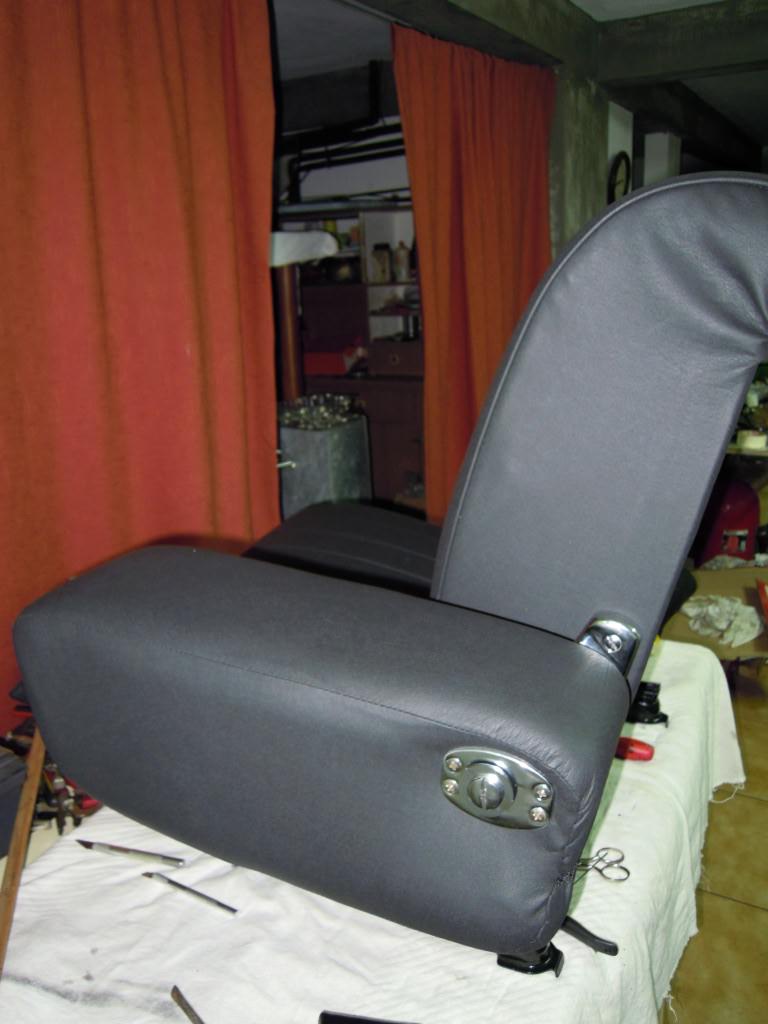
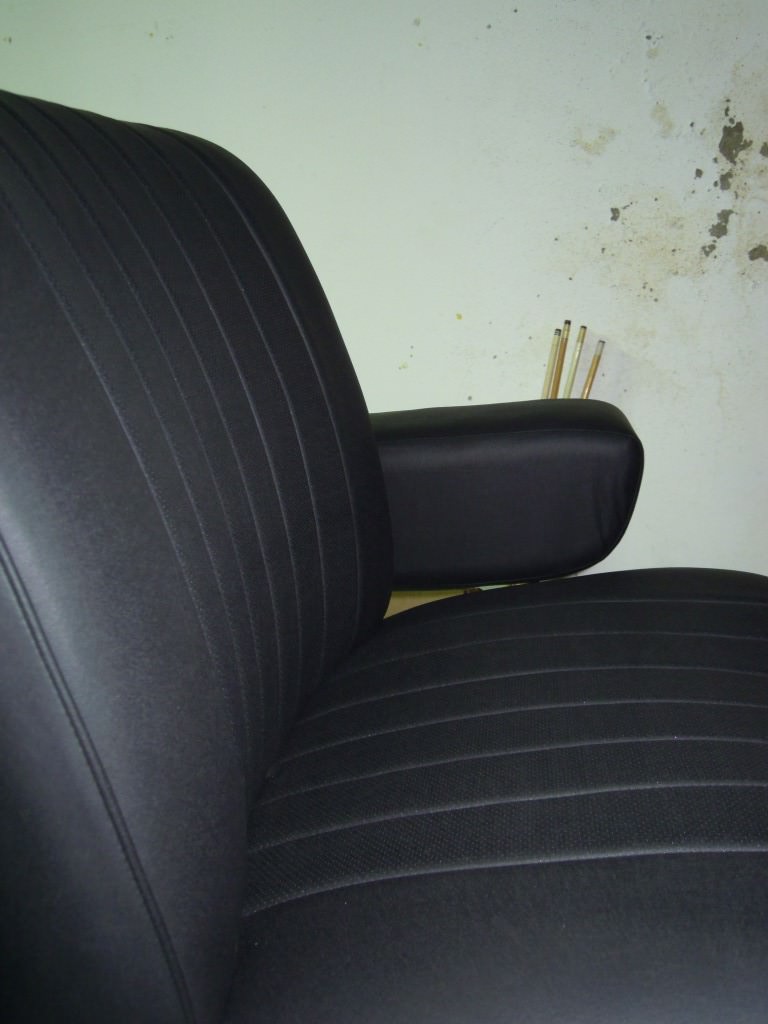
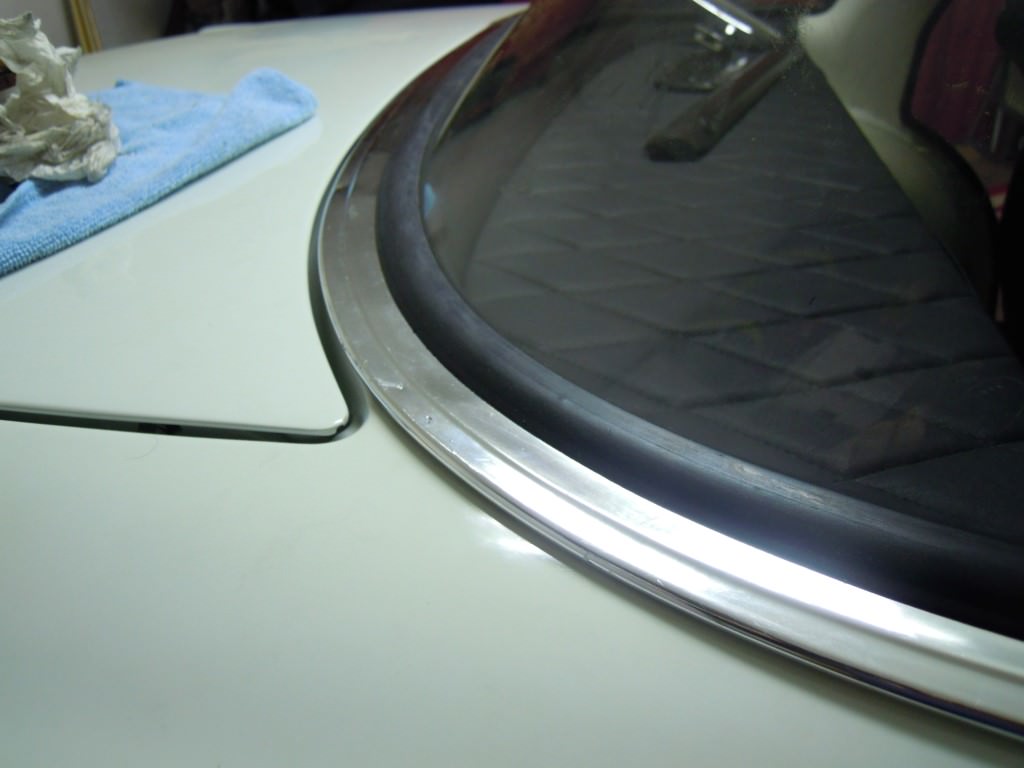
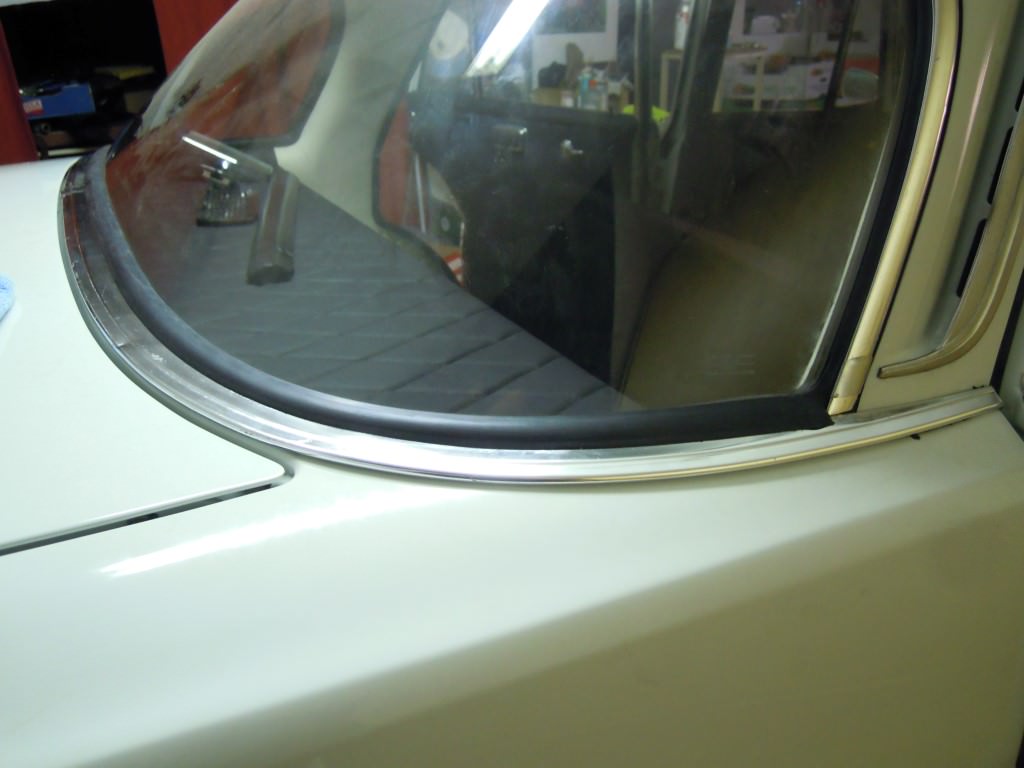
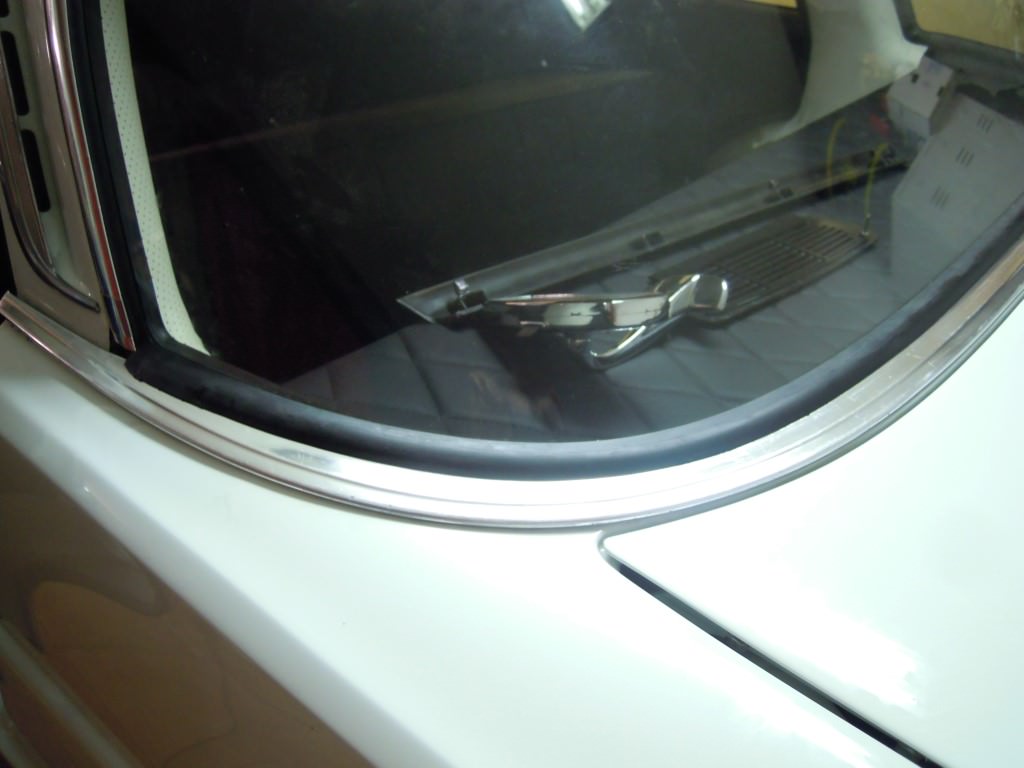
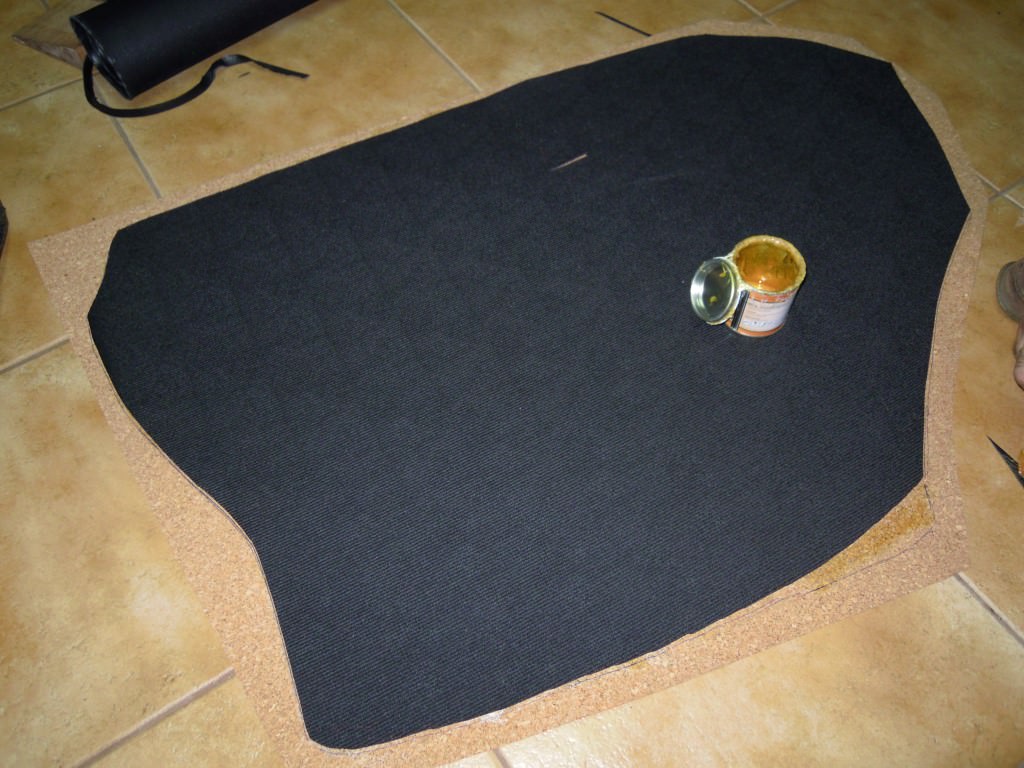
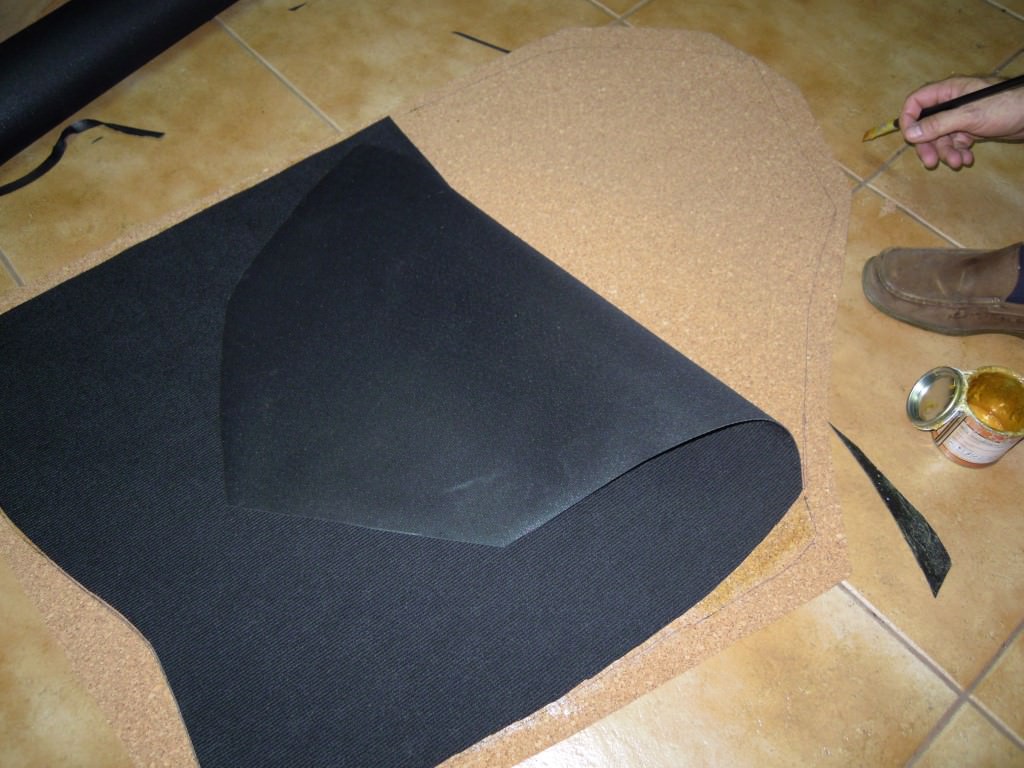
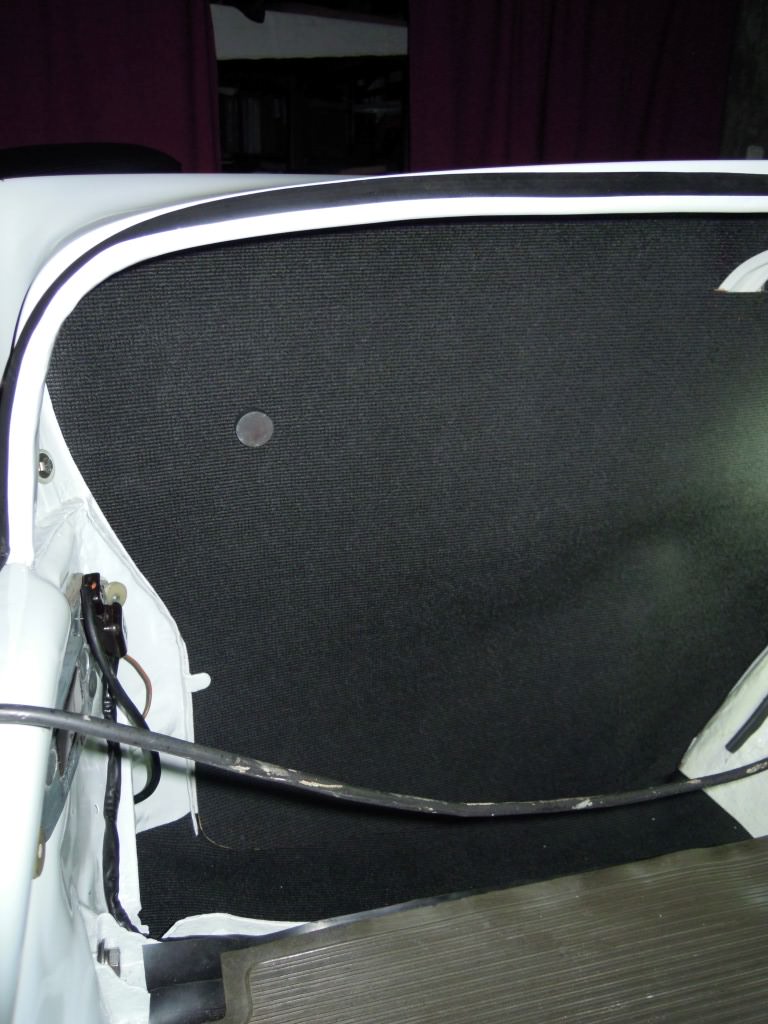
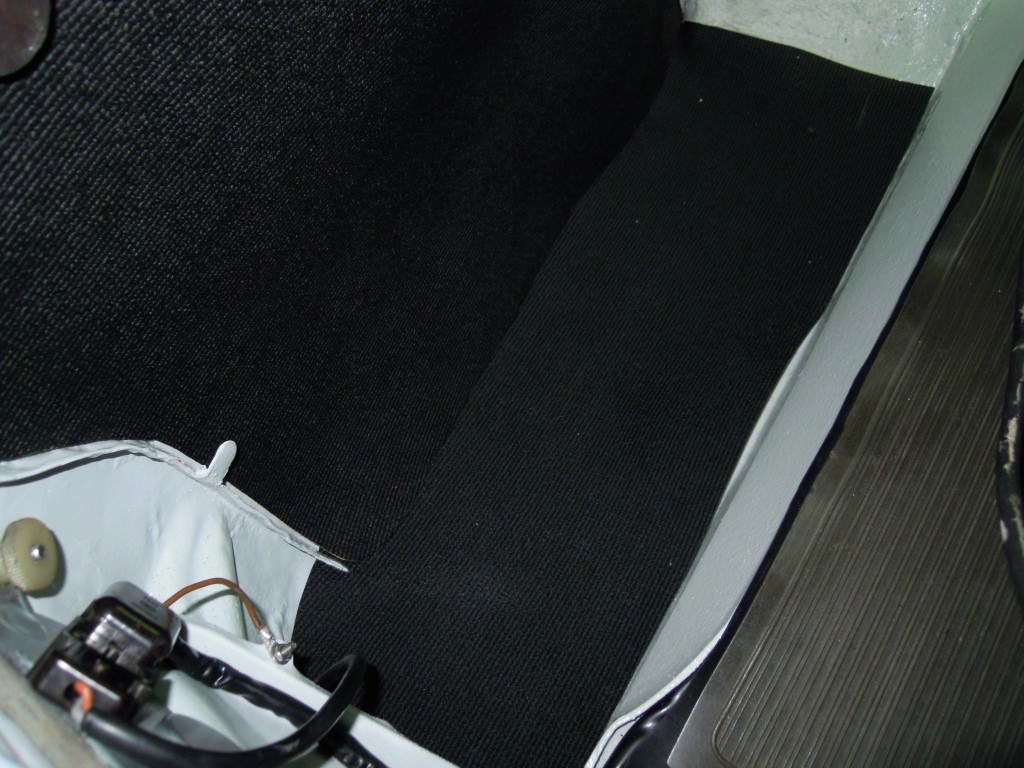
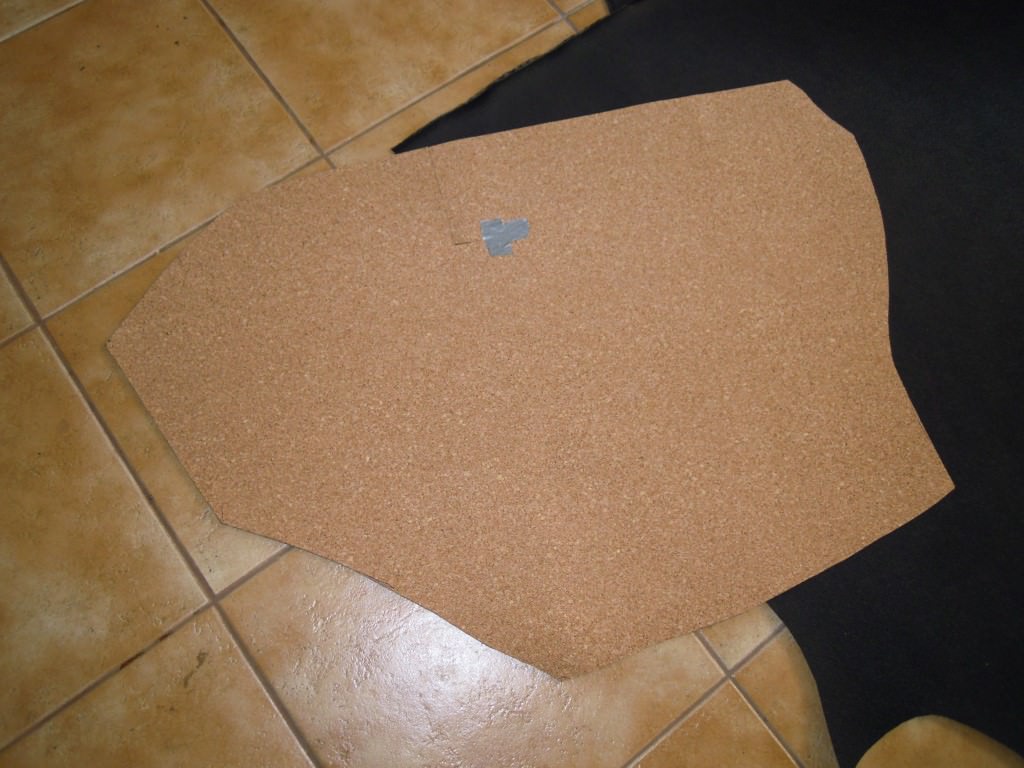
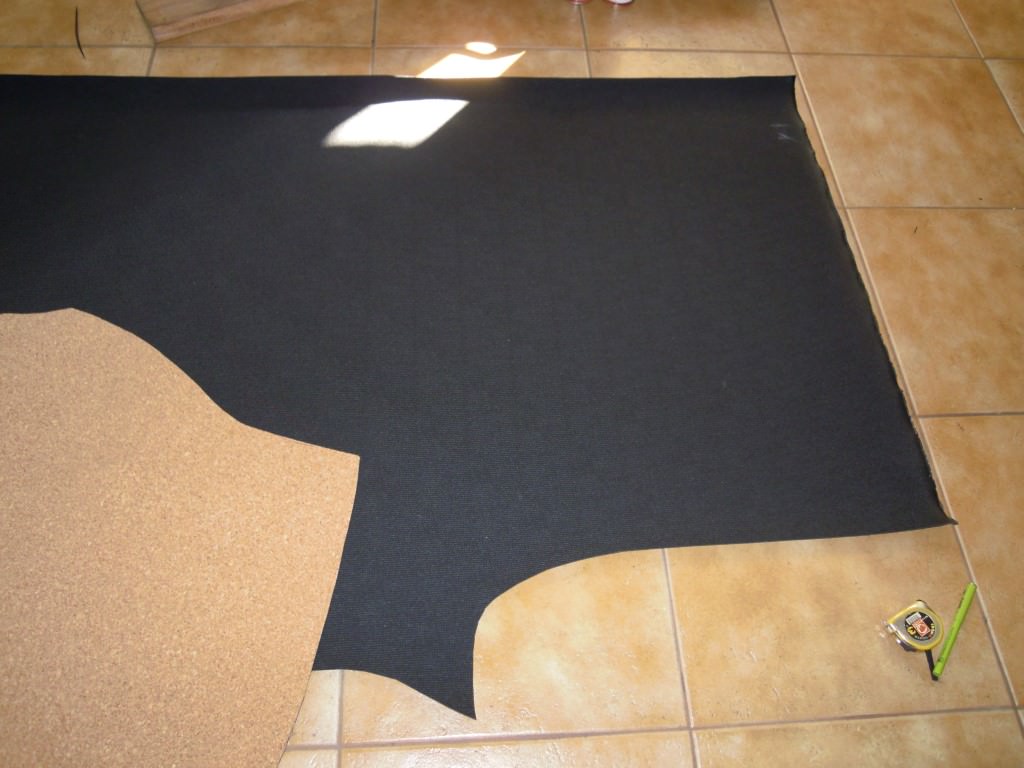
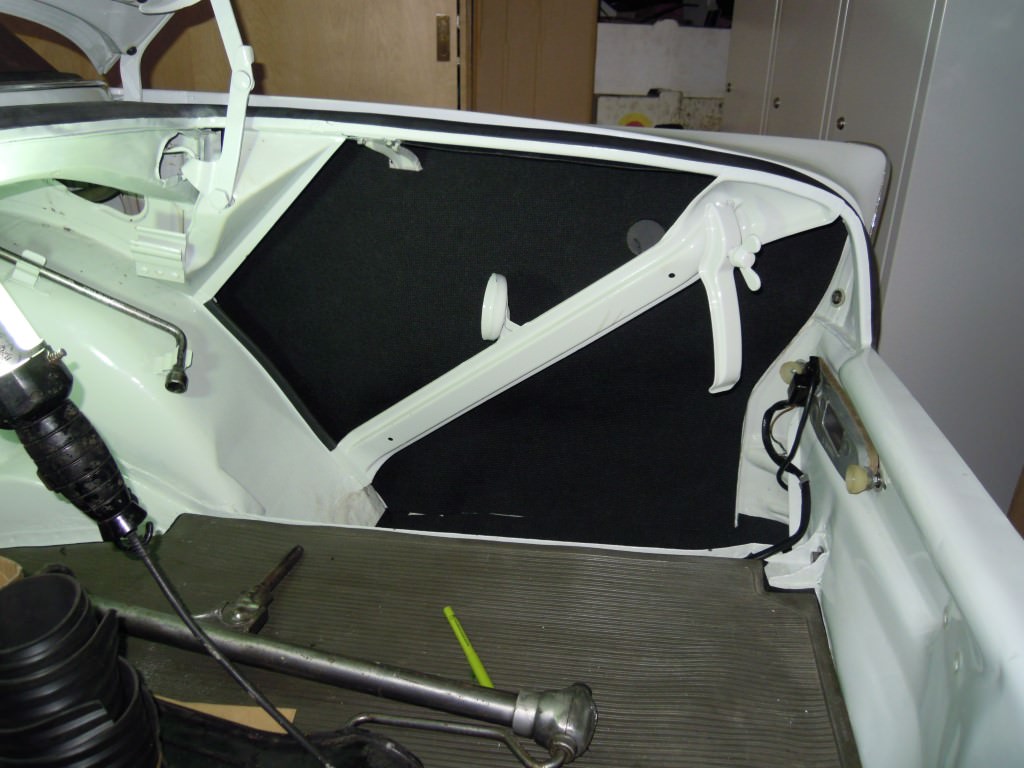
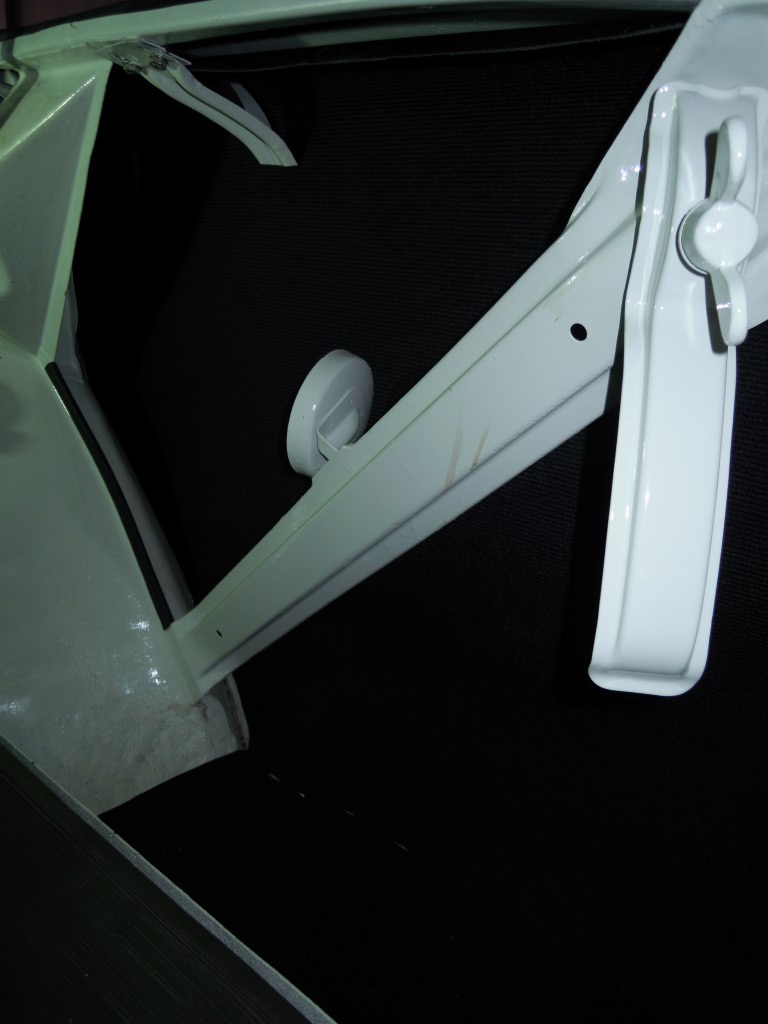
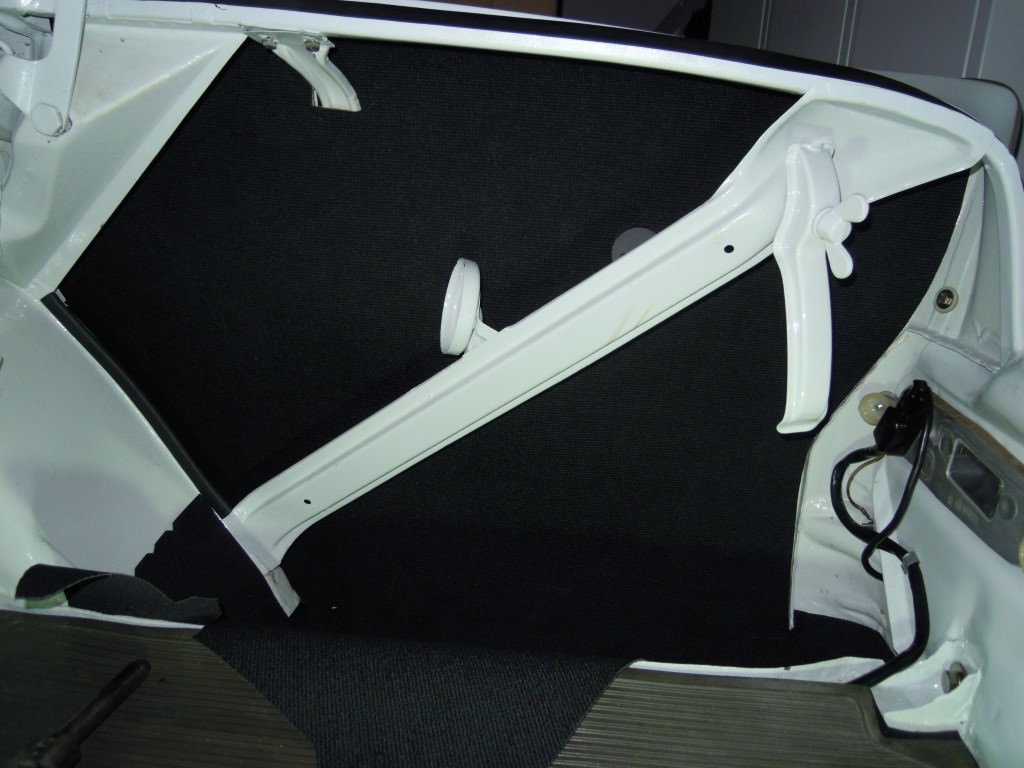
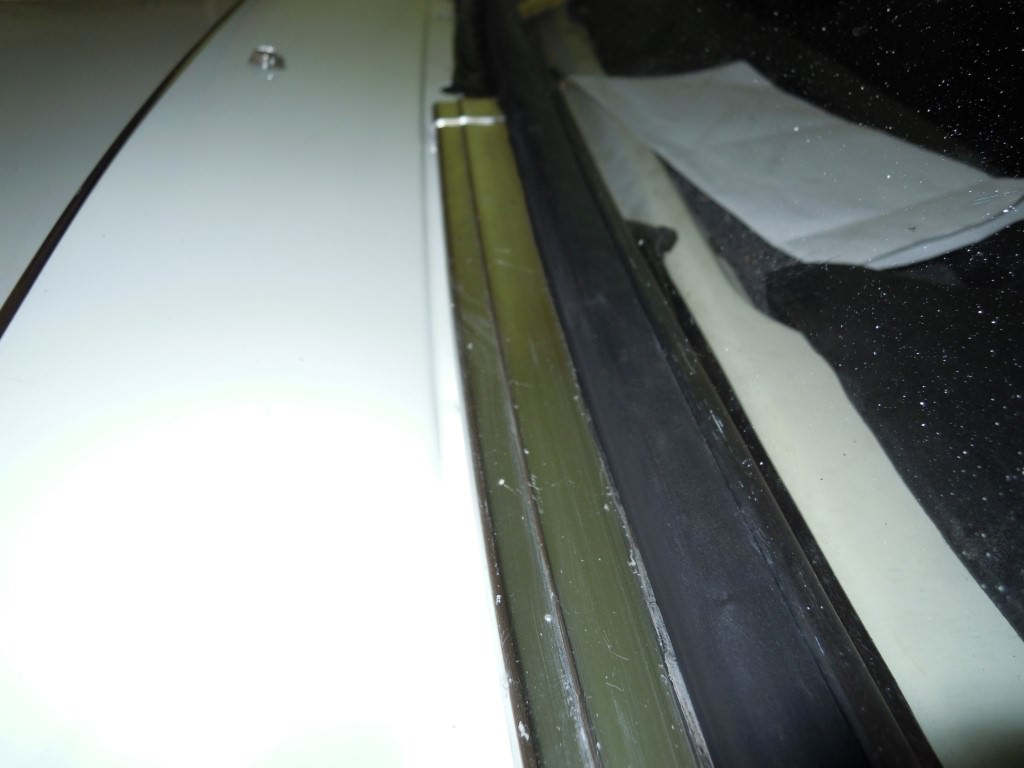
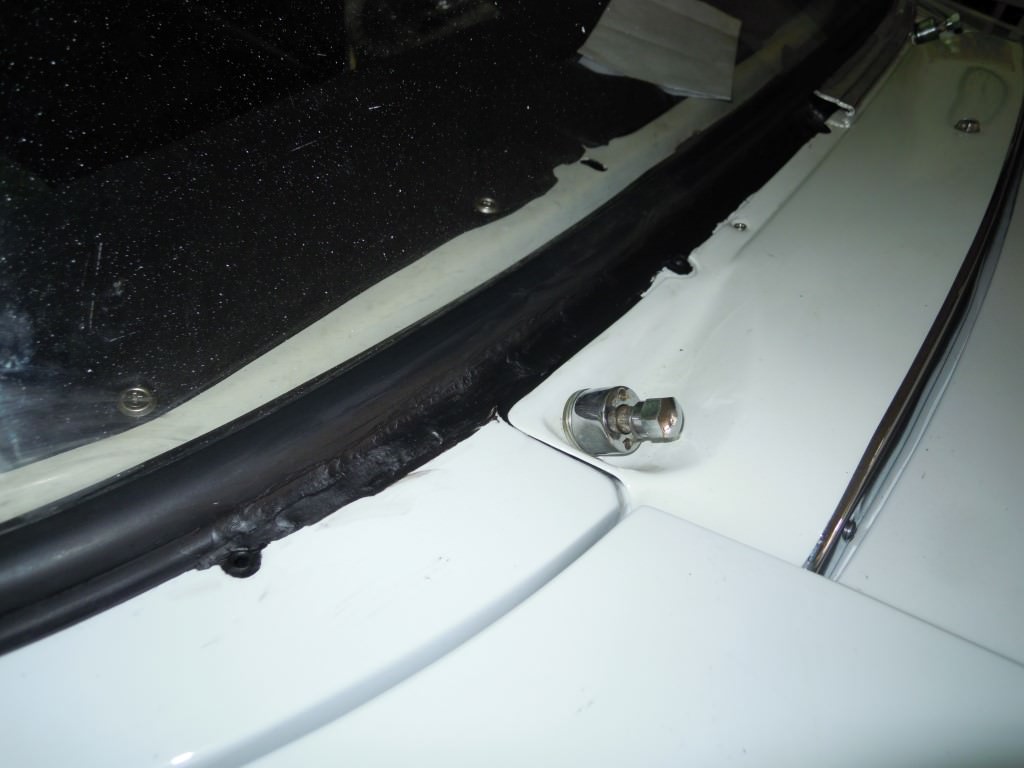
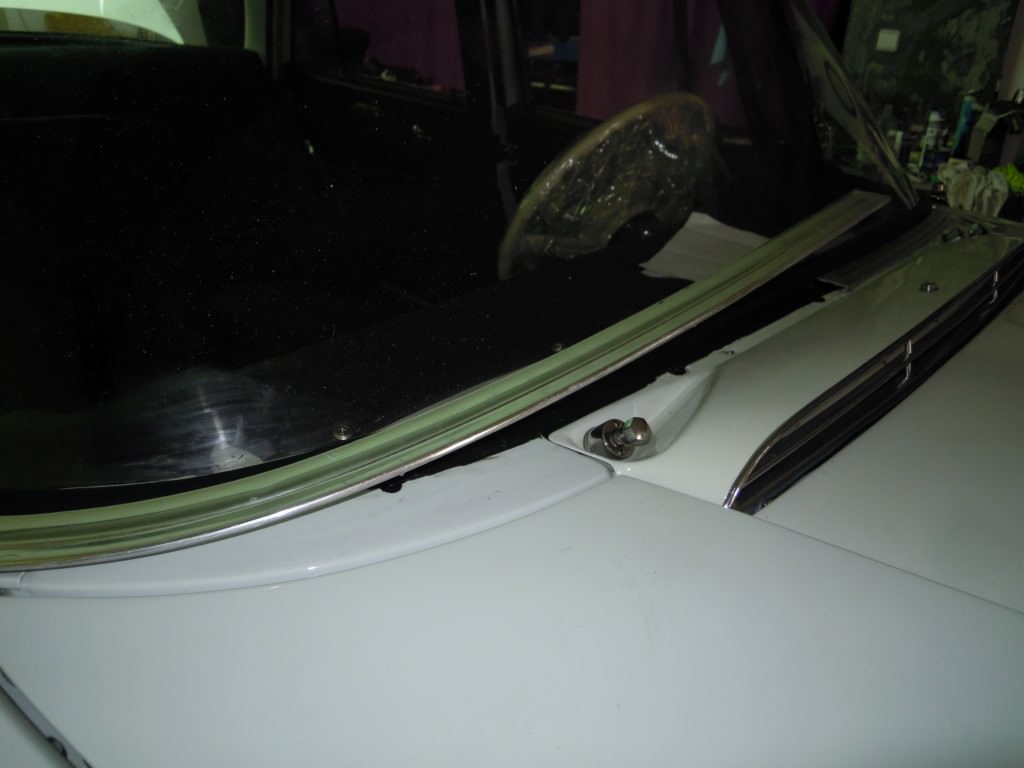
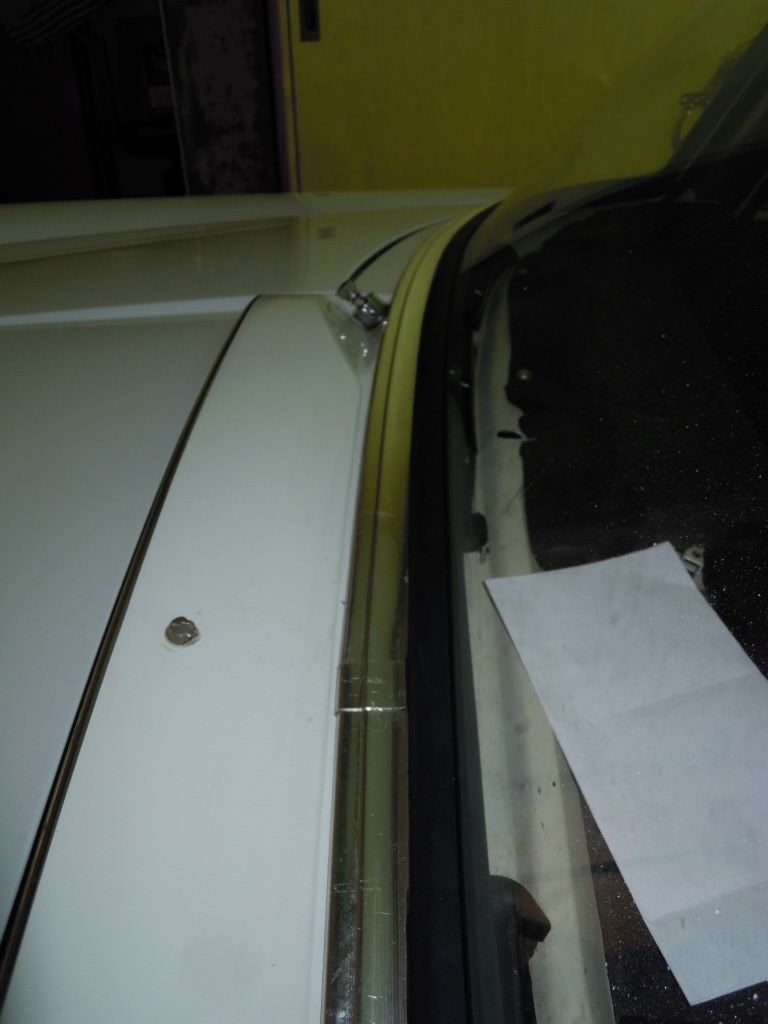
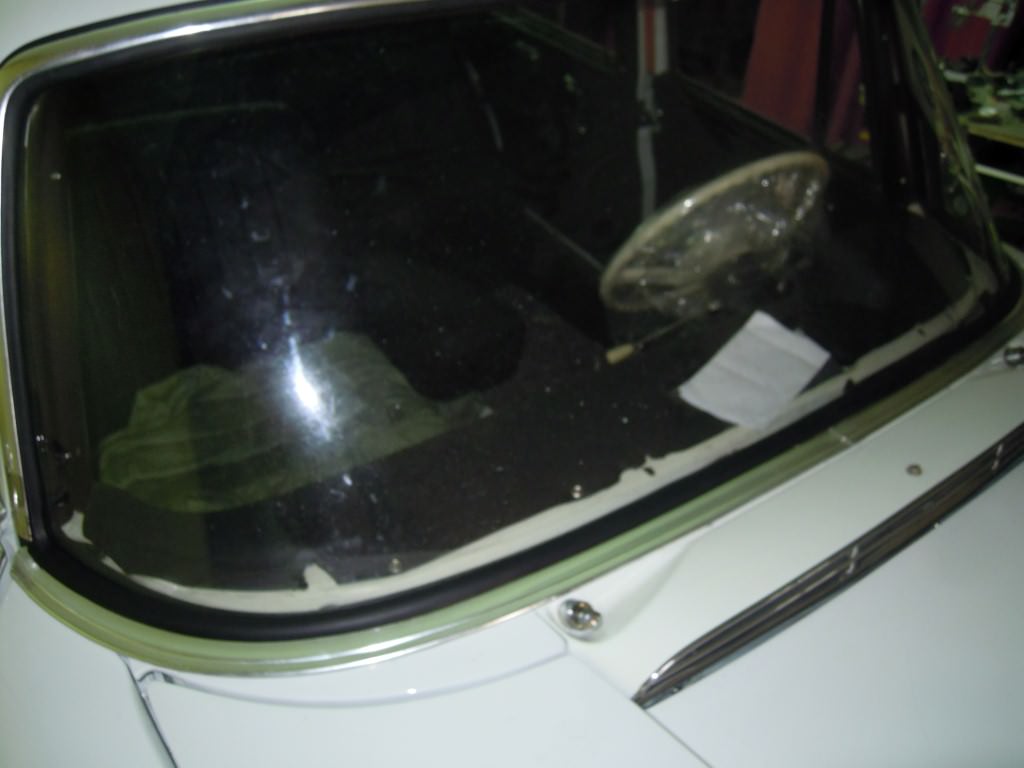
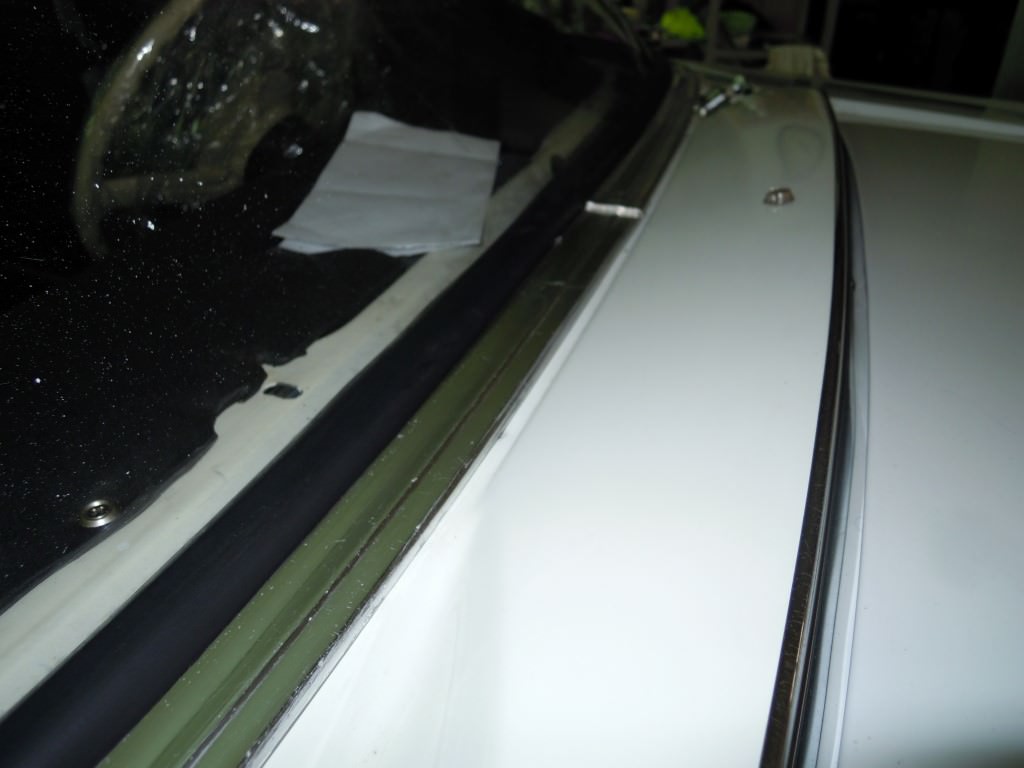
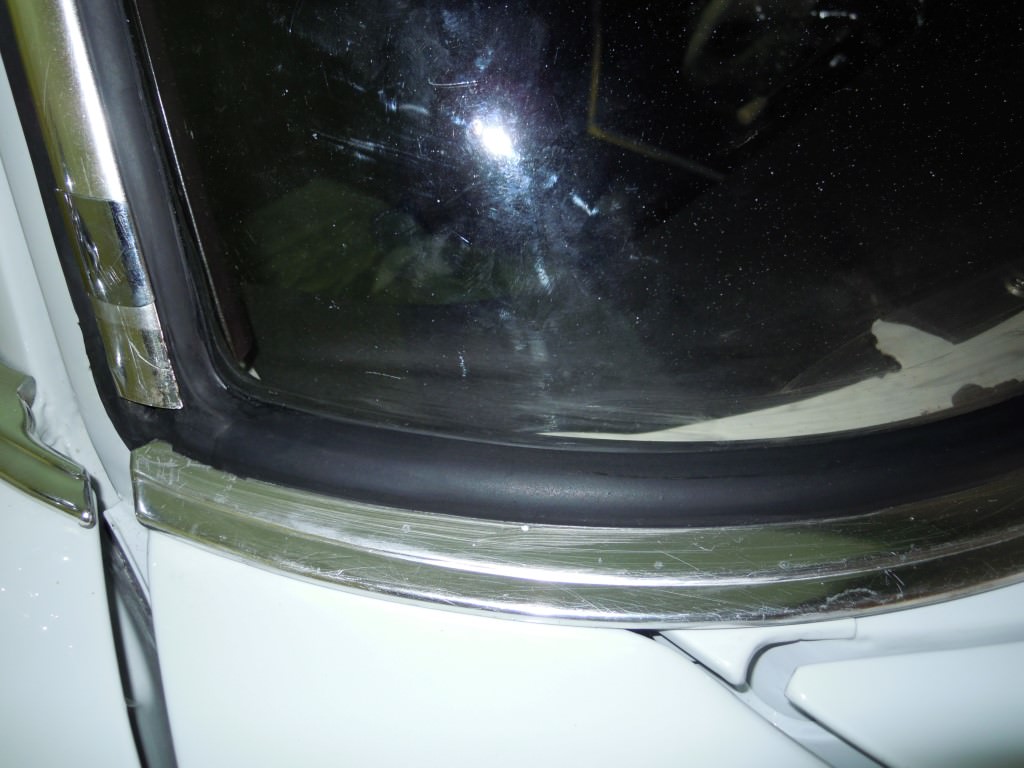
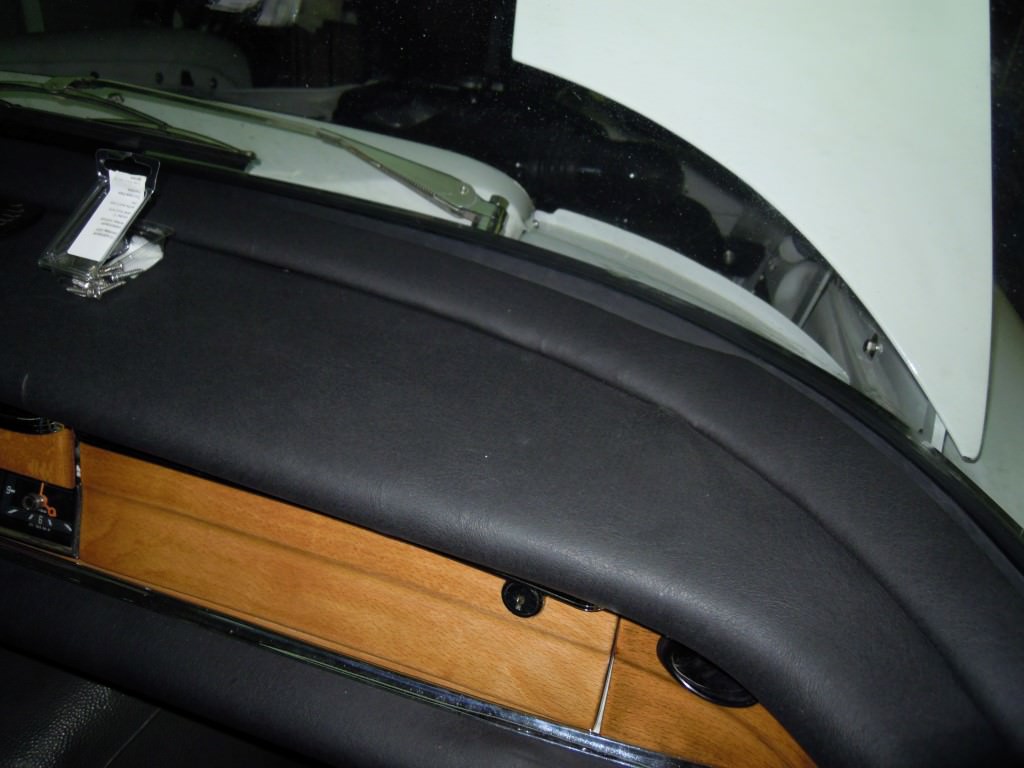
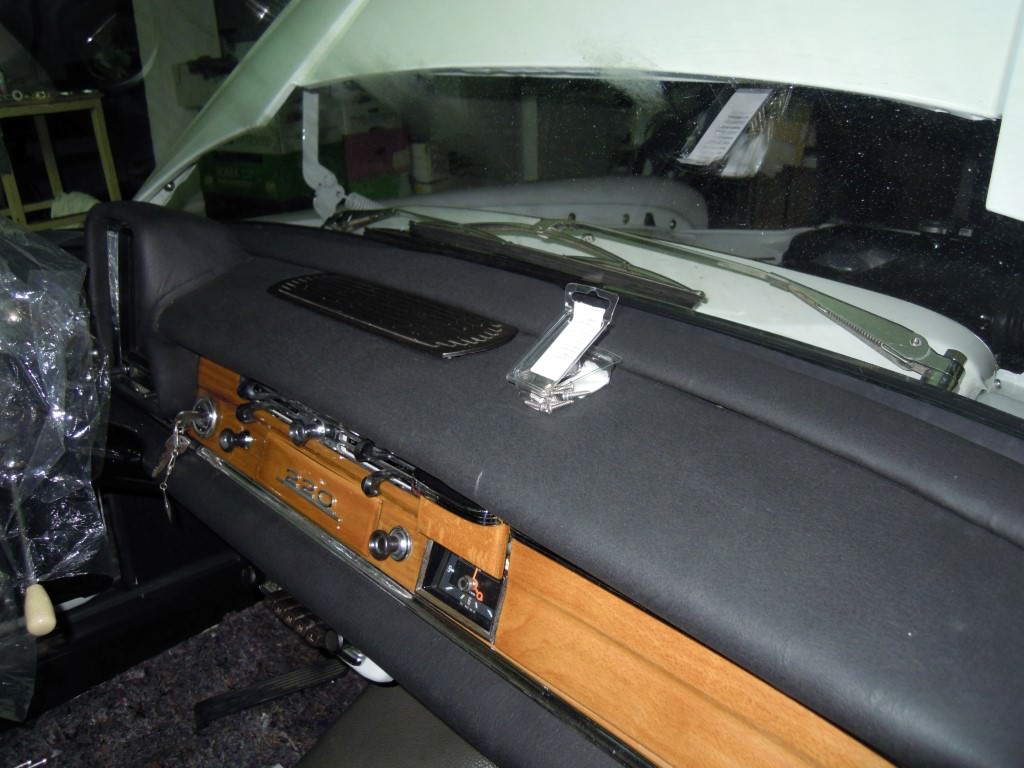
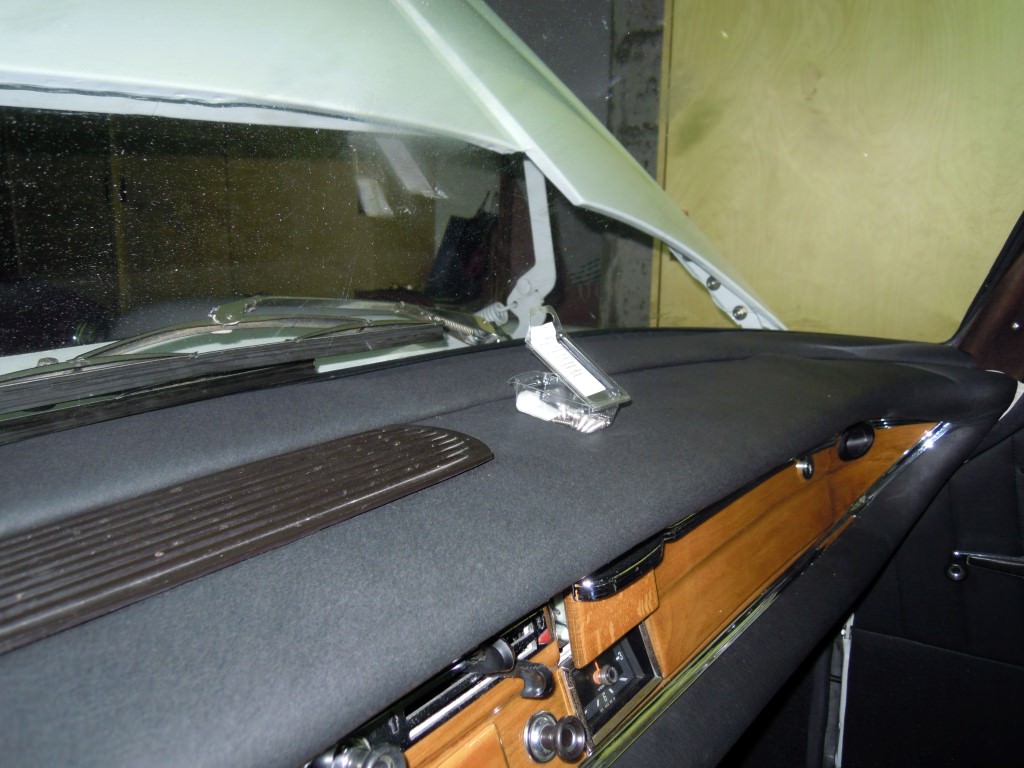
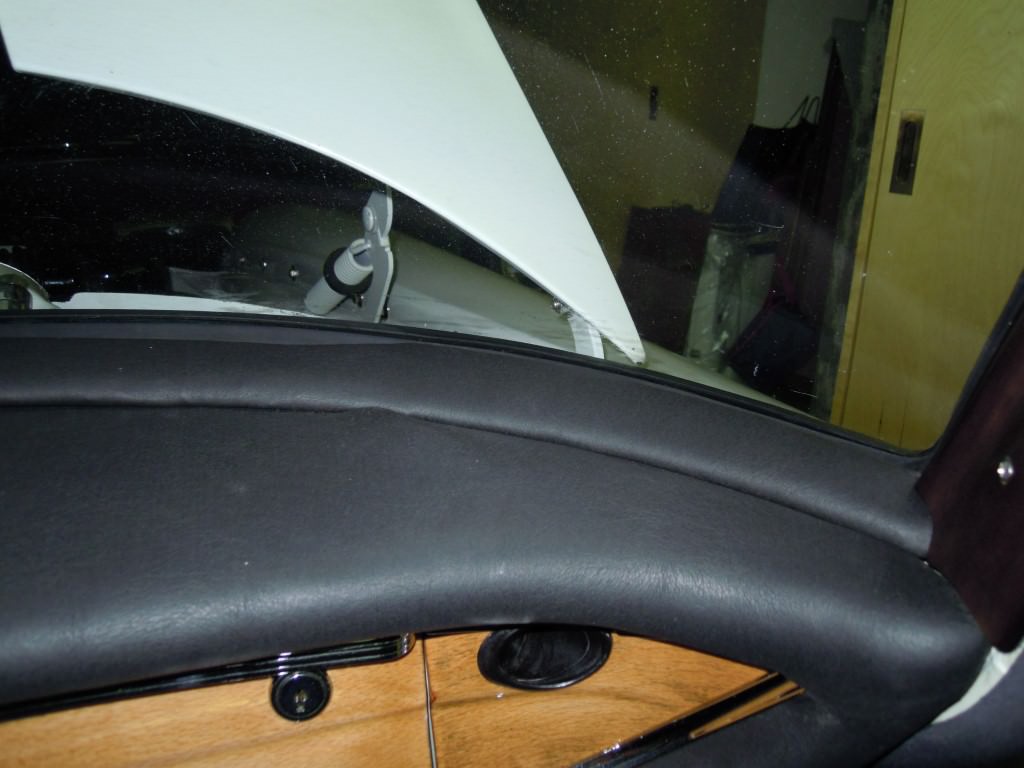
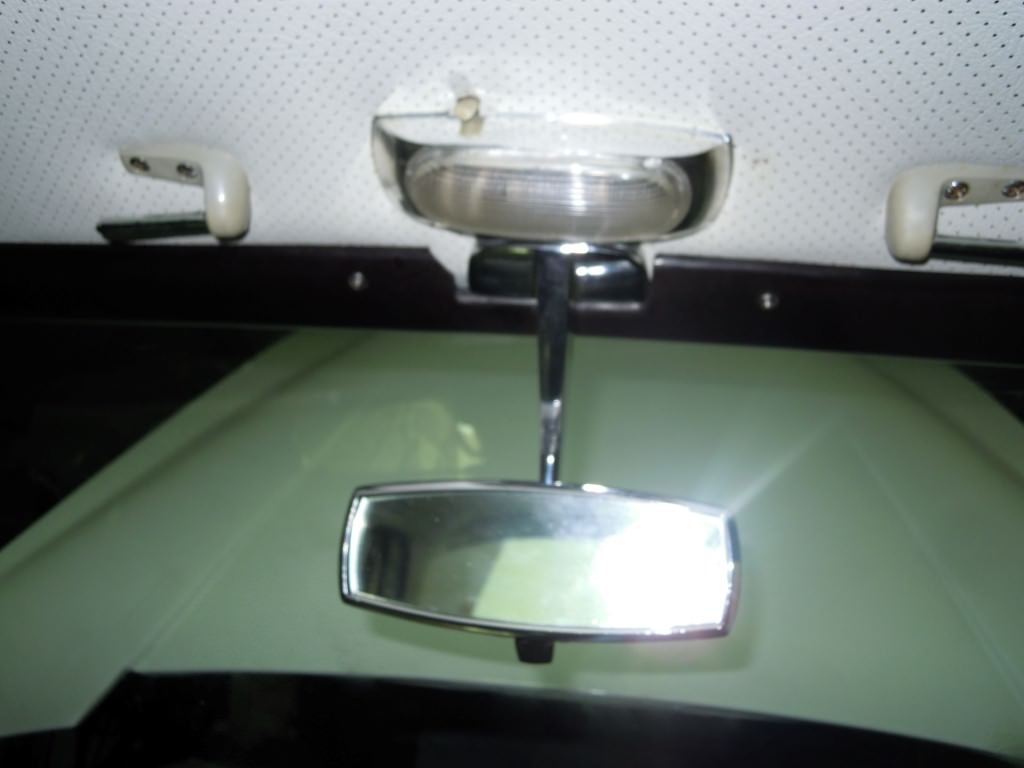
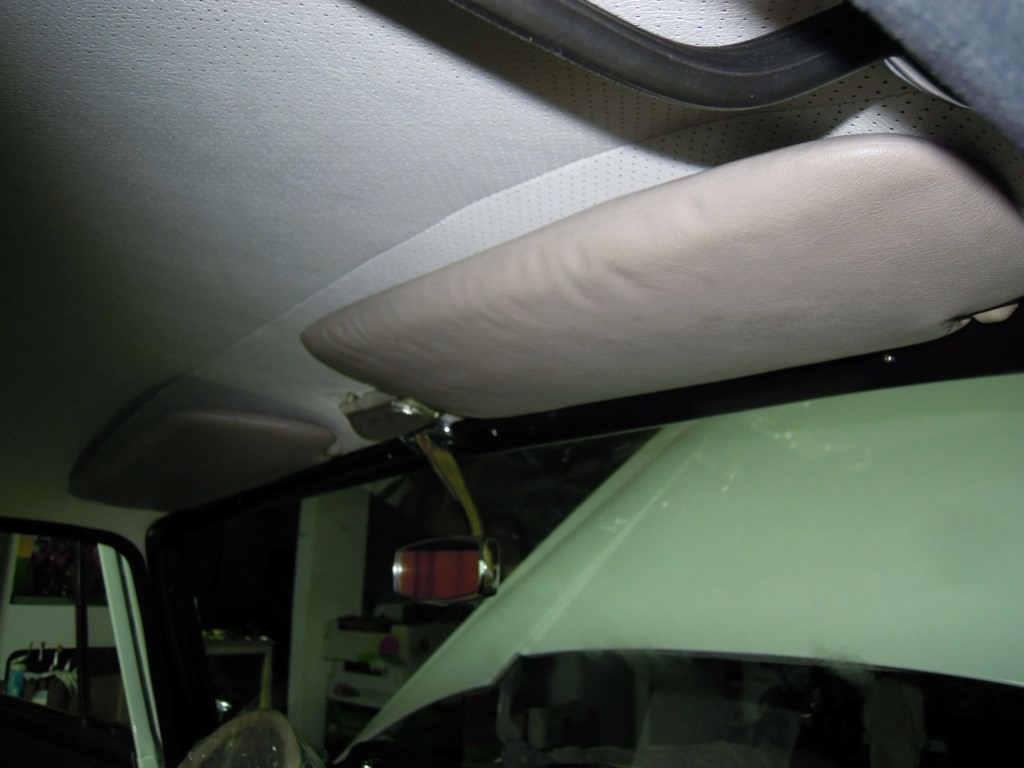
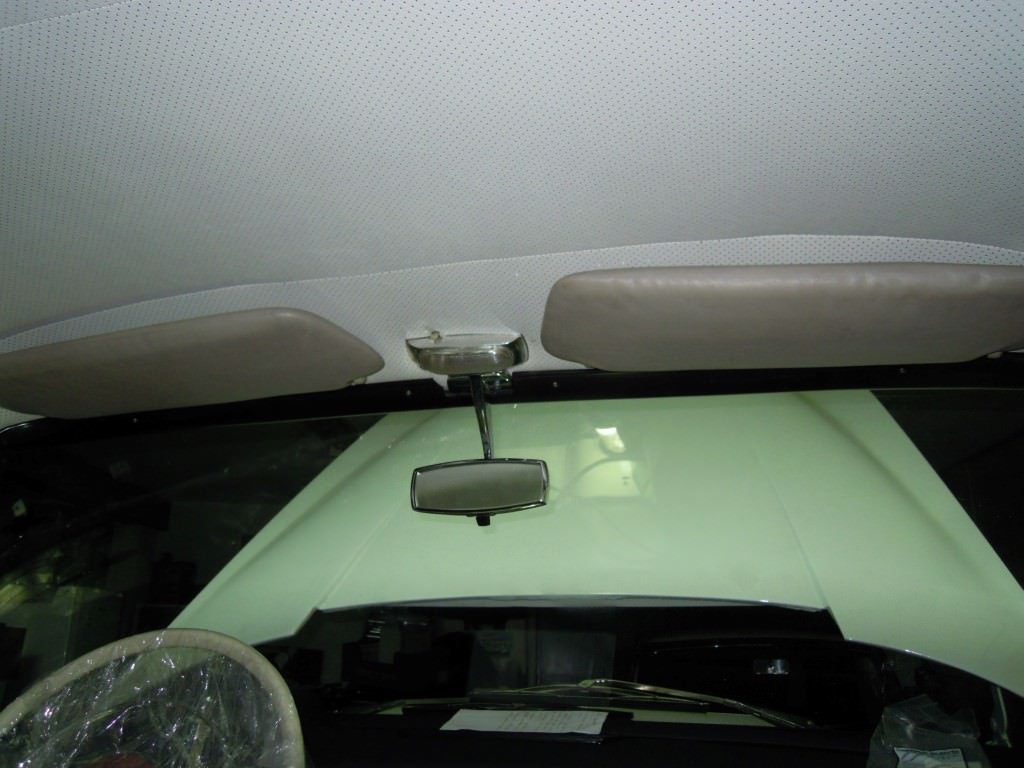
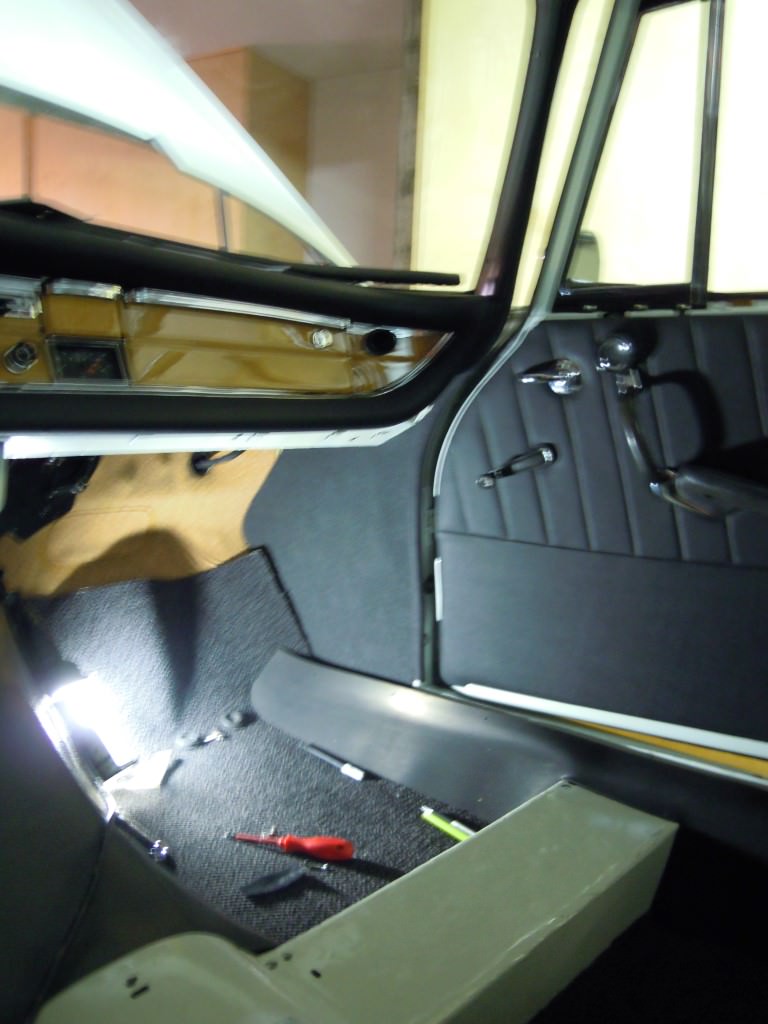
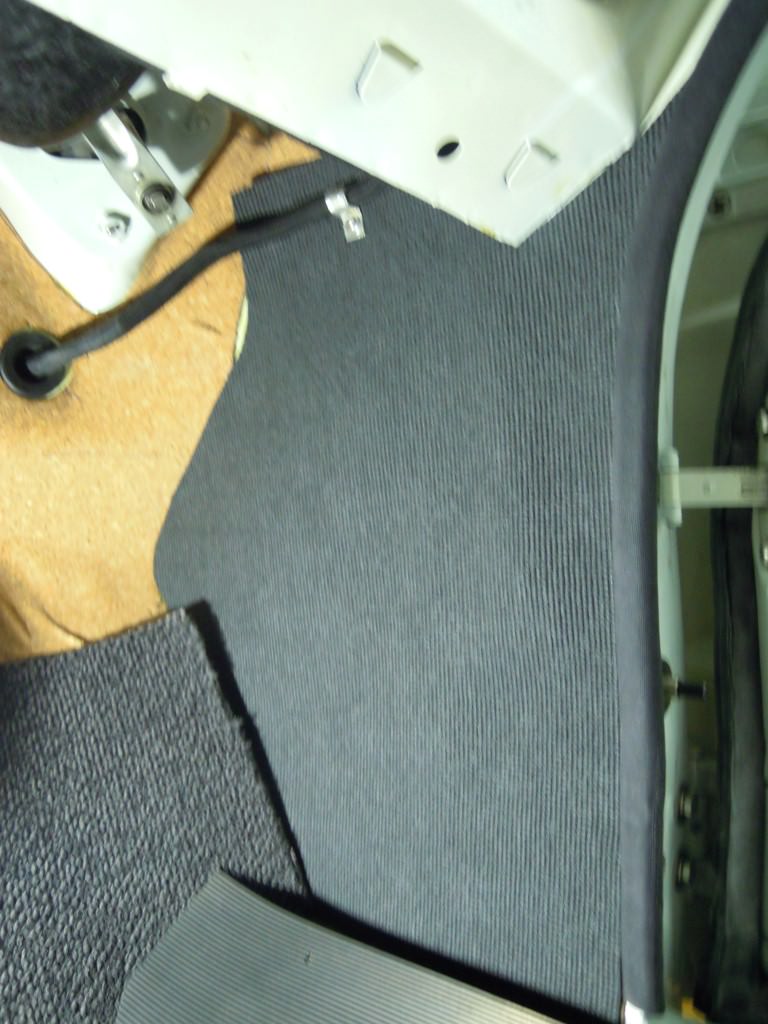
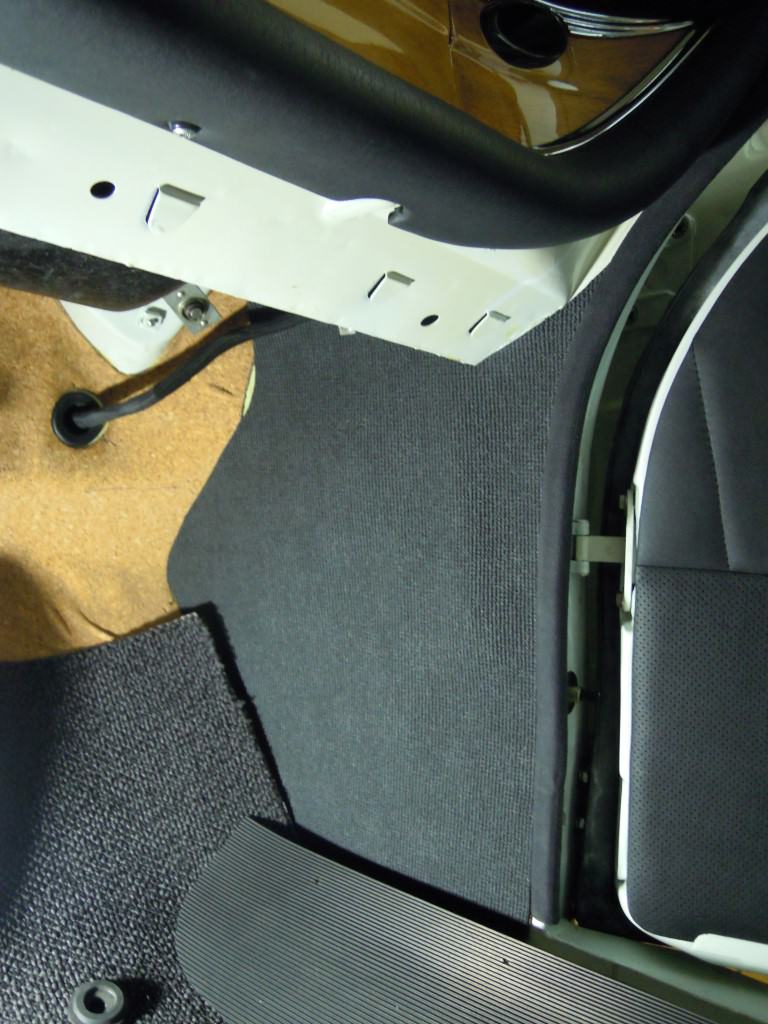
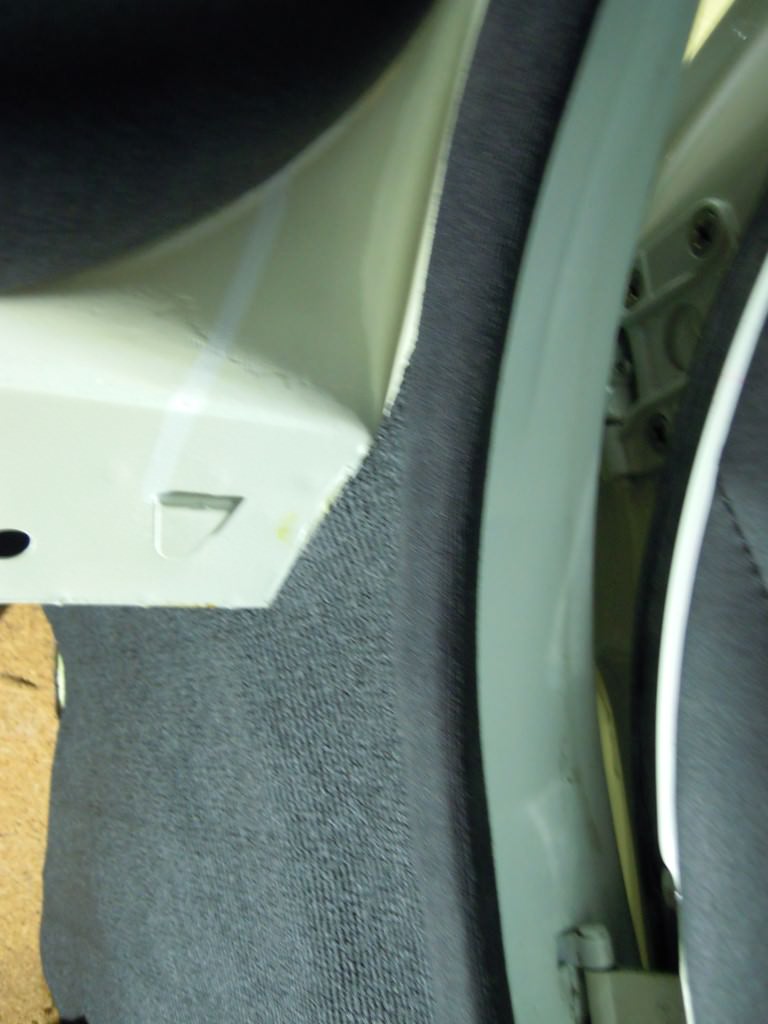
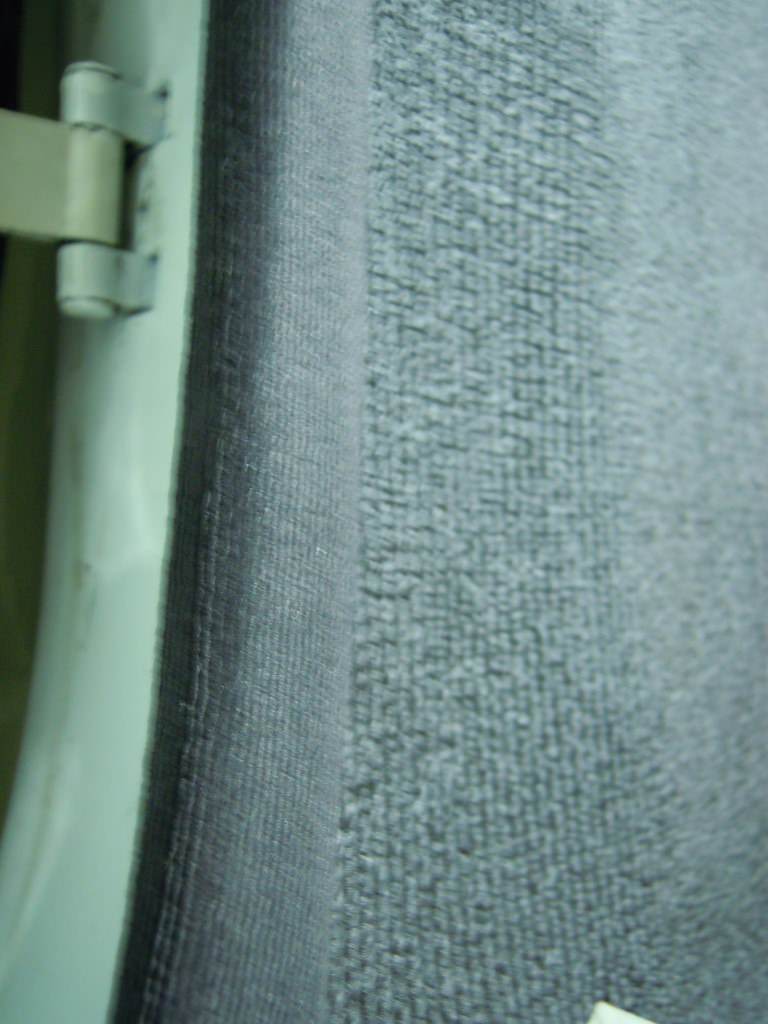
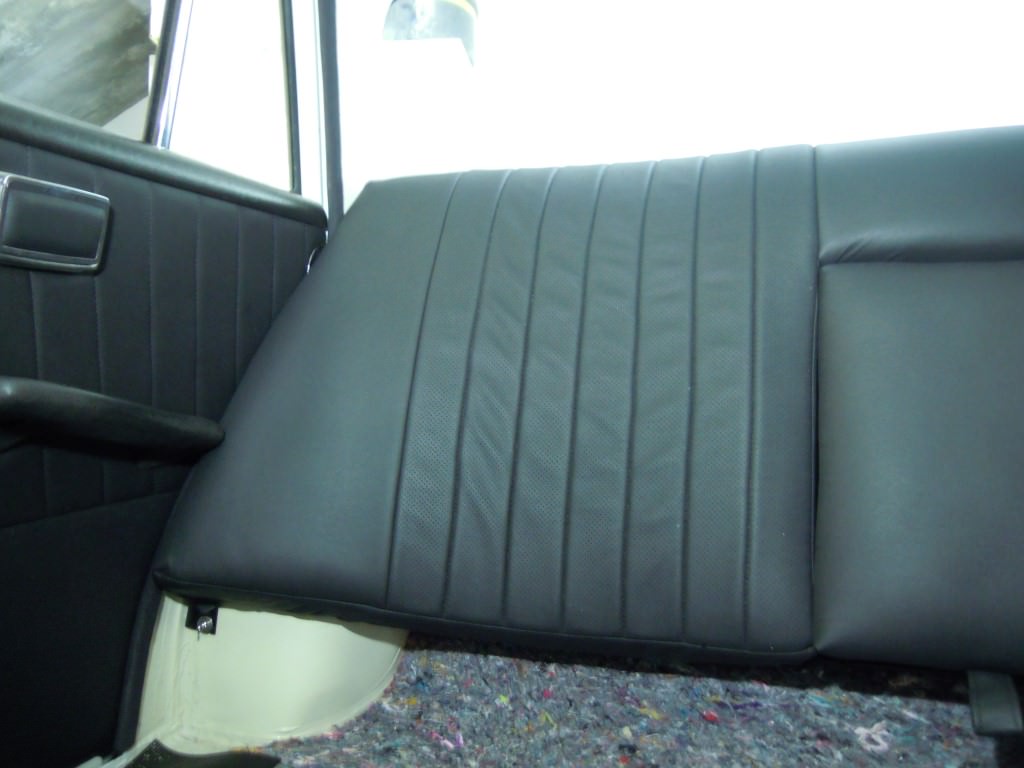
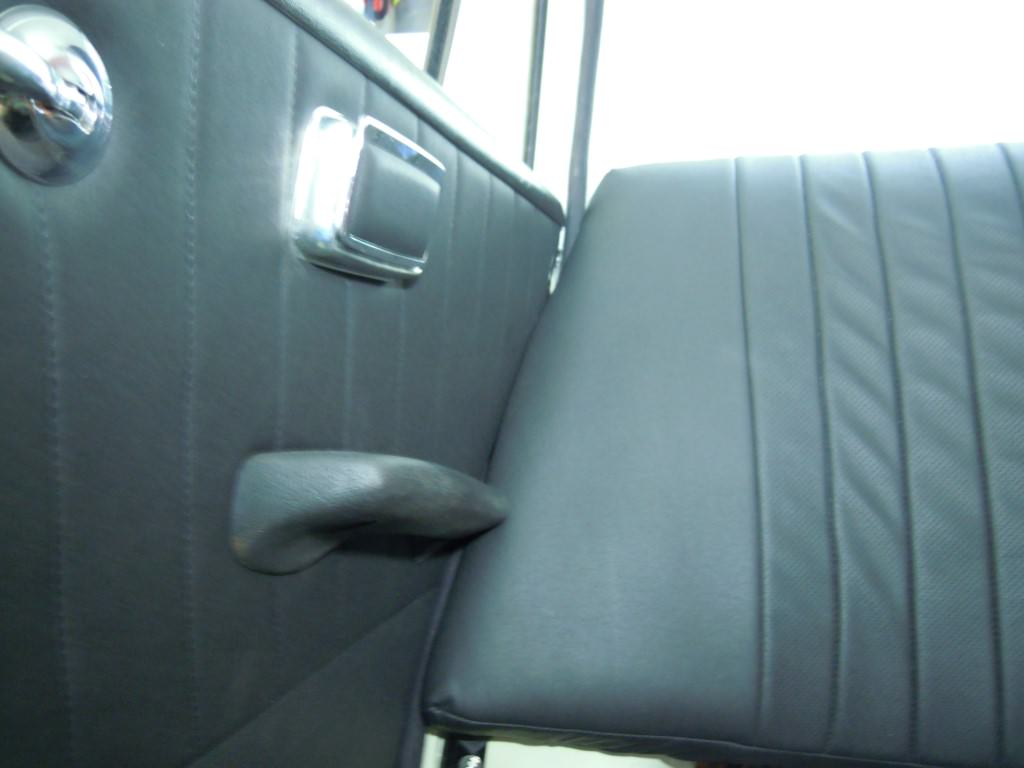
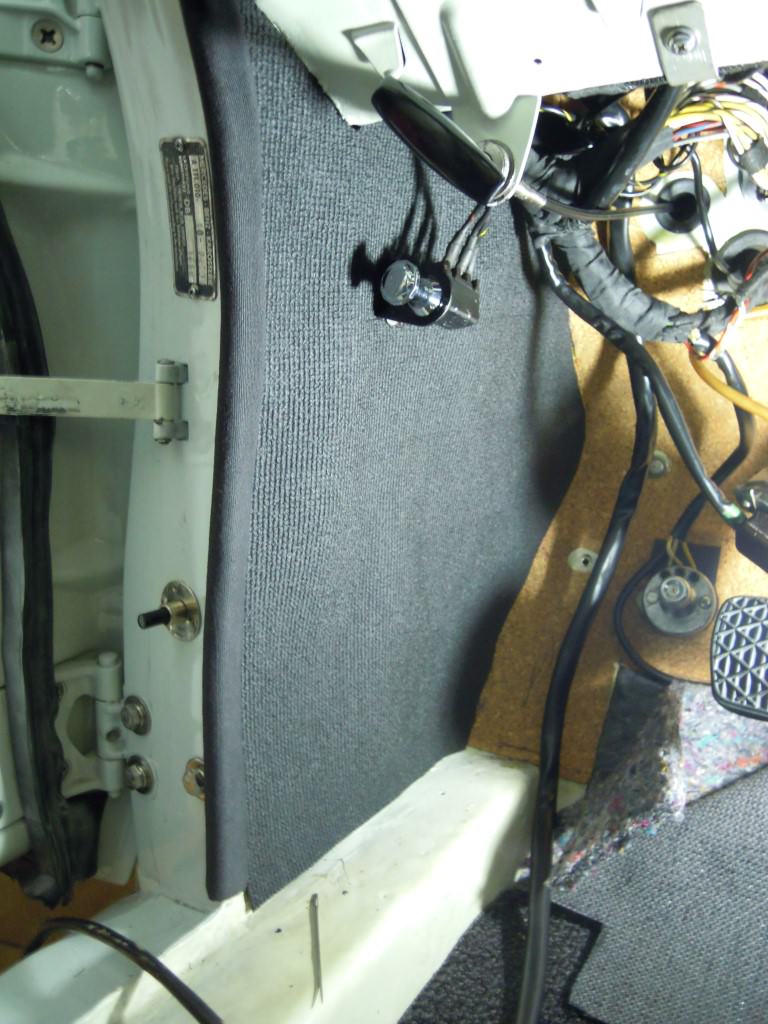
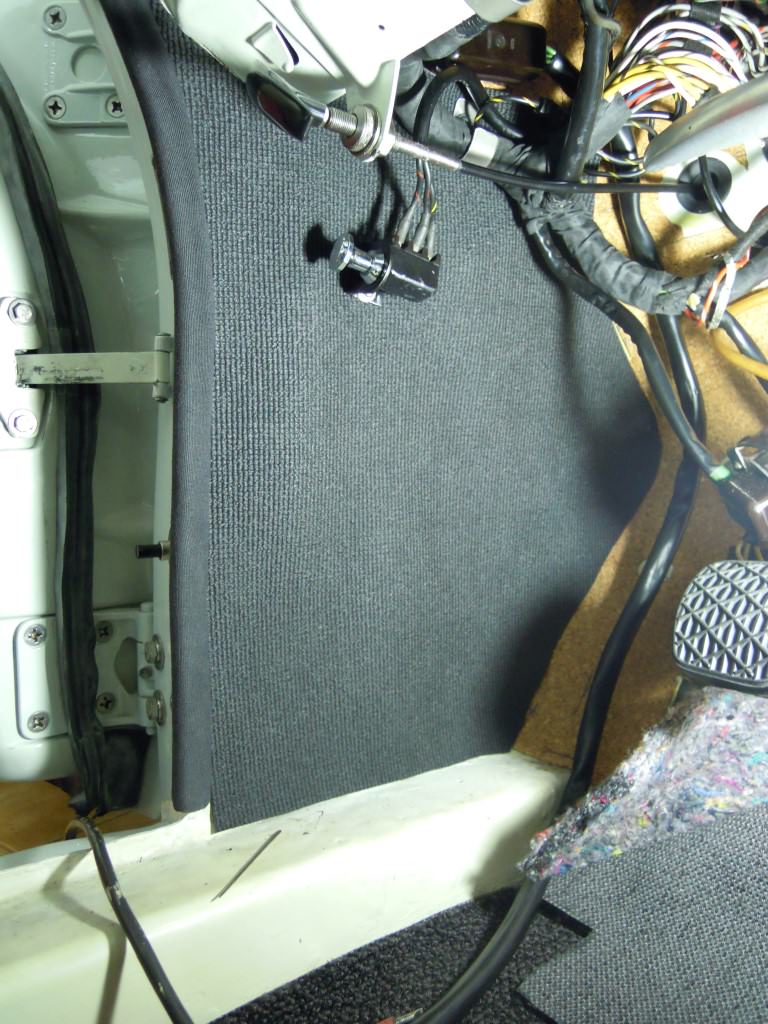
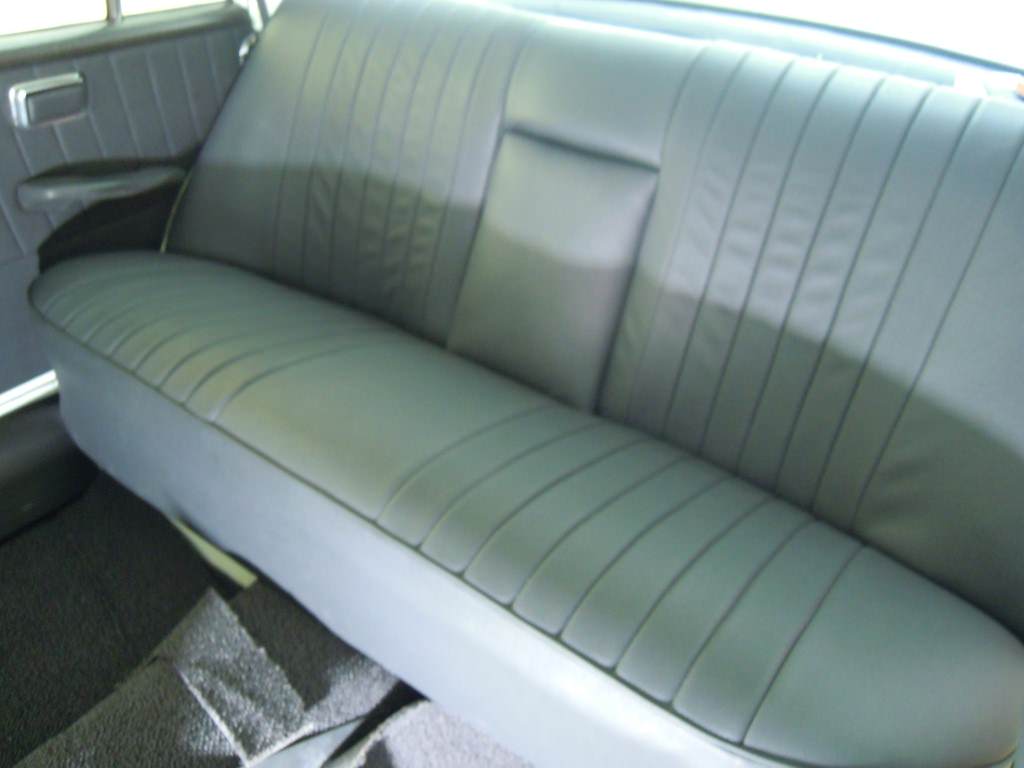
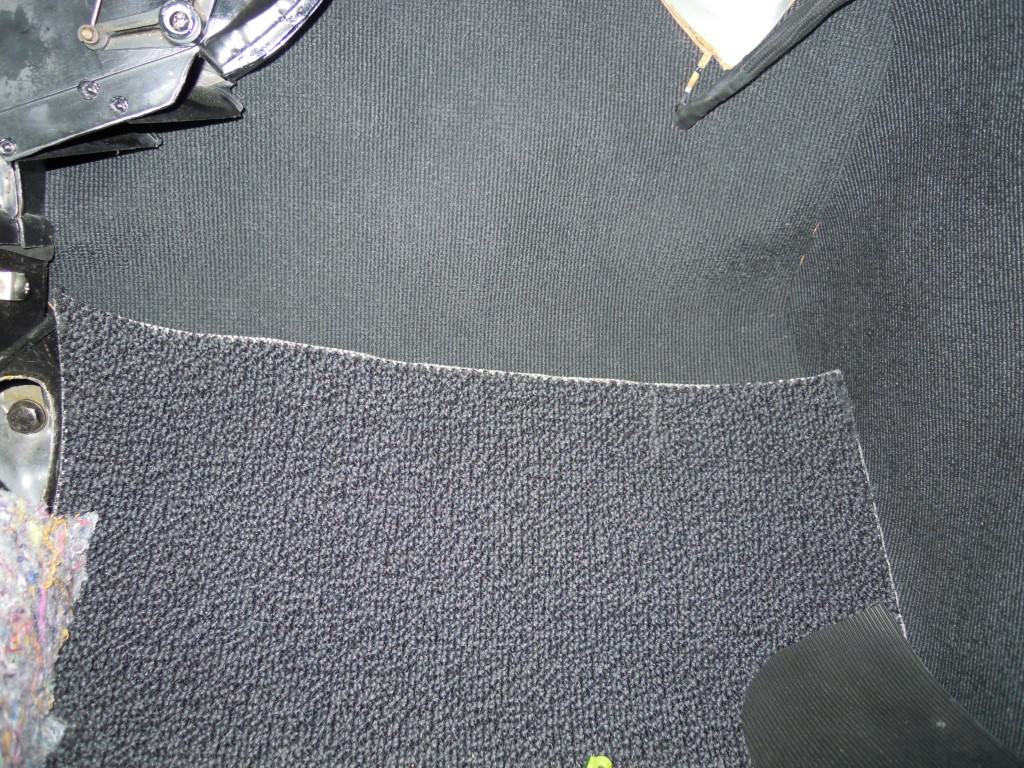
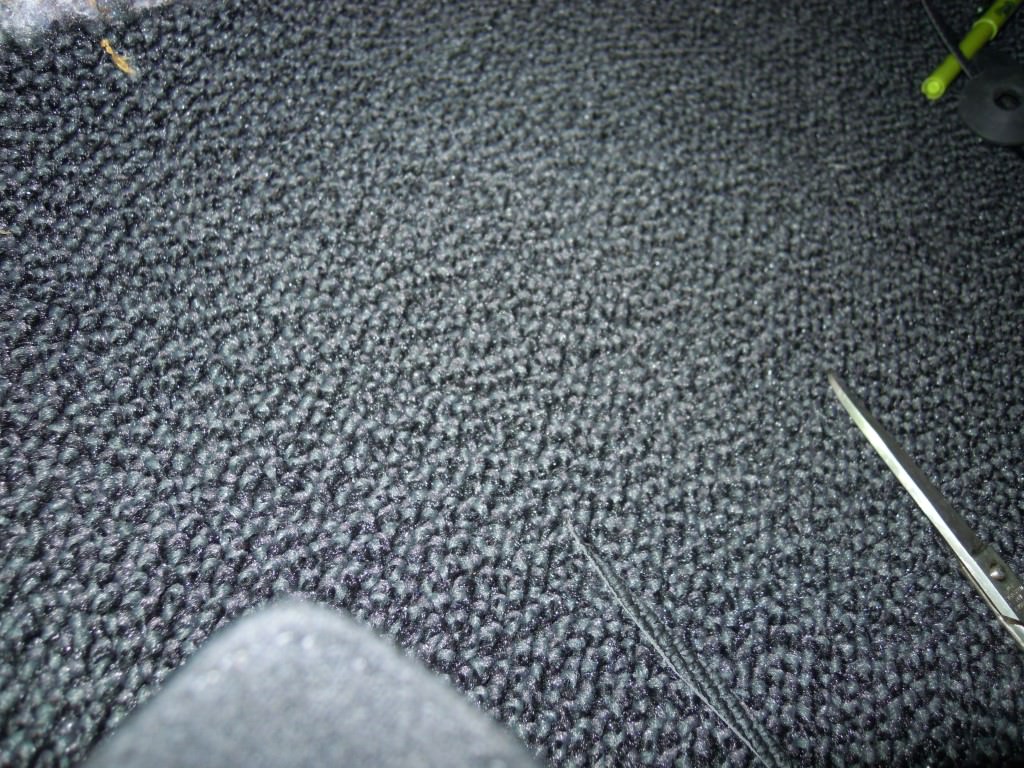
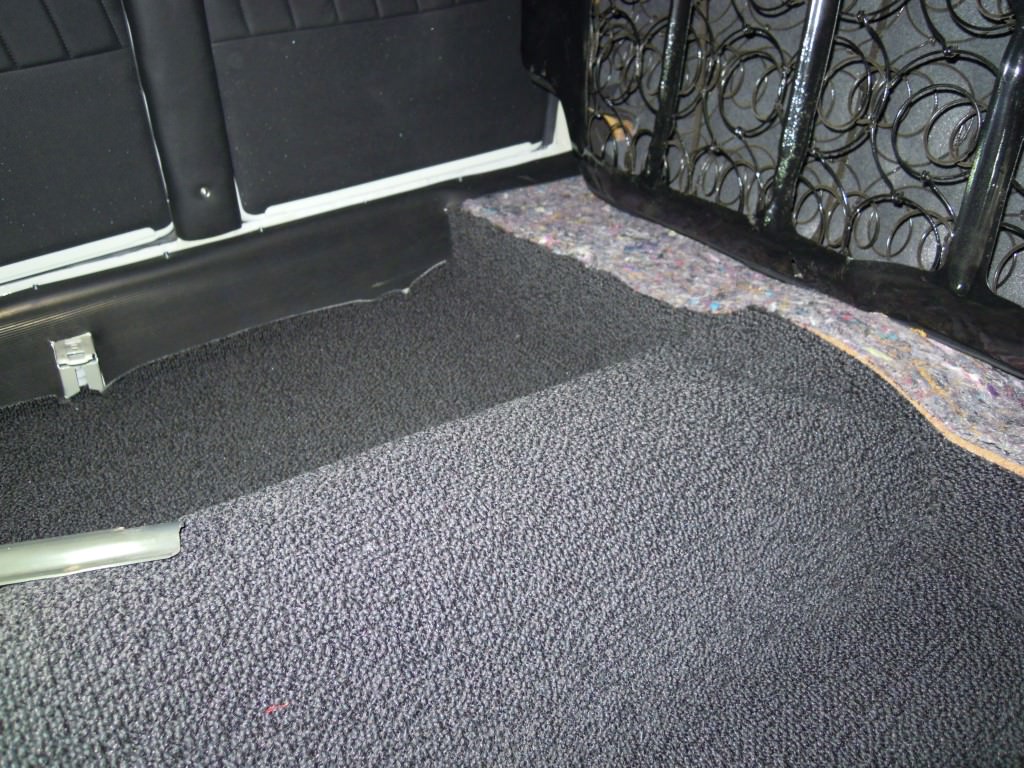
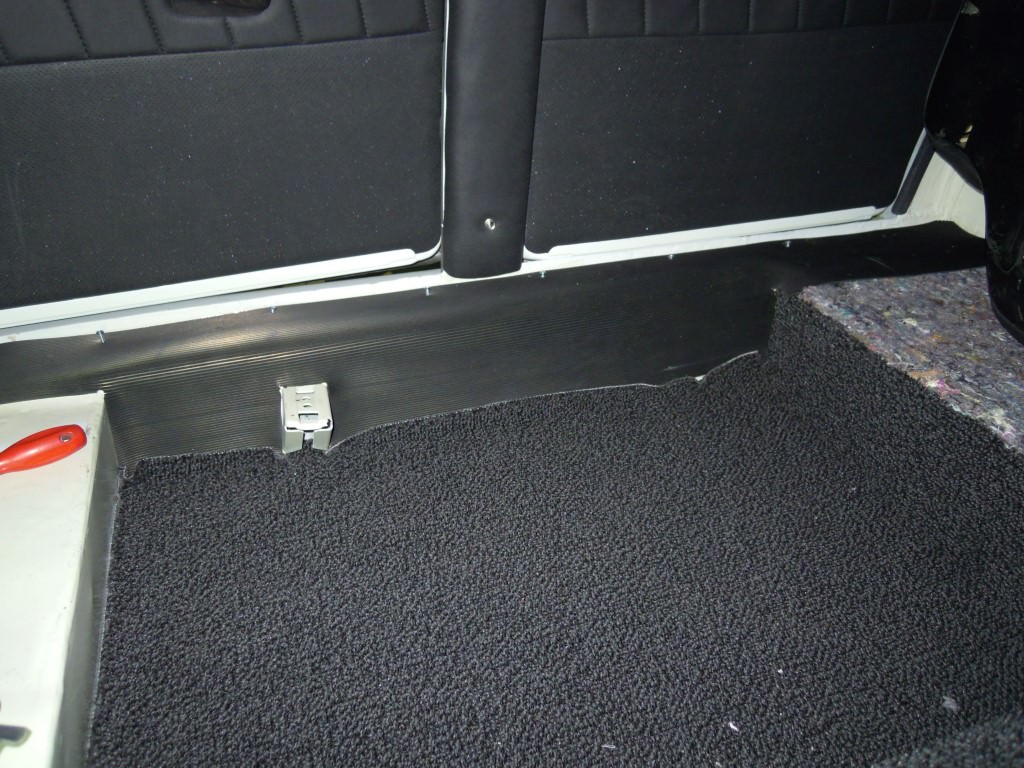
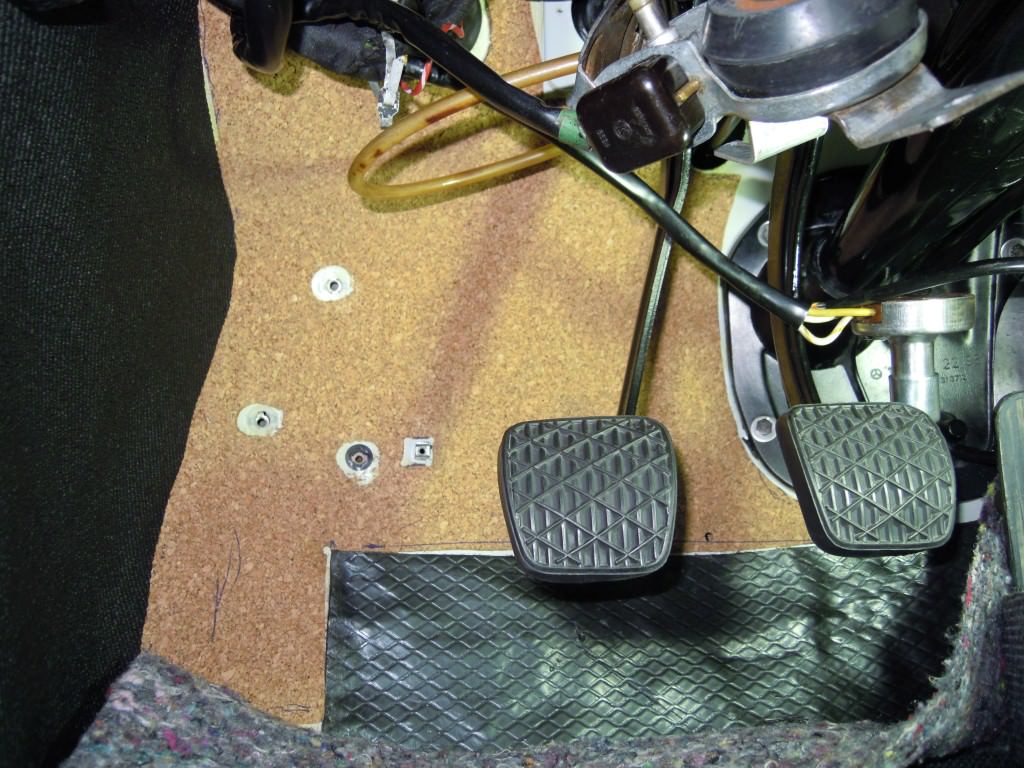
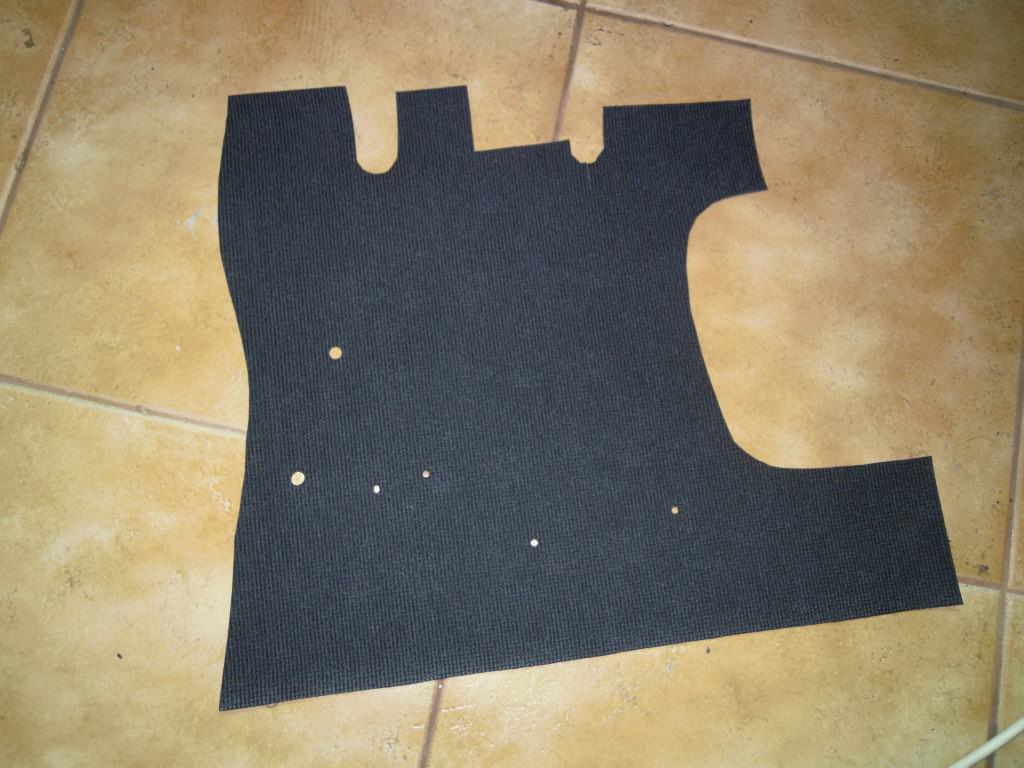
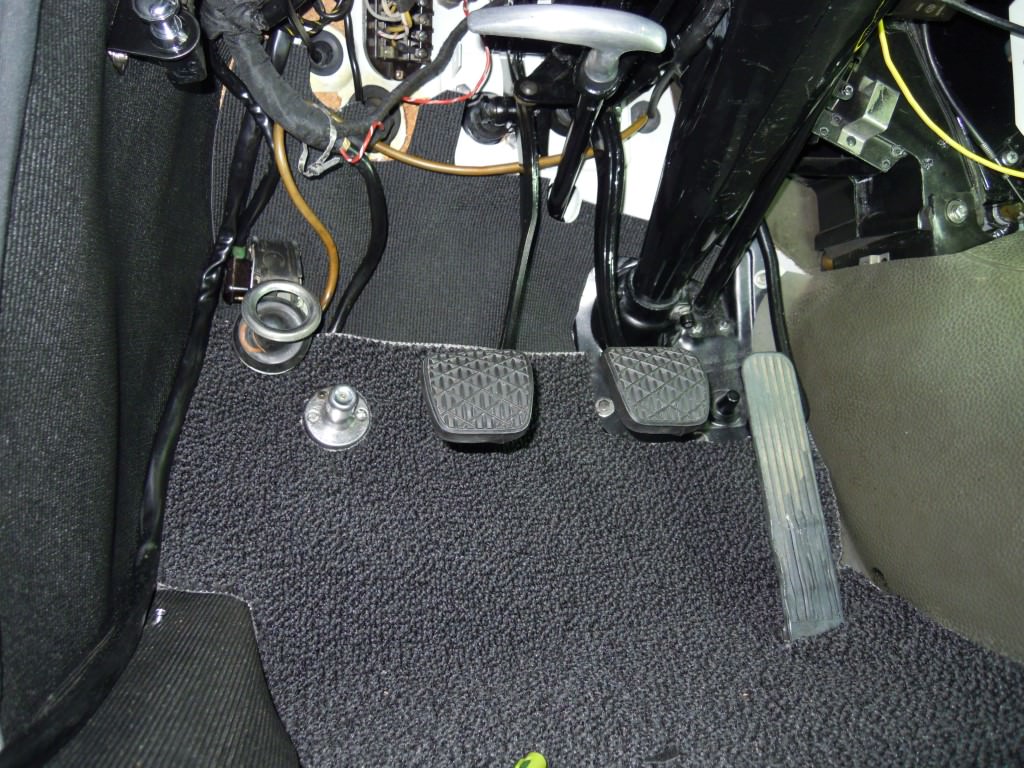
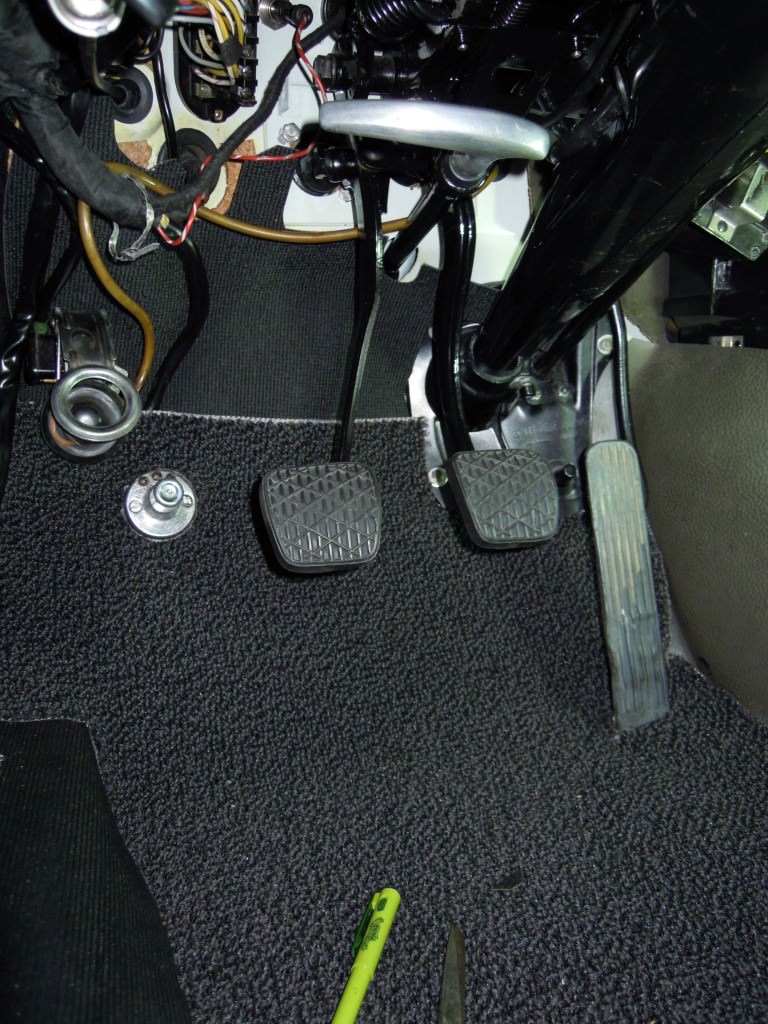
Entretanto, comecei a forrar os lados, fiz uma colagem não definitiva; usei uma cola de pára-brisas que não seca. Vamos a ver se se aguenta com o calor.
 

Anexos

  • DSCN2476.JPG
    DSCN2476.JPG
    146.7 KB · Vistos: 49
  • DSCN2477.JPG
    DSCN2477.JPG
    182.1 KB · Vistos: 49
  • DSCN2478.JPG
    DSCN2478.JPG
    203.3 KB · Vistos: 50
  • DSCN2480.JPG
    DSCN2480.JPG
    135.8 KB · Vistos: 47
  • DSCN2481.JPG
    DSCN2481.JPG
    152.7 KB · Vistos: 47
  • DSCN2482.JPG
    DSCN2482.JPG
    120.3 KB · Vistos: 48
  • DSCN2483.JPG
    DSCN2483.JPG
    106.1 KB · Vistos: 48
  • DSCN2490.JPG
    DSCN2490.JPG
    208.1 KB · Vistos: 49
  • DSCN2491.JPG
    DSCN2491.JPG
    248.8 KB · Vistos: 36
OP
OP
F
Banco de trás para o sítio e mais uns ajustes na alcatifa.
 

Anexos

  • DSCN2500.JPG
    DSCN2500.JPG
    106.7 KB · Vistos: 35
  • DSCN2506.JPG
    DSCN2506.JPG
    168.2 KB · Vistos: 34
  • DSCN2507.JPG
    DSCN2507.JPG
    167.7 KB · Vistos: 36
  • DSCN2508.JPG
    DSCN2508.JPG
    152.3 KB · Vistos: 39
  • DSCN2510.JPG
    DSCN2510.JPG
    369.4 KB · Vistos: 39
  • DSCN2511.JPG
    DSCN2511.JPG
    334.2 KB · Vistos: 40
  • DSCN2513.JPG
    DSCN2513.JPG
    306.2 KB · Vistos: 41
  • DSCN2514.JPG
    DSCN2514.JPG
    332 KB · Vistos: 40
  • DSCN2515.JPG
    DSCN2515.JPG
    241 KB · Vistos: 30
OP
OP
F
Obrigado Fábio, estou a fazer por isso, a ver se para o final do mês já andará pelos próprios meios. A peça da 5ª foto demorou horas a fazer e ainda estraguei uma, é claro que tem que ficar quase "perfeita". O mal é ter que fazer muitos cortes.
 

Anexos

  • DSCN2517.JPG
    DSCN2517.JPG
    106.7 KB · Vistos: 34
  • DSCN2519.JPG
    DSCN2519.JPG
    129.1 KB · Vistos: 31
  • DSCN2521.JPG
    DSCN2521.JPG
    143.8 KB · Vistos: 30
  • DSCN2522.JPG
    DSCN2522.JPG
    260.6 KB · Vistos: 34
  • DSCN2523.JPG
    DSCN2523.JPG
    185 KB · Vistos: 37
  • DSCN2524.JPG
    DSCN2524.JPG
    289.9 KB · Vistos: 39
  • DSCN2525.JPG
    DSCN2525.JPG
    268.5 KB · Vistos: 26
OP
OP
F
Andamos agora a tentar colocar o banco do condutor, mesmo sem estar totalmente forrado(faltam as costas). É preciso adaptar os suportes e refazer as roscas dos parafusos.
 

Anexos

  • DSCN2542.JPG
    DSCN2542.JPG
    168.3 KB · Vistos: 34
  • DSCN2545.JPG
    DSCN2545.JPG
    192.8 KB · Vistos: 41
  • DSCN2546.JPG
    DSCN2546.JPG
    162.2 KB · Vistos: 42
  • DSCN2547.JPG
    DSCN2547.JPG
    131.1 KB · Vistos: 42
  • DSCN2549.JPG
    DSCN2549.JPG
    159.2 KB · Vistos: 42
  • DSCN2550.JPG
    DSCN2550.JPG
    171 KB · Vistos: 41
  • DSCN2551.JPG
    DSCN2551.JPG
    128.6 KB · Vistos: 34
OP
OP
F
Meti as rodas com os "novos" pneus porque já estava cansado de ver as velhas. Ainda faltam o aro e o tampão.
 

Anexos

  • DSCN2553.JPG
    DSCN2553.JPG
    143.5 KB · Vistos: 31
  • DSCN2554.JPG
    DSCN2554.JPG
    157.8 KB · Vistos: 32
  • DSCN2555.JPG
    DSCN2555.JPG
    146.9 KB · Vistos: 31
  • DSCN2556.JPG
    DSCN2556.JPG
    147.3 KB · Vistos: 31
  • DSCN2559.JPG
    DSCN2559.JPG
    118.3 KB · Vistos: 31
  • DSCN2561.JPG
    DSCN2561.JPG
    123.7 KB · Vistos: 33
  • DSCN2562.JPG
    DSCN2562.JPG
    118.2 KB · Vistos: 34
  • DSCN2564.JPG
    DSCN2564.JPG
    173.5 KB · Vistos: 27
OP
OP
F
Hoje apareceu cá em casa o meu amigo Filipe Oliveira para aplicar cera anticorrosiva, com uma máquina da sua autoria, só que porque não havia uma ponteira de mangueira de ar que fosse compatível não se pôde fazer nada. Era para aplicar nas longarinas e em tudo que fosse tubo ou túnel. Ficou para amanhã.
 

Anexos

  • DSCN2574.JPG
    DSCN2574.JPG
    172.1 KB · Vistos: 30
  • DSCN2576.JPG
    DSCN2576.JPG
    169.3 KB · Vistos: 33
  • DSCN2577.JPG
    DSCN2577.JPG
    141.5 KB · Vistos: 28
OP
OP
F
Obrigado, Marco.
Agora chegou a vez das protecções em borracha das partes superiores das embaladeiras. Também fizemos uns pequenos cortes, para melhor ajustamento, na alcatifa
 

Anexos

  • DSCN2578.JPG
    DSCN2578.JPG
    145.2 KB · Vistos: 32
  • DSCN2579.JPG
    DSCN2579.JPG
    104.8 KB · Vistos: 34
  • DSCN2580.JPG
    DSCN2580.JPG
    158.5 KB · Vistos: 32
  • DSCN2581.JPG
    DSCN2581.JPG
    130.5 KB · Vistos: 33
  • DSCN2584.JPG
    DSCN2584.JPG
    105.6 KB · Vistos: 34
  • DSCN2603.JPG
    DSCN2603.JPG
    145.5 KB · Vistos: 34
  • DSCN2604.JPG
    DSCN2604.JPG
    150.3 KB · Vistos: 32
  • DSCN2607.JPG
    DSCN2607.JPG
    140.3 KB · Vistos: 33
  • DSCN2608.JPG
    DSCN2608.JPG
    153.4 KB · Vistos: 35
  • DSCN2609.JPG
    DSCN2609.JPG
    212.1 KB · Vistos: 34
  • DSCN2610.JPG
    DSCN2610.JPG
    277.5 KB · Vistos: 25

Marco Joel Sanots

YoungTimer
Obrigado, Marco.
Agora chegou a vez das protecções em borracha das partes superiores das embaladeiras. Também fizemos uns pequenos cortes, para melhor ajustamento, na alcatifa

muito bom mesmo...
O próximo a ser restaurado (a seguir a 3 italianos que estão na pintura) é o da esquerda :)

11713925_10207006794750165_6140980489790484798_o.jpg
 

Anexos

  • 11713925_10207006794750165_6140980489790484798_o.jpg
    11713925_10207006794750165_6140980489790484798_o.jpg
    118.4 KB · Vistos: 146
OP
OP
F
Então boa sorte com esse restauro, convinha era que colocasse fotos no portal.
Por cá continuam os trabalhos, agora a um ritmo mais acelerado porque vou entrar de férias.
Ainda ando a acertar pequenos pormenores no corta da alcatifa.
Fui ao estofador buscar o braço de apoio móvel, montei-o e coloquei-o no banco direito.
 

Anexos

  • DSCN2611.JPG
    DSCN2611.JPG
    166.7 KB · Vistos: 34
  • DSCN2612.JPG
    DSCN2612.JPG
    136.5 KB · Vistos: 39
  • DSCN2613.JPG
    DSCN2613.JPG
    204.7 KB · Vistos: 39
  • DSCN2614.JPG
    DSCN2614.JPG
    146.7 KB · Vistos: 42
  • DSCN2615.JPG
    DSCN2615.JPG
    146.2 KB · Vistos: 41
  • DSCN2616.JPG
    DSCN2616.JPG
    136.5 KB · Vistos: 42
  • DSCN2617.JPG
    DSCN2617.JPG
    163.4 KB · Vistos: 43
  • DSCN2620.JPG
    DSCN2620.JPG
    190.7 KB · Vistos: 42
  • DSCN2621.JPG
    DSCN2621.JPG
    138.8 KB · Vistos: 43
  • DSCN2623.JPG
    DSCN2623.JPG
    184 KB · Vistos: 44
  • DSCN2624.JPG
    DSCN2624.JPG
    159.5 KB · Vistos: 44
  • DSCN2625.JPG
    DSCN2625.JPG
    143.3 KB · Vistos: 45
  • DSCN2626.JPG
    DSCN2626.JPG
    152.4 KB · Vistos: 45
  • DSCN2627.JPG
    DSCN2627.JPG
    145.9 KB · Vistos: 44
  • DSCN2628.JPG
    DSCN2628.JPG
    130.4 KB · Vistos: 30
OP
OP
F
Depois de muitas tentativas, em diversos dias, e de muito "marrar", consegui finalmente colocar os frisos nas borrachas do óculo traseiro...
Para que conste e na esperança de ajudar alguém, a borracha mete-se com os pinos de plástico do friso todos apontados aos buracos, faz-se pressão com as mãos e ao mesmo tempo, com uma chave(neste caso de meter o friso cromado na borracha dos minis) puxa-se a pala da borracha para cima, deslizando aquela chave para o lado. Confuso? depois tentarei explicar melhor, com outras palavras, a quem quiser saber.
 

Anexos

  • DSCN2629.JPG
    DSCN2629.JPG
    105.7 KB · Vistos: 44
  • DSCN2630.JPG
    DSCN2630.JPG
    100.6 KB · Vistos: 46
  • DSCN2633.JPG
    DSCN2633.JPG
    110.4 KB · Vistos: 45
  • DSCN2634.JPG
    DSCN2634.JPG
    107.2 KB · Vistos: 46
  • DSCN2635.JPG
    DSCN2635.JPG
    99.2 KB · Vistos: 48
  • DSCN2636.JPG
    DSCN2636.JPG
    108.8 KB · Vistos: 47
  • DSCN2638.JPG
    DSCN2638.JPG
    91 KB · Vistos: 35
OP
OP
F
Porque me sobrou "alcatifa" sintética, optei por forrar as laterais da mala com ela forrada por trás com cortiça.Ainda estou a pensar a forma de suster a forra sem ter que colá-la. A solução passará por usar imans potentes. Já comprei uns no ebay para ver se dá resultado.
 

Anexos

  • DSCN2640.JPG
    DSCN2640.JPG
    201.7 KB · Vistos: 35
  • DSCN2641.JPG
    DSCN2641.JPG
    197.4 KB · Vistos: 35
  • DSCN2642.JPG
    DSCN2642.JPG
    191.4 KB · Vistos: 37
  • DSCN2646.JPG
    DSCN2646.JPG
    191.4 KB · Vistos: 38
  • DSCN2647.JPG
    DSCN2647.JPG
    189 KB · Vistos: 38
  • DSCN2648.JPG
    DSCN2648.JPG
    154.2 KB · Vistos: 38
  • DSCN2649.JPG
    DSCN2649.JPG
    155.1 KB · Vistos: 39
  • DSCN2652.JPG
    DSCN2652.JPG
    113.3 KB · Vistos: 39
  • DSCN2659.JPG
    DSCN2659.JPG
    150.9 KB · Vistos: 30
OP
OP
F
Depois de acertar o encaixe da borracha do pára-brisas, colocando cola da que não seca na parte inferior, visto existir uma falha no conserto da chapa, meti os frisos da frente.
Depois meti as hastes e escovas limpa pára-brisas.
 

Anexos

  • DSCN2662.JPG
    DSCN2662.JPG
    124 KB · Vistos: 31
  • DSCN2664.JPG
    DSCN2664.JPG
    93.2 KB · Vistos: 29
  • DSCN2665.JPG
    DSCN2665.JPG
    114.6 KB · Vistos: 31
  • DSCN2666.JPG
    DSCN2666.JPG
    95.1 KB · Vistos: 32
  • DSCN2668.JPG
    DSCN2668.JPG
    103.1 KB · Vistos: 35
  • DSCN2669.JPG
    DSCN2669.JPG
    100.2 KB · Vistos: 35
  • DSCN2670.JPG
    DSCN2670.JPG
    99.4 KB · Vistos: 34
  • DSCN2671.JPG
    DSCN2671.JPG
    148.5 KB · Vistos: 35
  • DSCN2672.JPG
    DSCN2672.JPG
    125.9 KB · Vistos: 35
  • DSCN2673.JPG
    DSCN2673.JPG
    132.4 KB · Vistos: 35
  • DSCN2675.JPG
    DSCN2675.JPG
    125.4 KB · Vistos: 26
OP
OP
F
Continuam os trabalhos, colocar o espelho retrovisor, as pálas e retirar o pára-choques dianteiros...para rebocar o MB para ir à oficina fazer afinação de travões, embraiagem, mudança de óleo, enfim, uma revisão antes da IPO.
O seguro já foi feito há dias no clube de clássicos local, o CLAC(Clube Limiano de Automóveis Clássicos)
 

Anexos

  • DSCN2686.JPG
    DSCN2686.JPG
    127.3 KB · Vistos: 42
  • DSCN2690.JPG
    DSCN2690.JPG
    92.4 KB · Vistos: 43
  • DSCN2693.JPG
    DSCN2693.JPG
    131.7 KB · Vistos: 43
  • DSCN2695.JPG
    DSCN2695.JPG
    169.8 KB · Vistos: 47
  • DSCN2696.JPG
    DSCN2696.JPG
    134.2 KB · Vistos: 52
  • DSCN2698.JPG
    DSCN2698.JPG
    117 KB · Vistos: 46
  • DSCN2703.JPG
    DSCN2703.JPG
    150.9 KB · Vistos: 48
  • DSCN2704.JPG
    DSCN2704.JPG
    152 KB · Vistos: 49
  • DSCN2706.JPG
    DSCN2706.JPG
    149.2 KB · Vistos: 50
  • DSCN2708.JPG
    DSCN2708.JPG
    155 KB · Vistos: 50
  • DSCN2711.JPG
    DSCN2711.JPG
    163.6 KB · Vistos: 51
  • DSCN2715.JPG
    DSCN2715.JPG
    118 KB · Vistos: 34
Topo