You are using an out of date browser. It may not display this or other websites correctly.
You should upgrade or use an alternative browser.
You should upgrade or use an alternative browser.
Restauro do meu Mercedes 220b de 1961(rabo de peixe)
- Autor do tópico Fernando L. G. Pinto
- Data de início

Fernando L. G. Pinto
Veterano
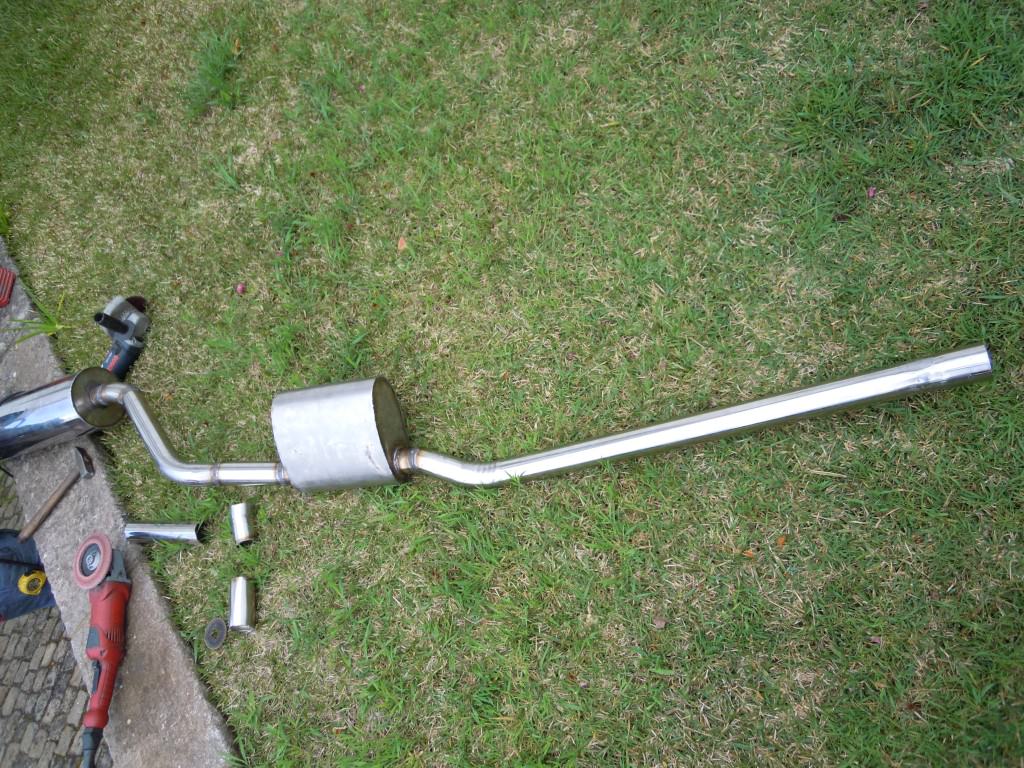
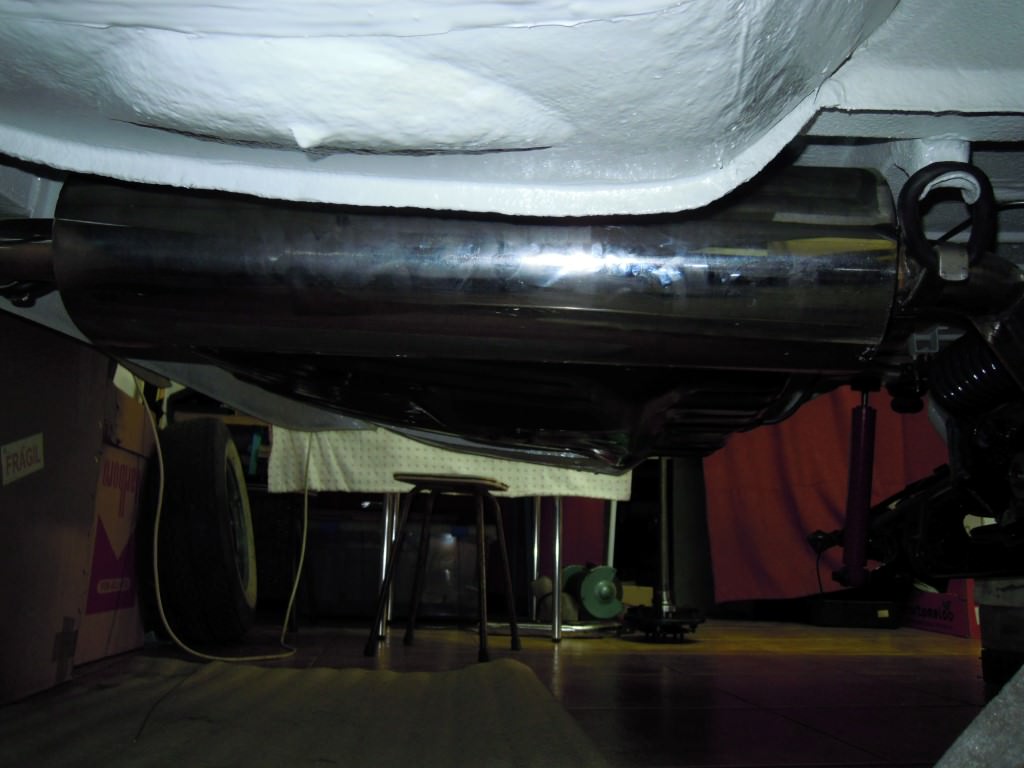
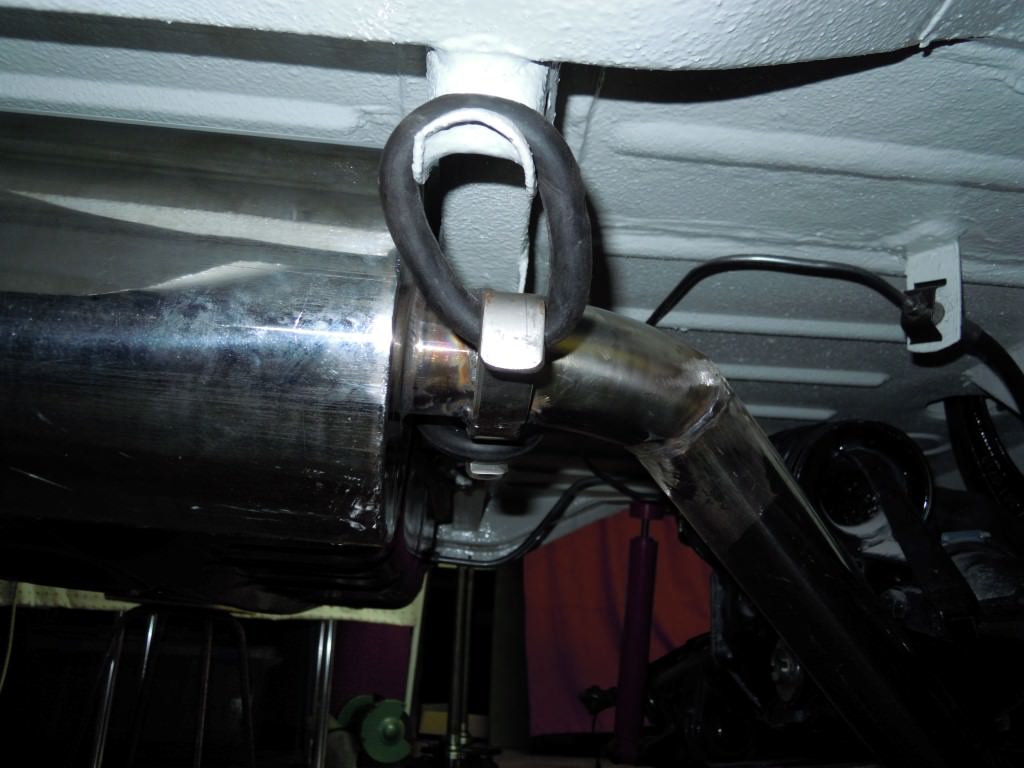
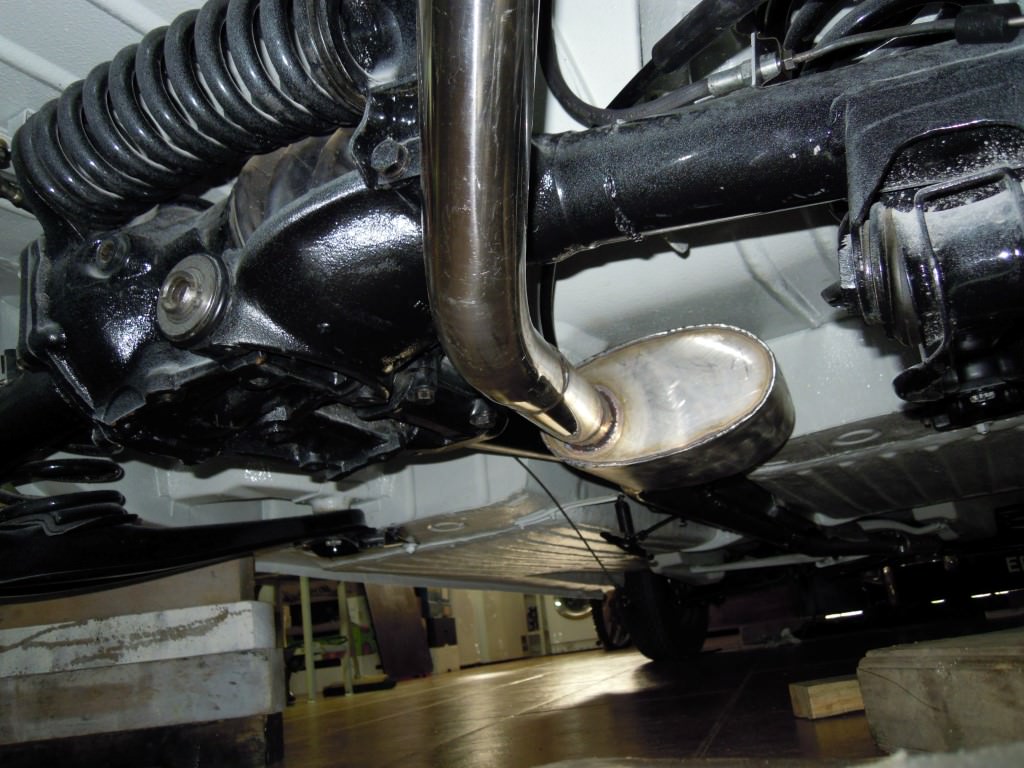
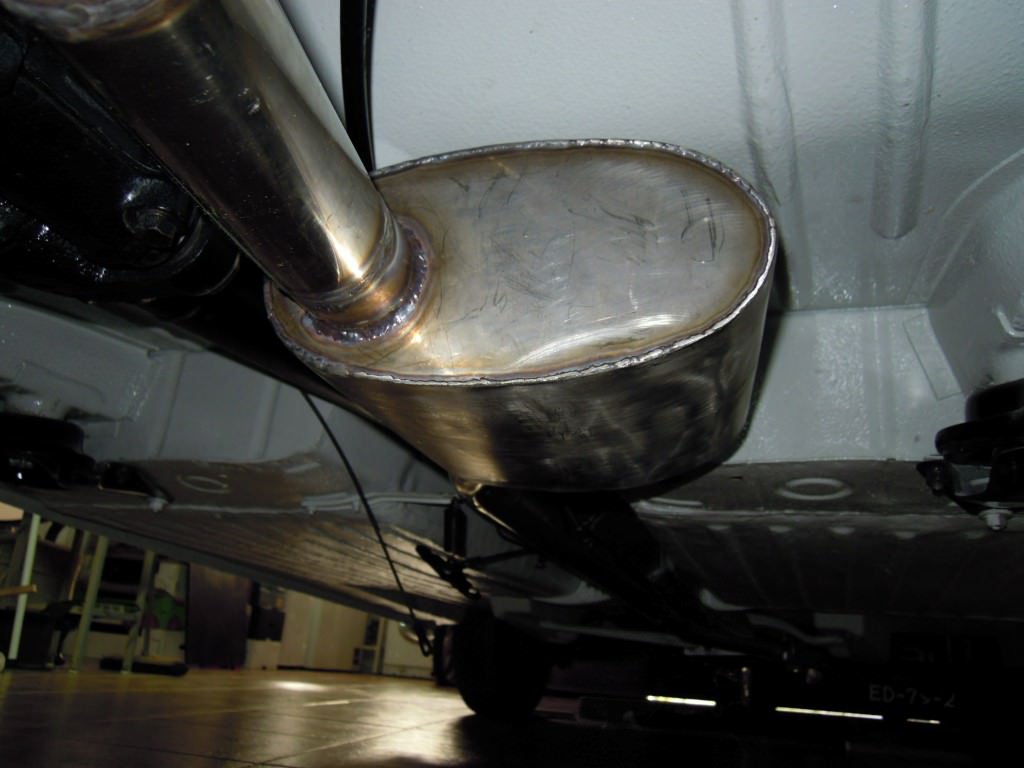
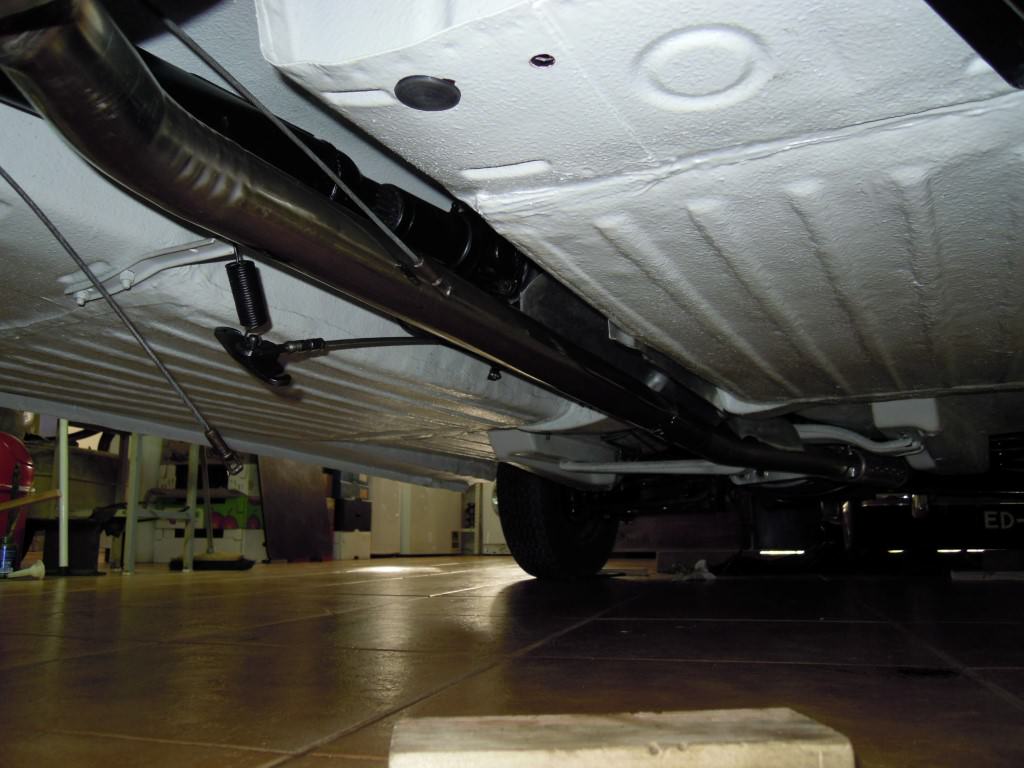
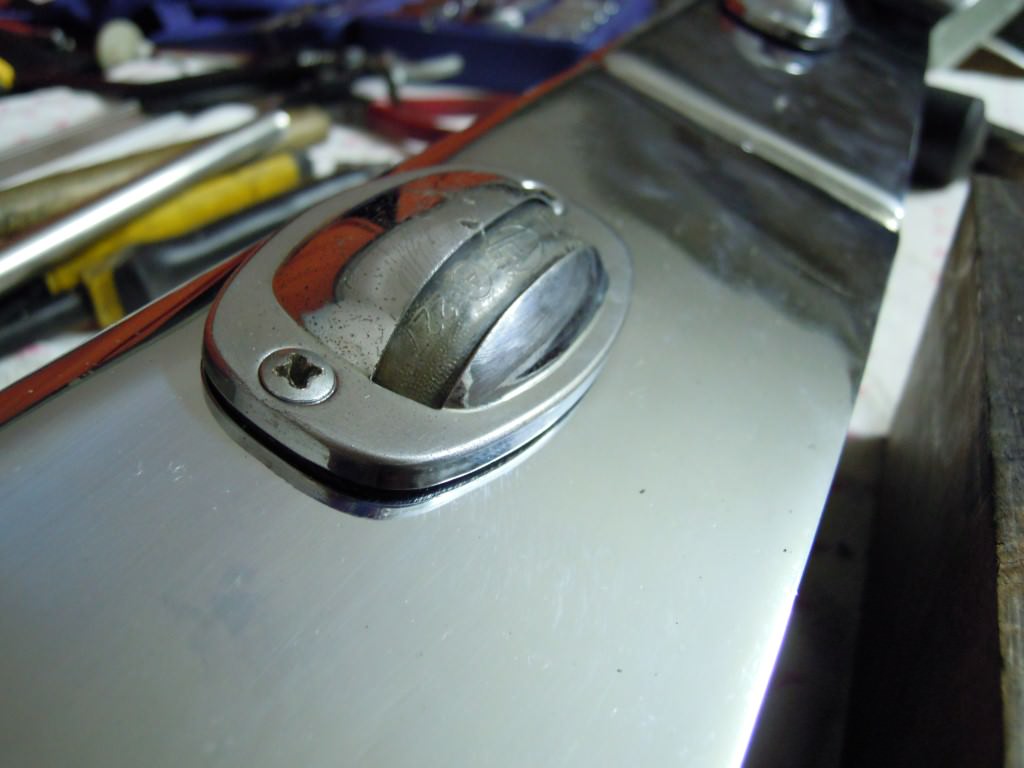
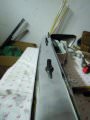
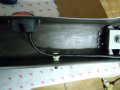
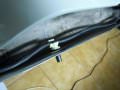
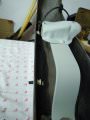
Uma vez mais tive de mexer na alavanca do travão de mão porque estava empenado...
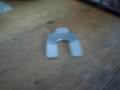
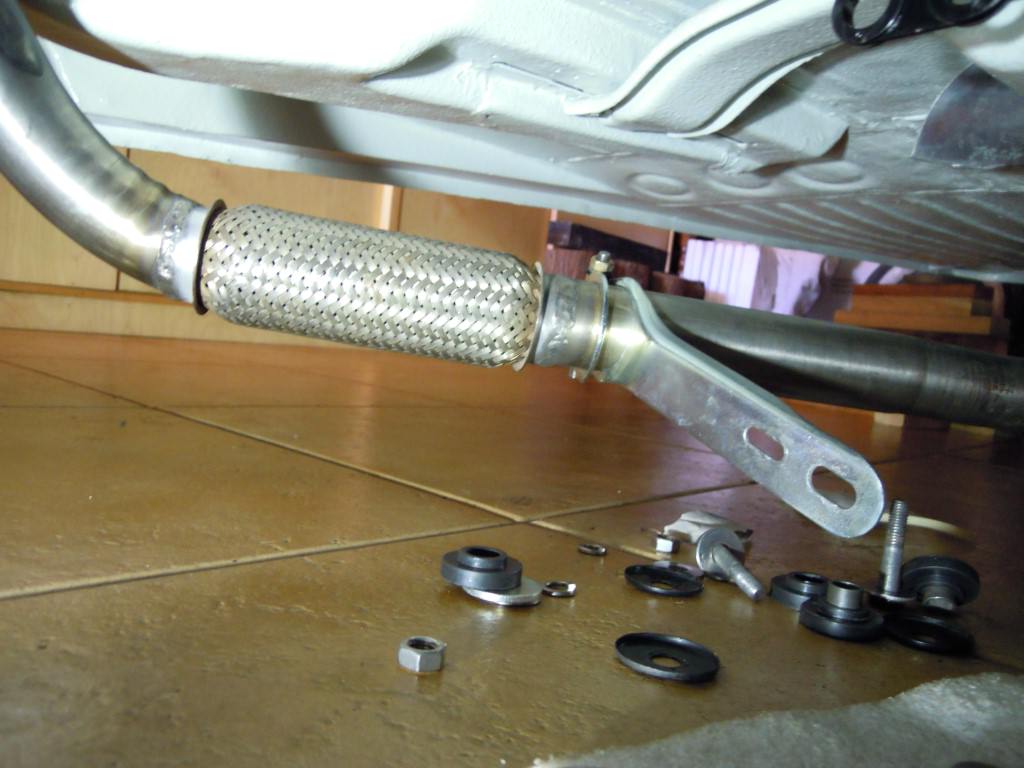
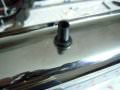
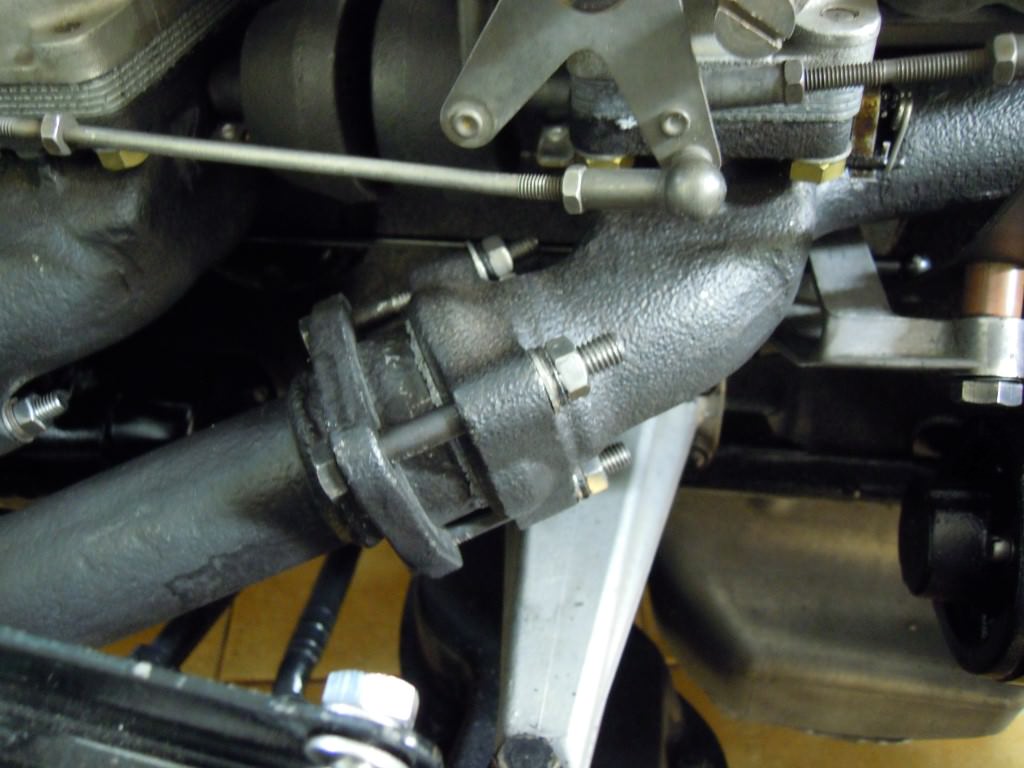
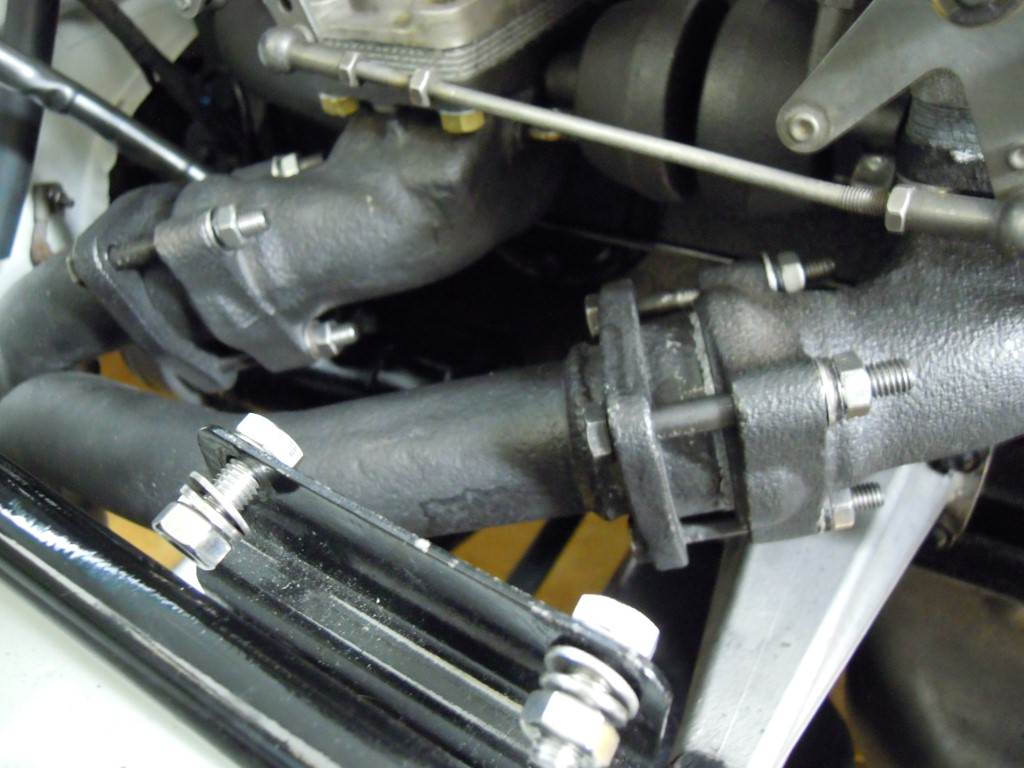
Consegui fazer com que a velha abraçadeira da união do cano de escape fosse reutilizada.
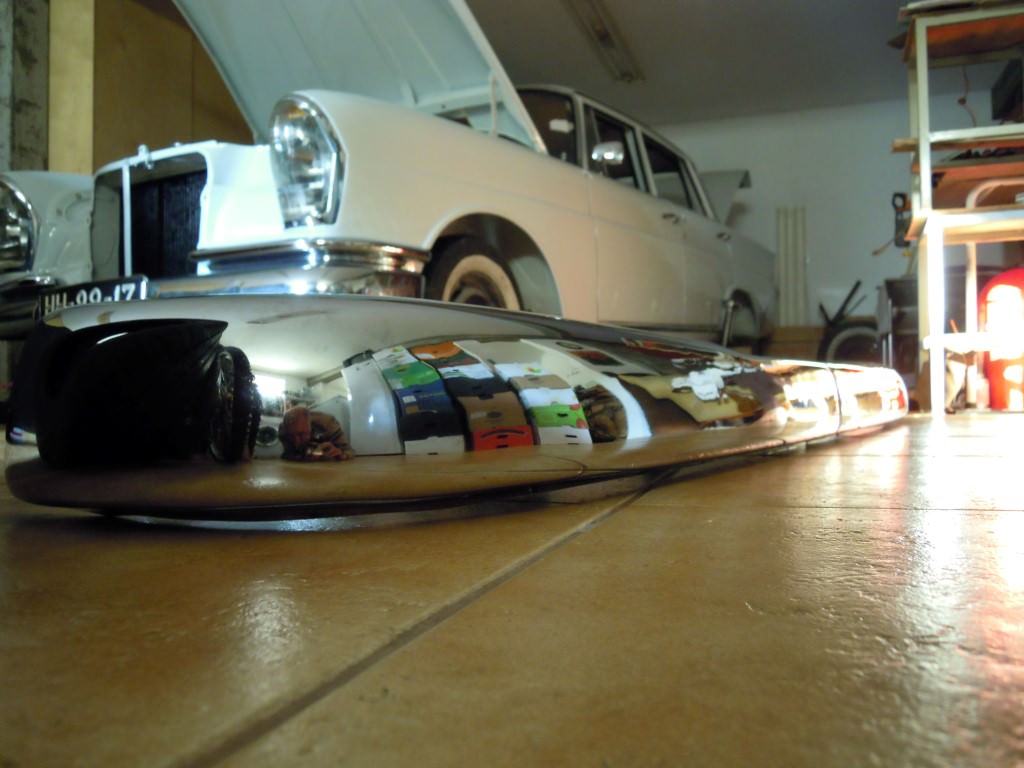
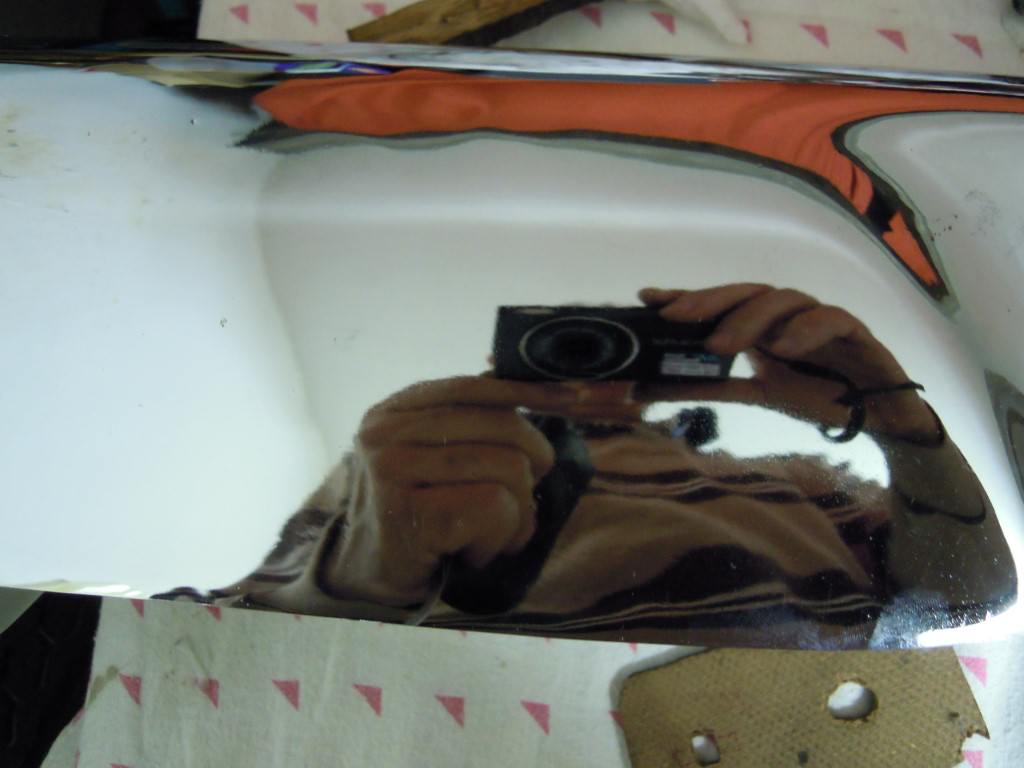
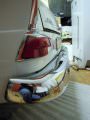
Fiz mais uma tentativa para acertar os pára-choques traseiras mas porque estava sózinho deixei essa tarefa para mais tarde.
Consegui fazer com que a velha abraçadeira da união do cano de escape fosse reutilizada.
Fiz mais uma tentativa para acertar os pára-choques traseiras mas porque estava sózinho deixei essa tarefa para mais tarde.
Anexos

Fernando L. G. Pinto
Veterano
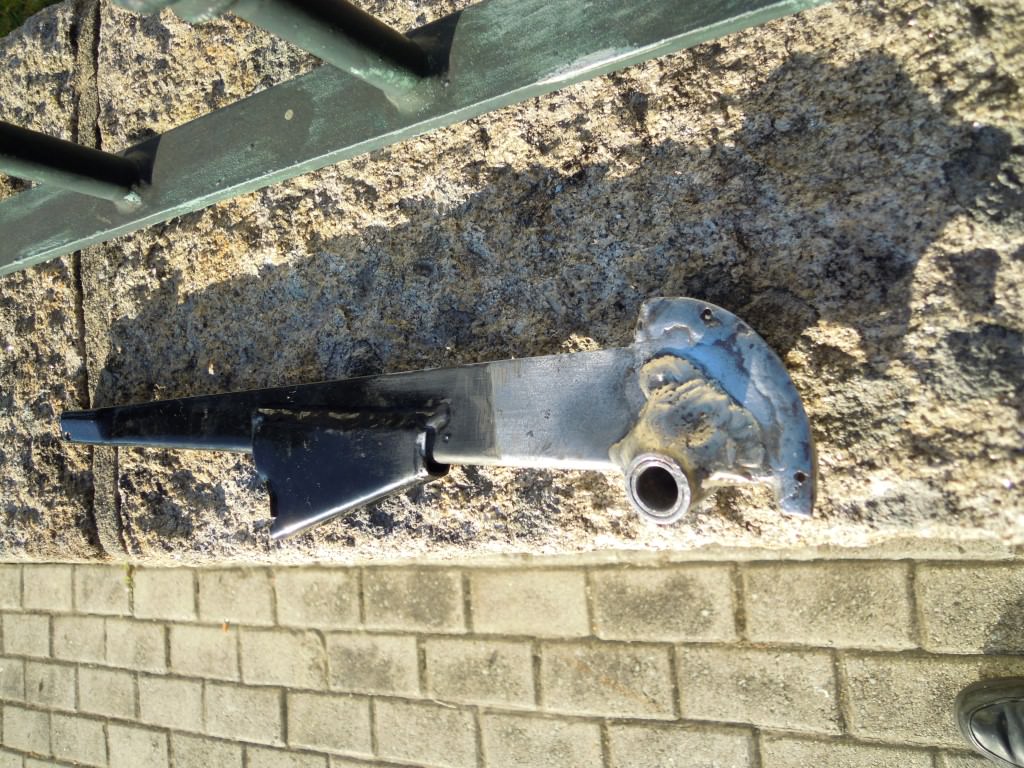
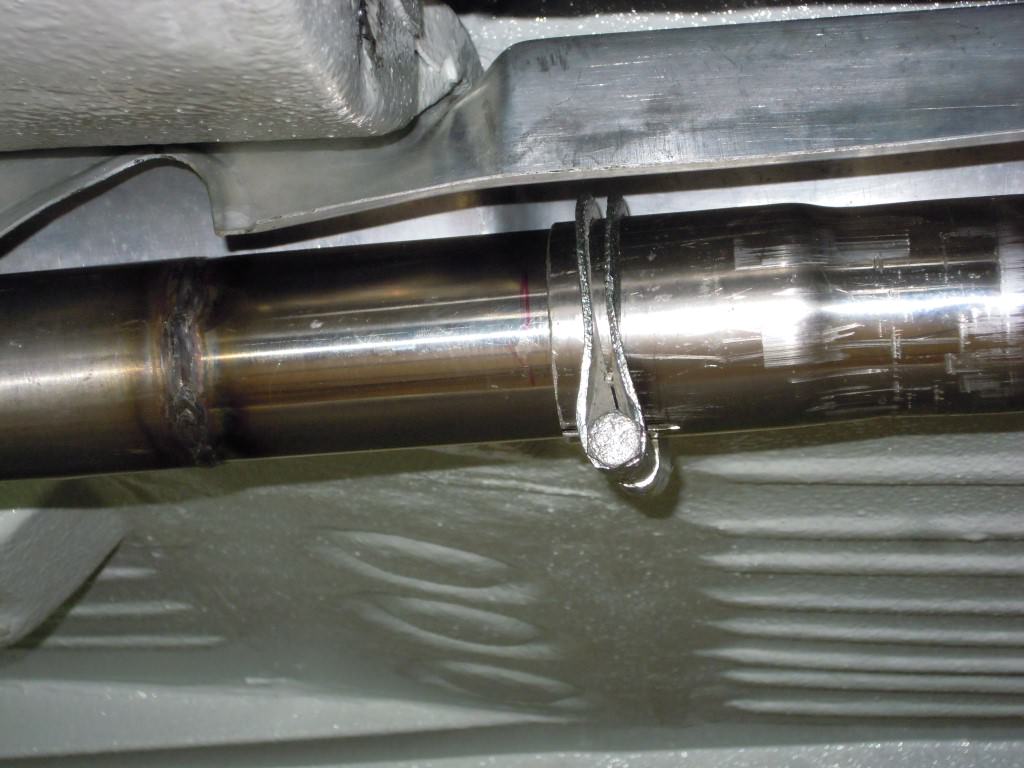
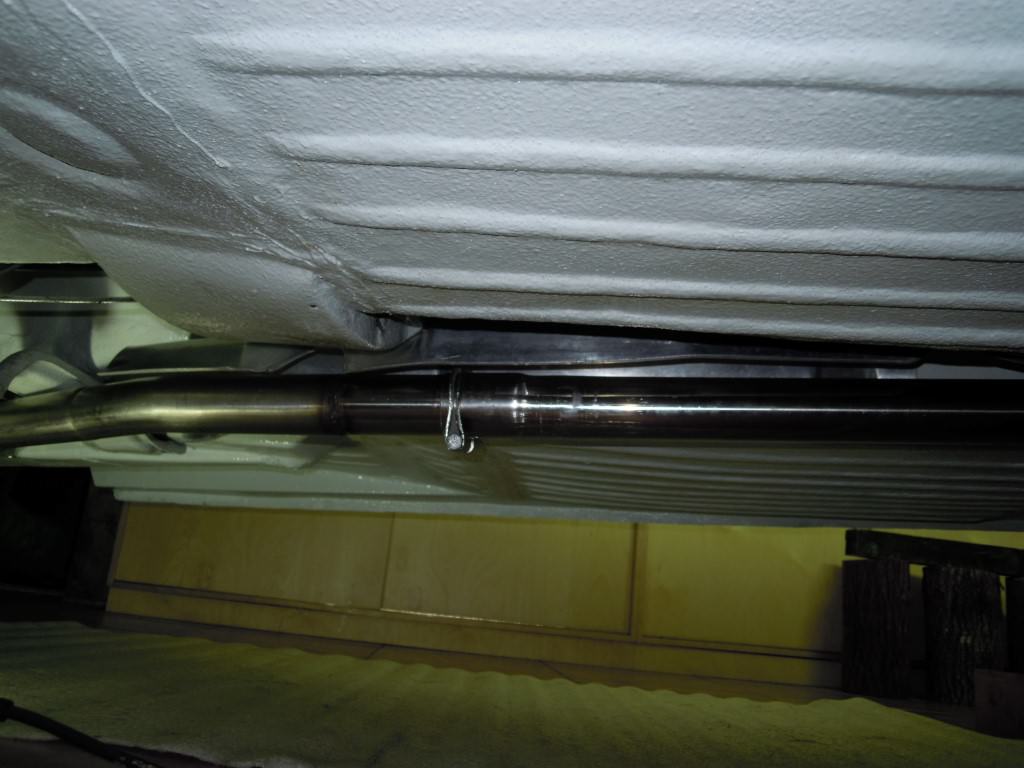
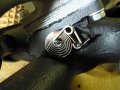
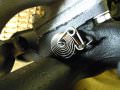
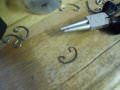
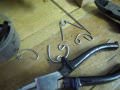
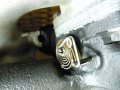
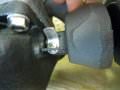
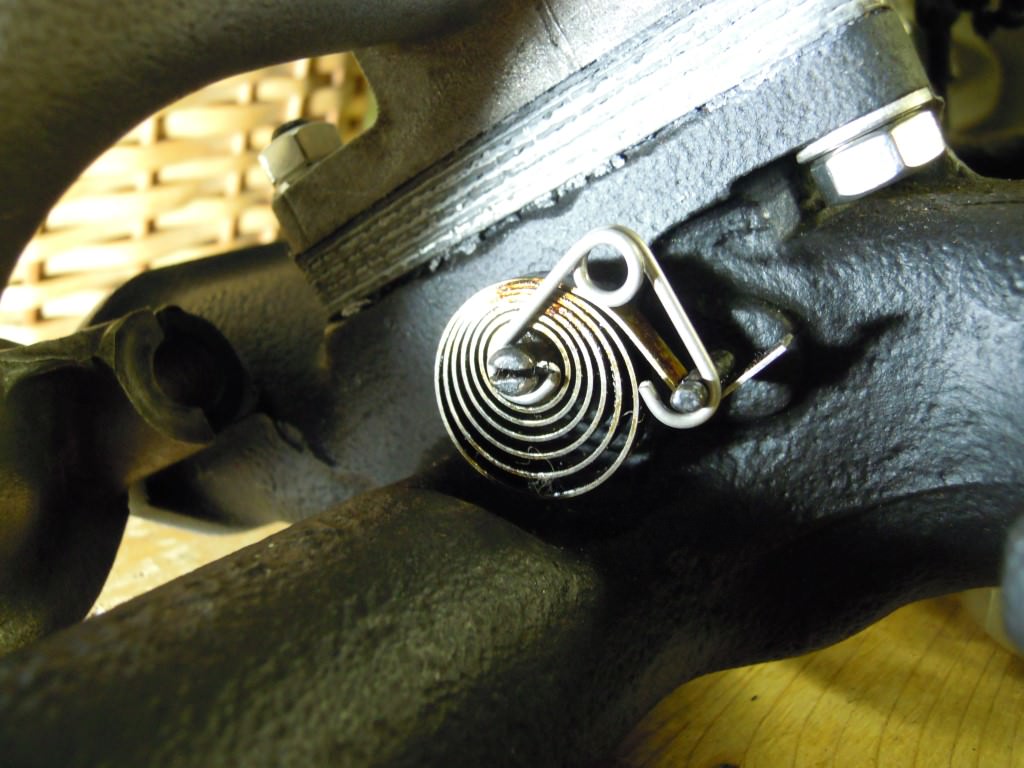
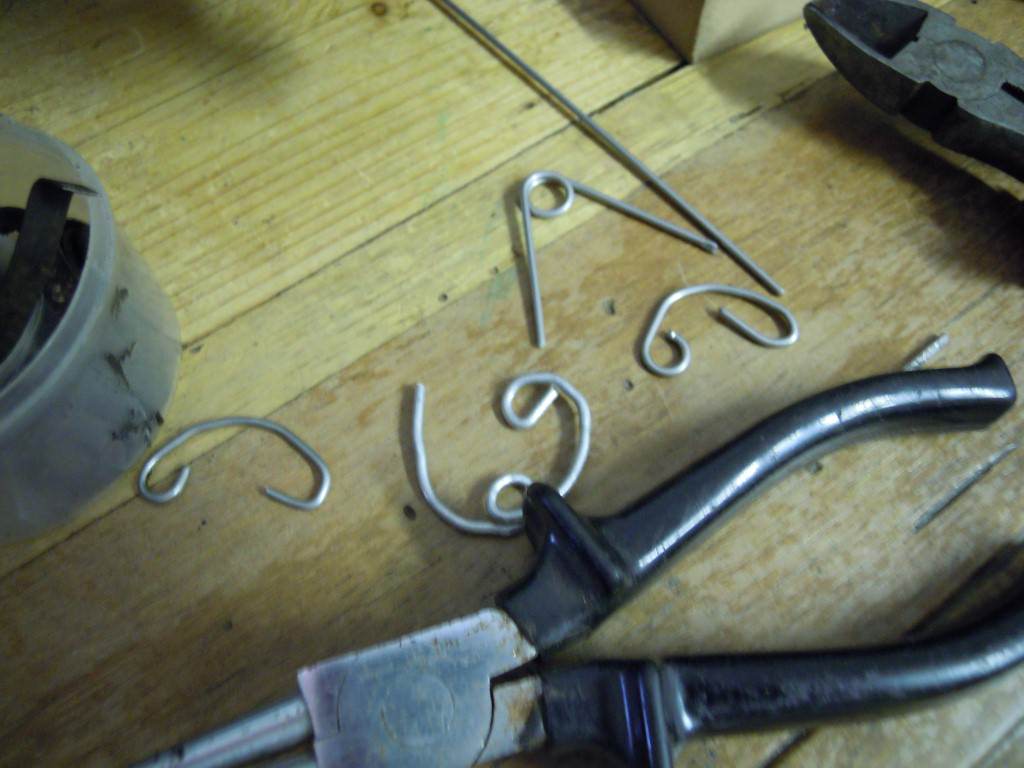
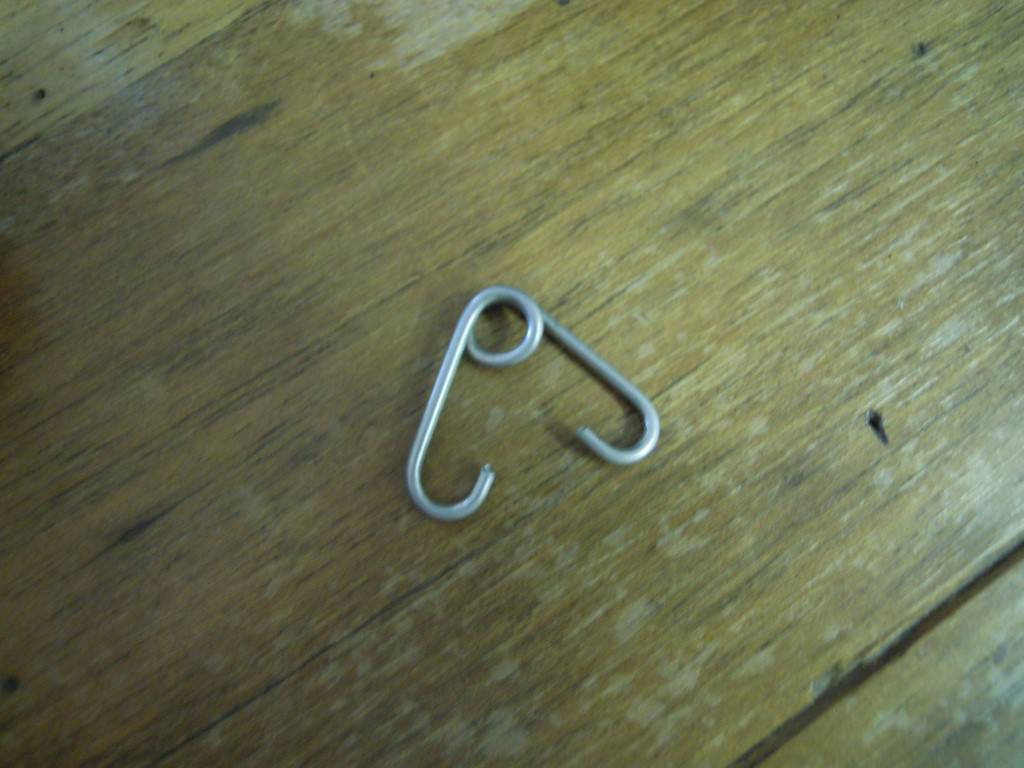
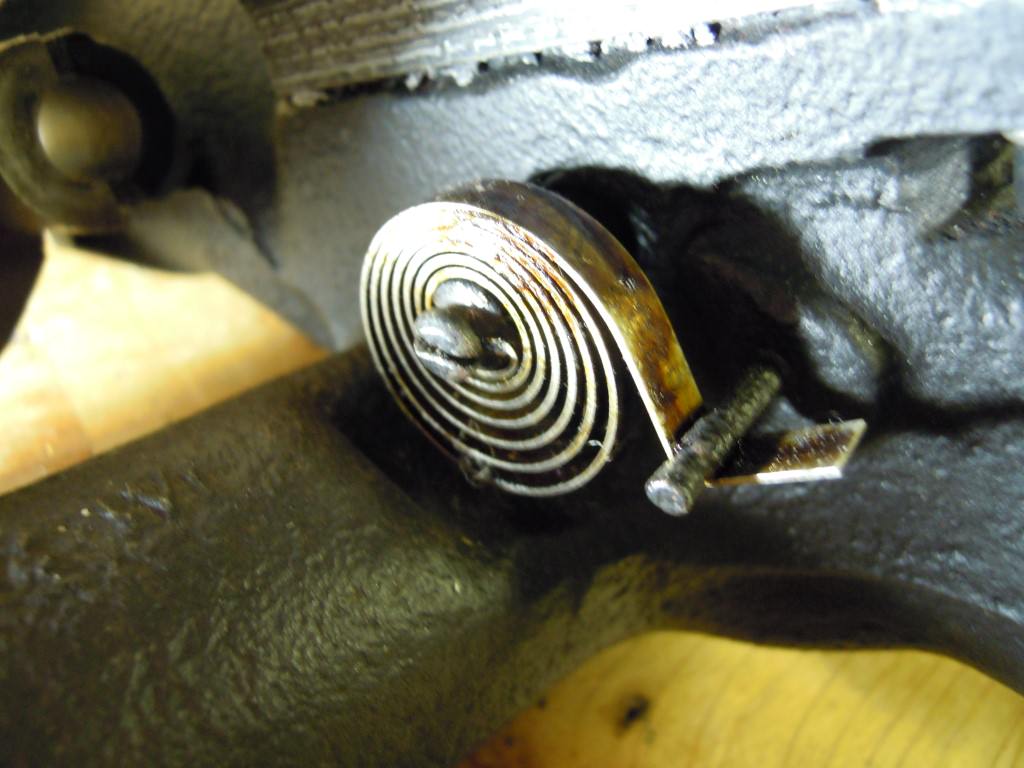
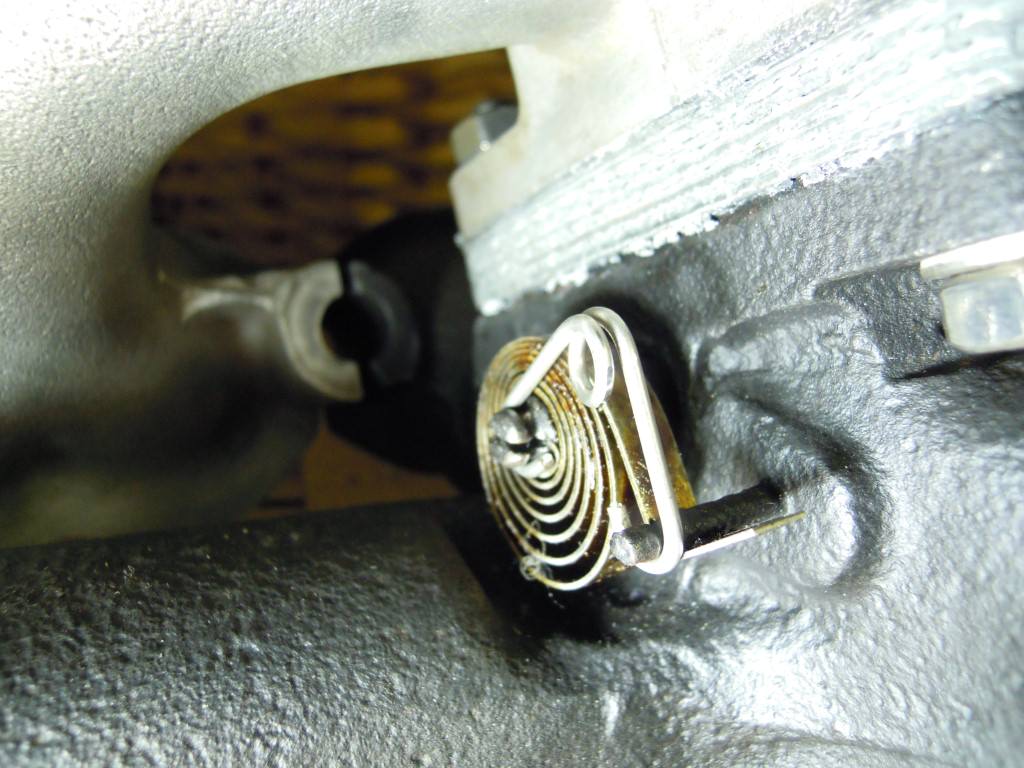
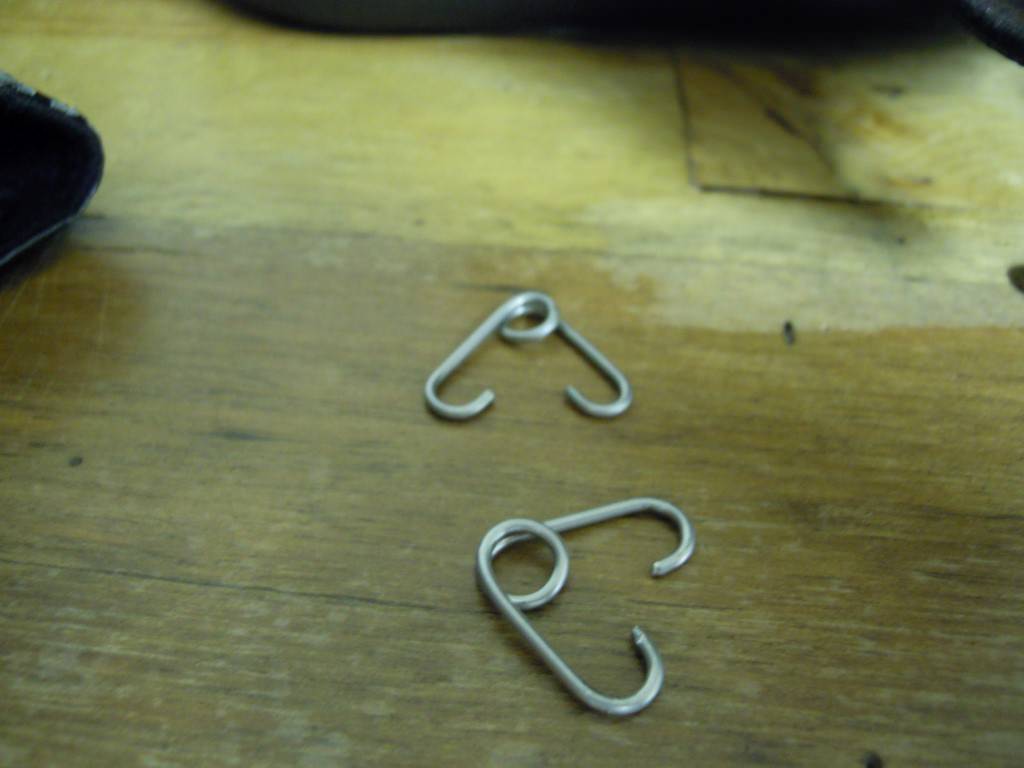
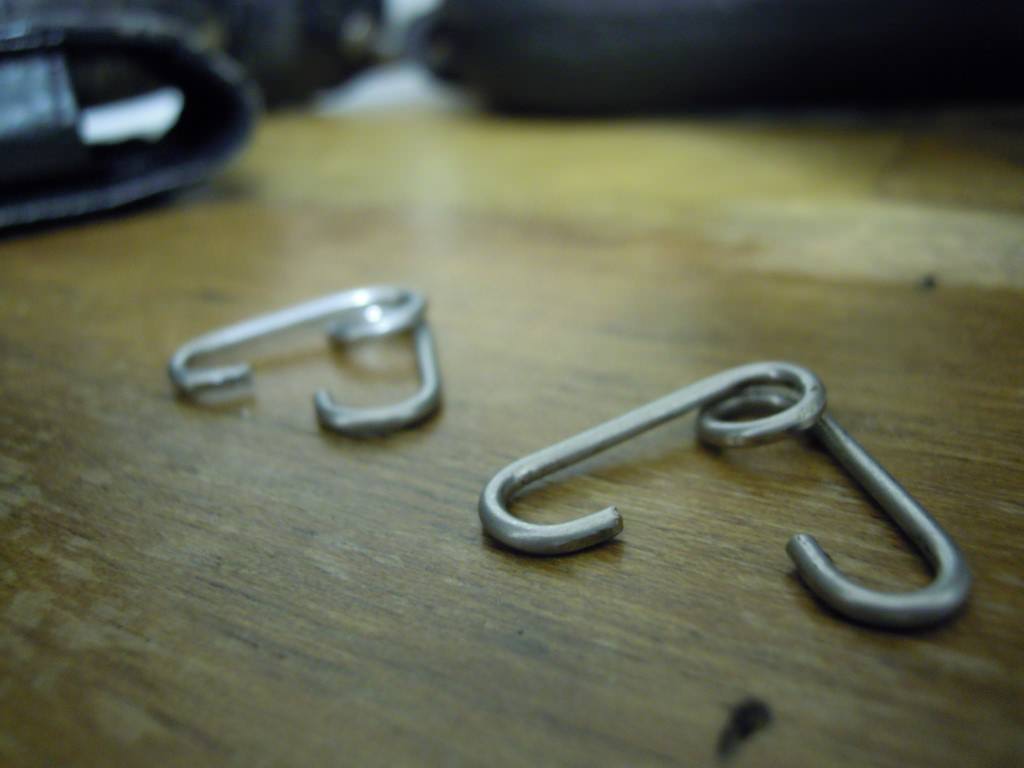
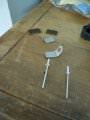
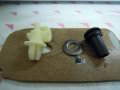
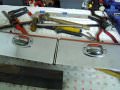
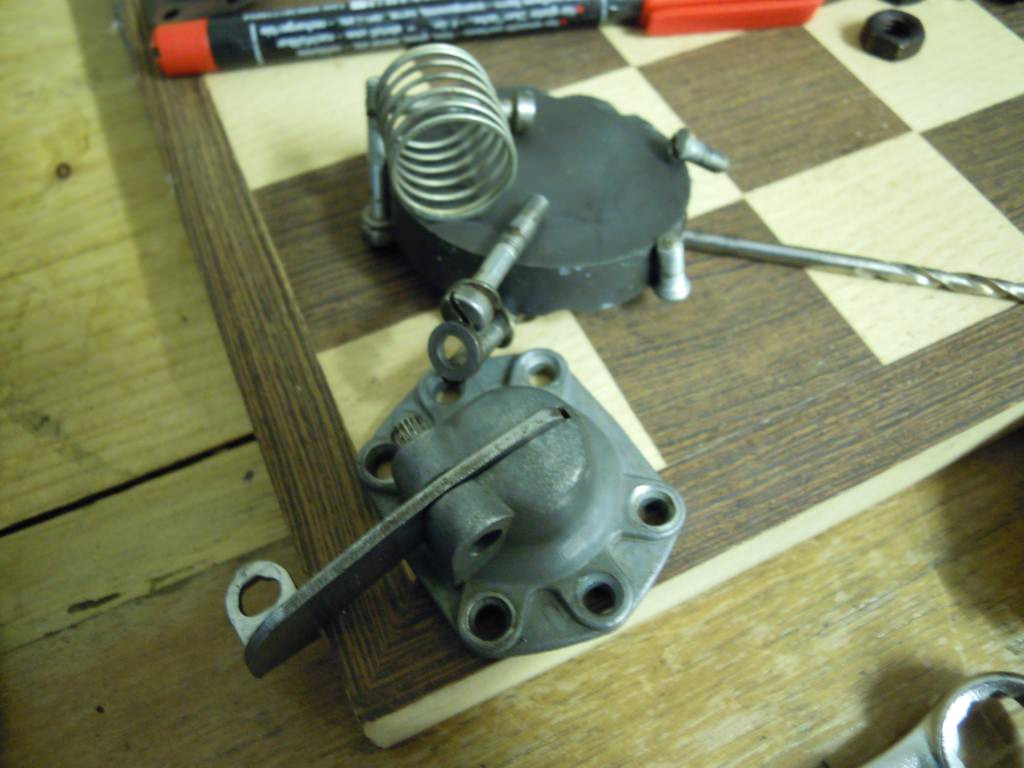
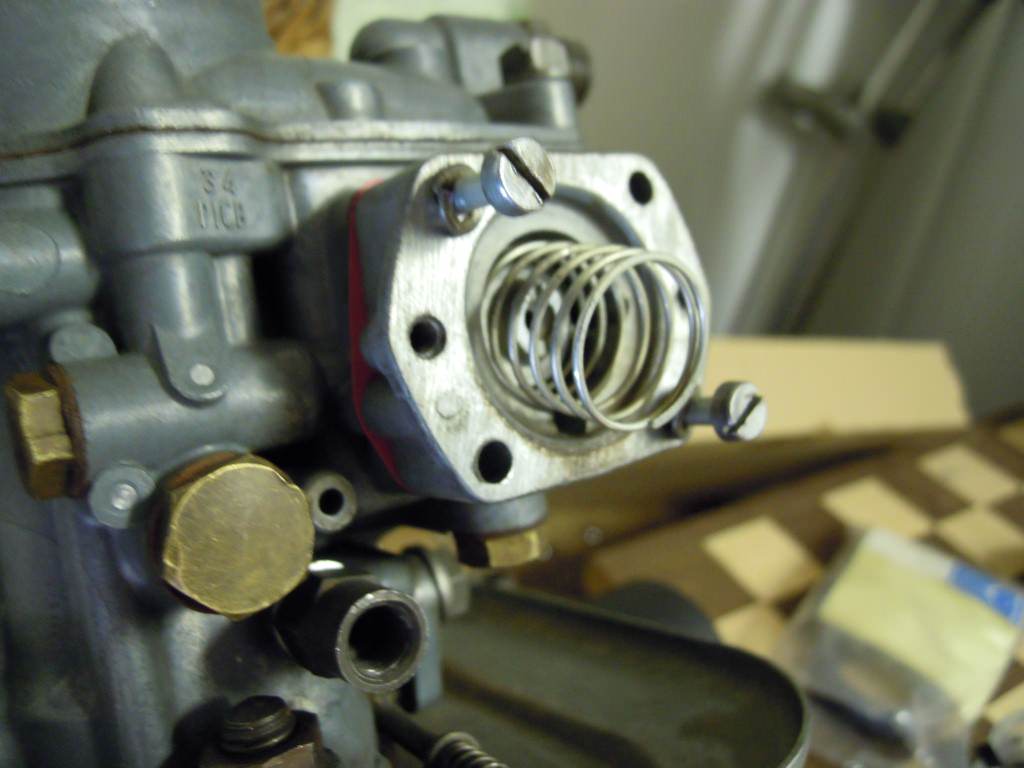
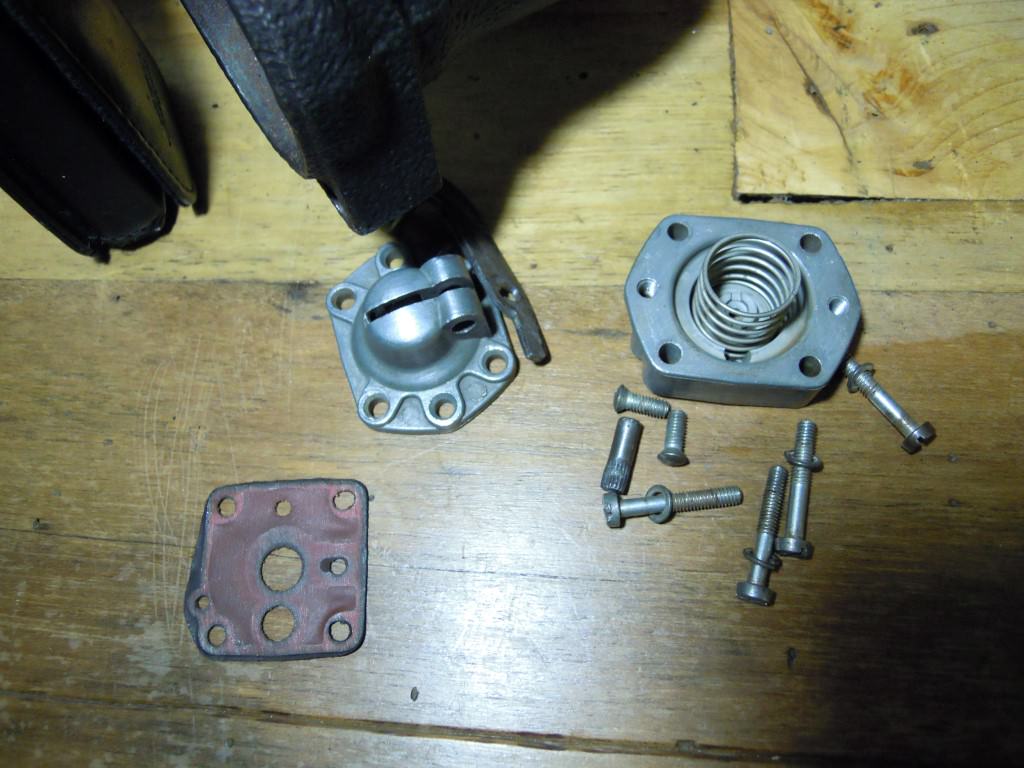
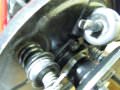
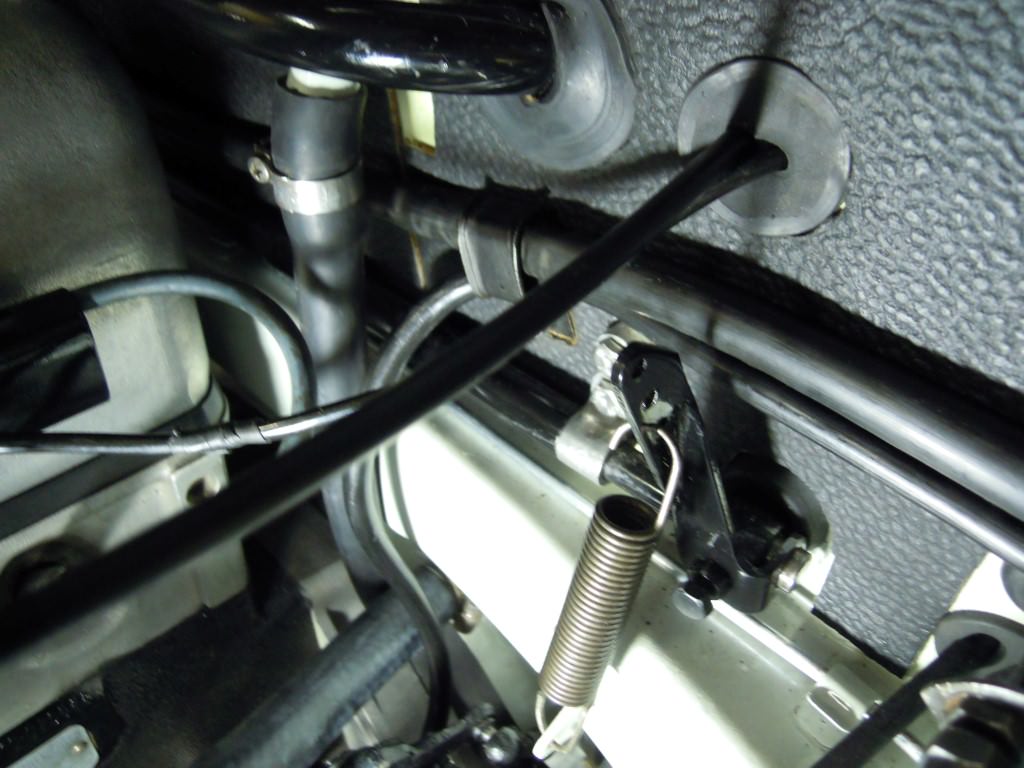
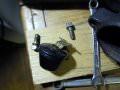
Houve necessidade de "inventar" umas molas para segurar as molas espirais. Por acaso o serralheiro que soldou o escape a inox deixou ficar cá em casa, por esquecimento, uma vareta de soldar quase completa. A coisa foi-se construindo ao longo de muitas tentativas. A mola original é a que aparece situada mais à direita, na foto 4, mas o resultado final não me agradava. Da pesquisa diária que faço na net lembrei-me de ter viso qualquer coisa do género das que apliquei e assim saí-me mesmo muito bem...
Também parece que acertei nos 2 amortecedores de inox que fiz novos, réplica dos velhos.
Também parece que acertei nos 2 amortecedores de inox que fiz novos, réplica dos velhos.
Anexos
-
 DSCN1763.JPG185.1 KB · Vistos: 34
 -
 DSCN1764.JPG181.5 KB · Vistos: 35
 -
 DSCN1765.JPG127.6 KB · Vistos: 35
 -
 DSCN1766.JPG149 KB · Vistos: 35
 -
 DSCN1767.JPG149.9 KB · Vistos: 35
 -
 DSCN1768.JPG158.7 KB · Vistos: 34
 -
 DSCN1770.JPG200 KB · Vistos: 33
 -
 DSCN1774.JPG112.9 KB · Vistos: 35
 -
 DSCN1776.JPG109.8 KB · Vistos: 34
 -
 DSCN1778.JPG146.7 KB · Vistos: 36
 -
 DSCN1780.JPG126.4 KB · Vistos: 34
 -
 DSCN1782.JPG130.7 KB · Vistos: 32


Jorge Viegas
Veterano
Excelente trabalho nas molas ")
Fernando L. G. Pinto
Veterano
Obrigado, Jorge faz-se o melhor que se pode.
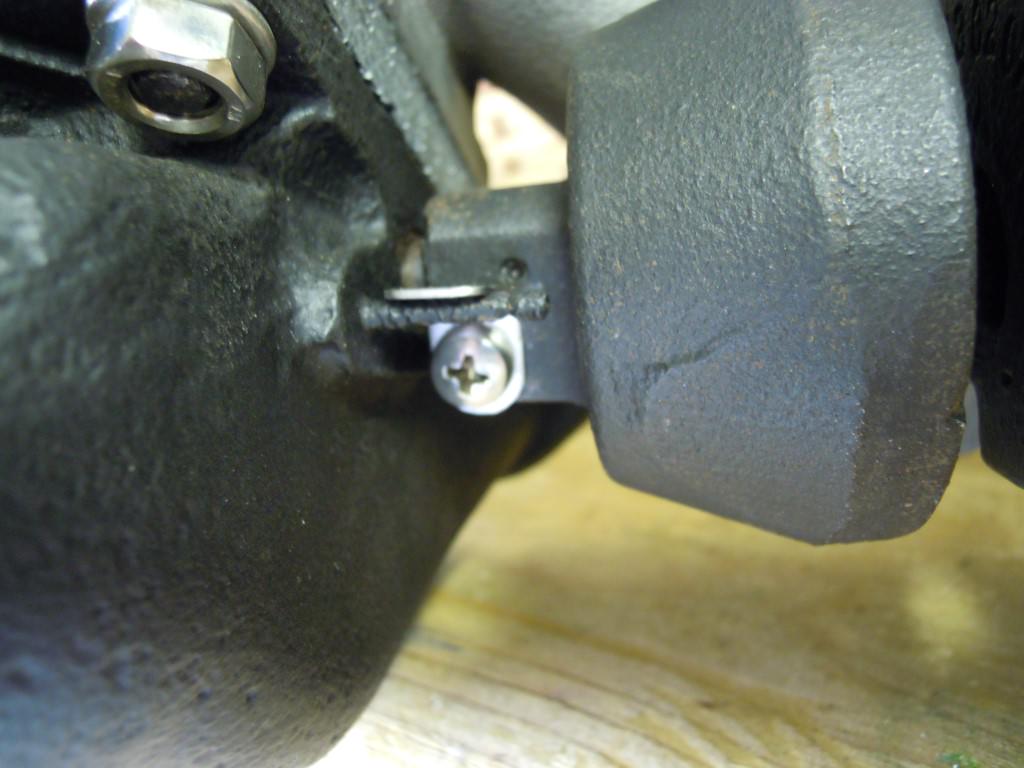
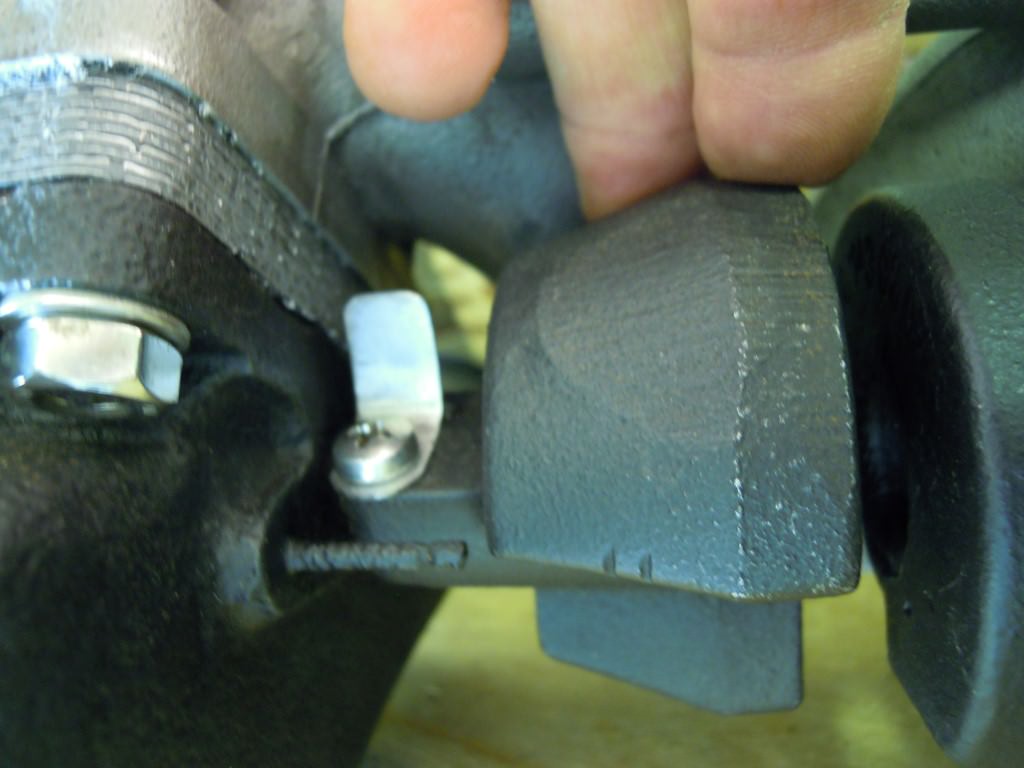
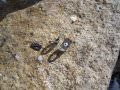
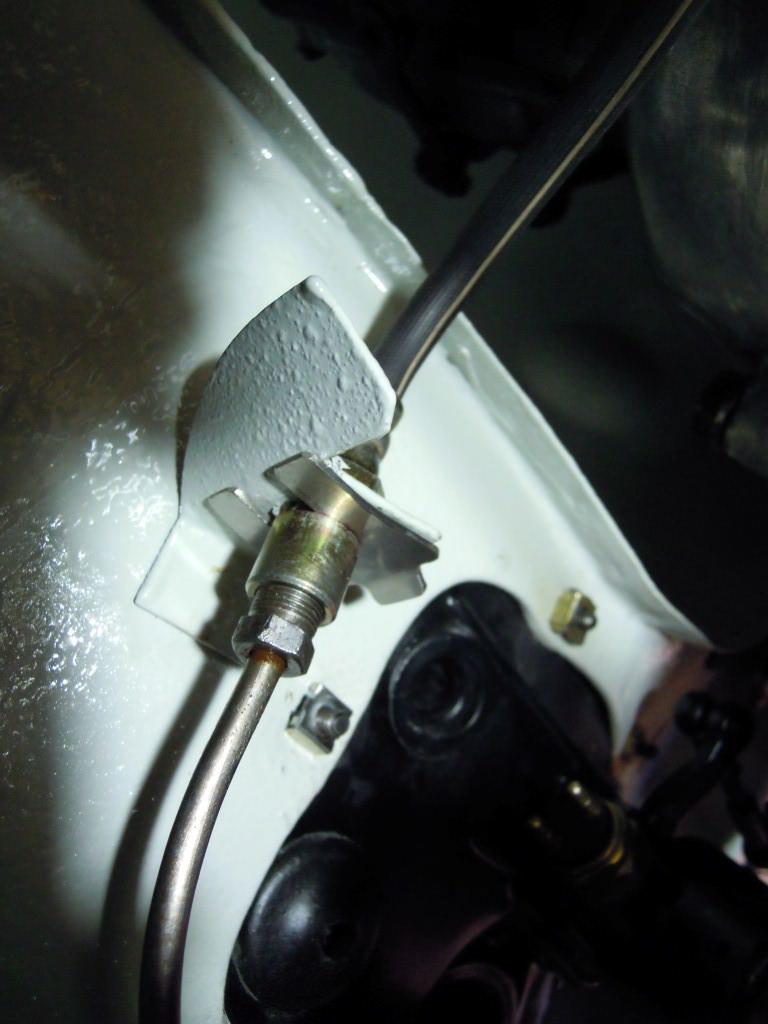
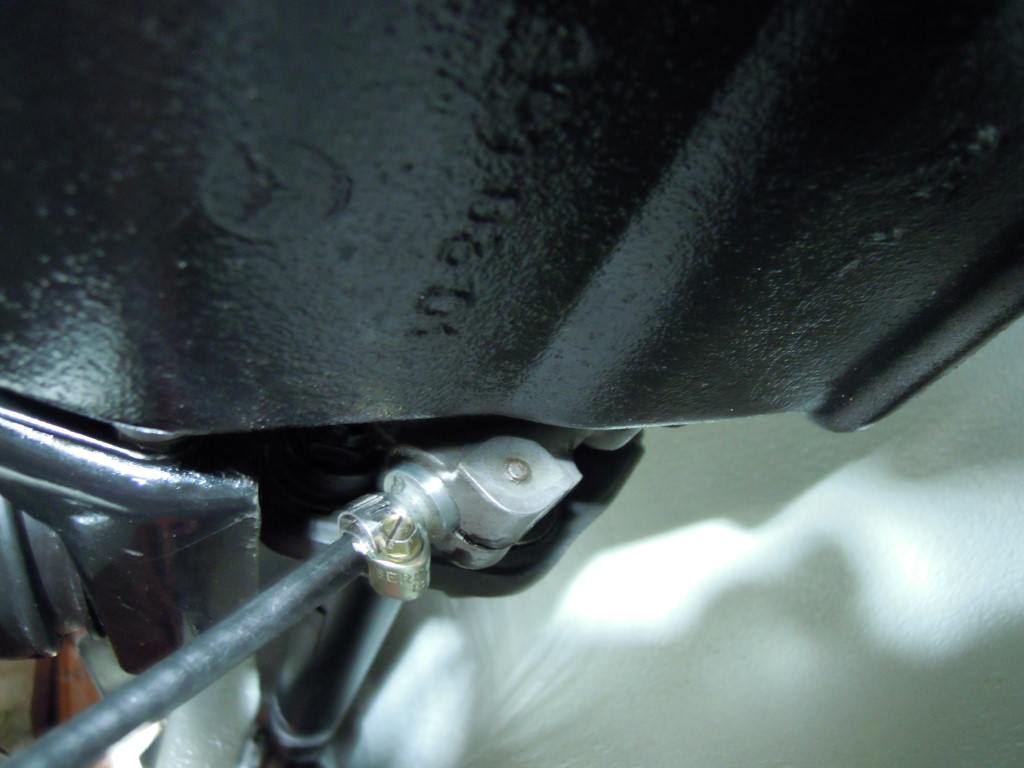
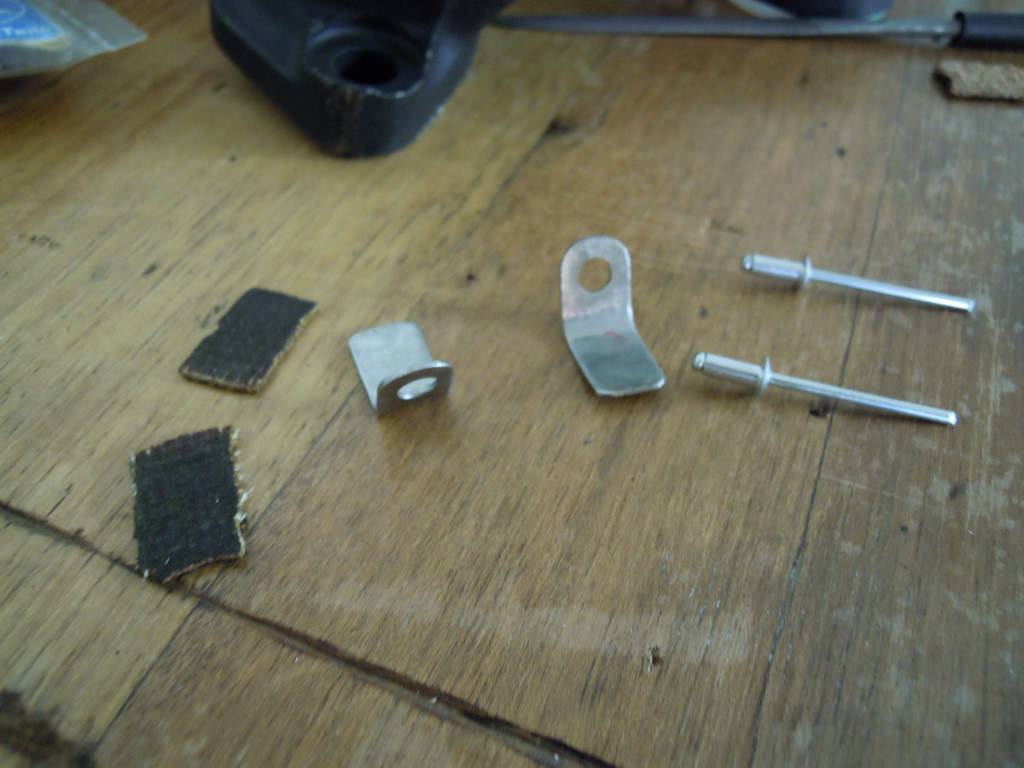
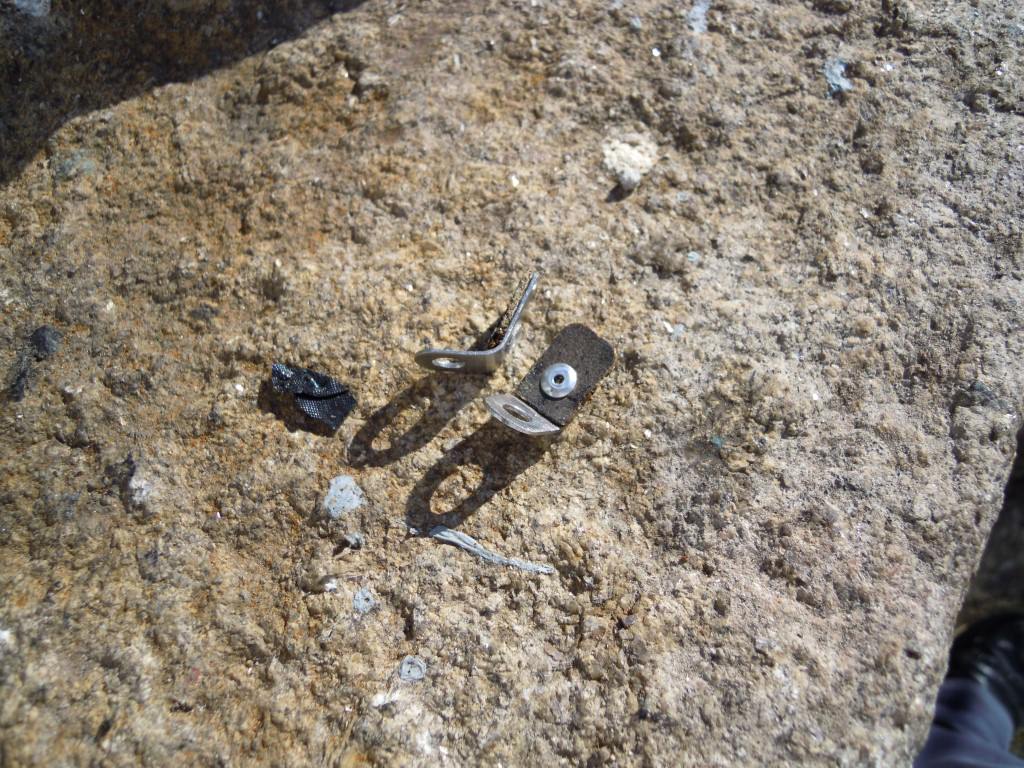
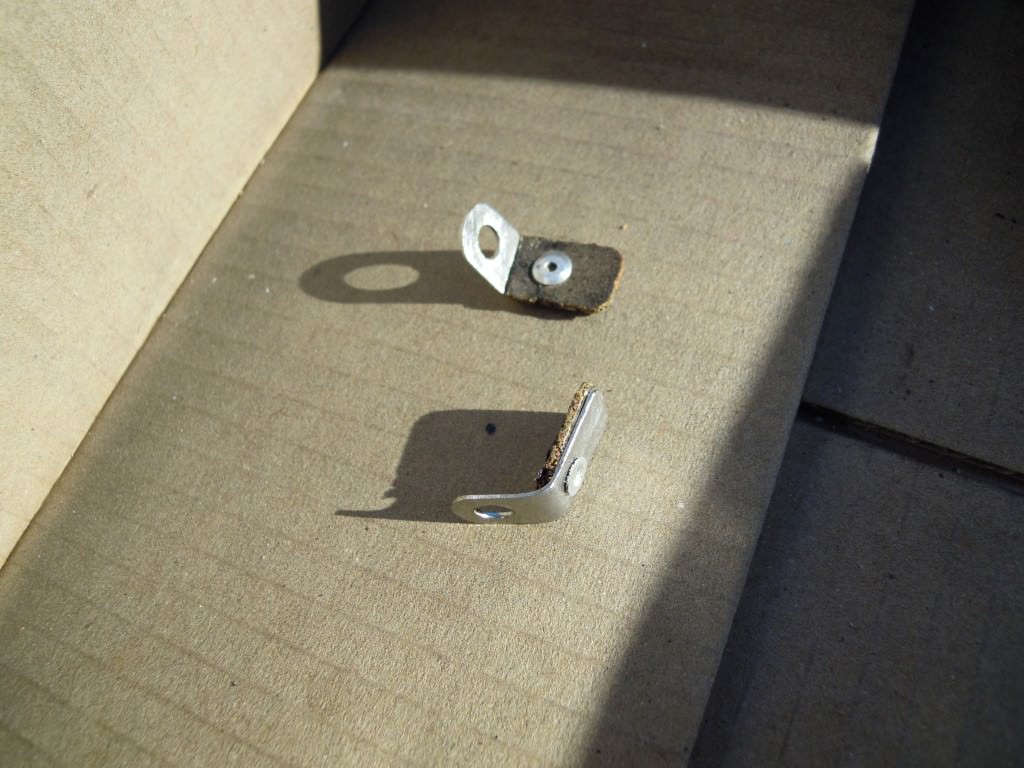
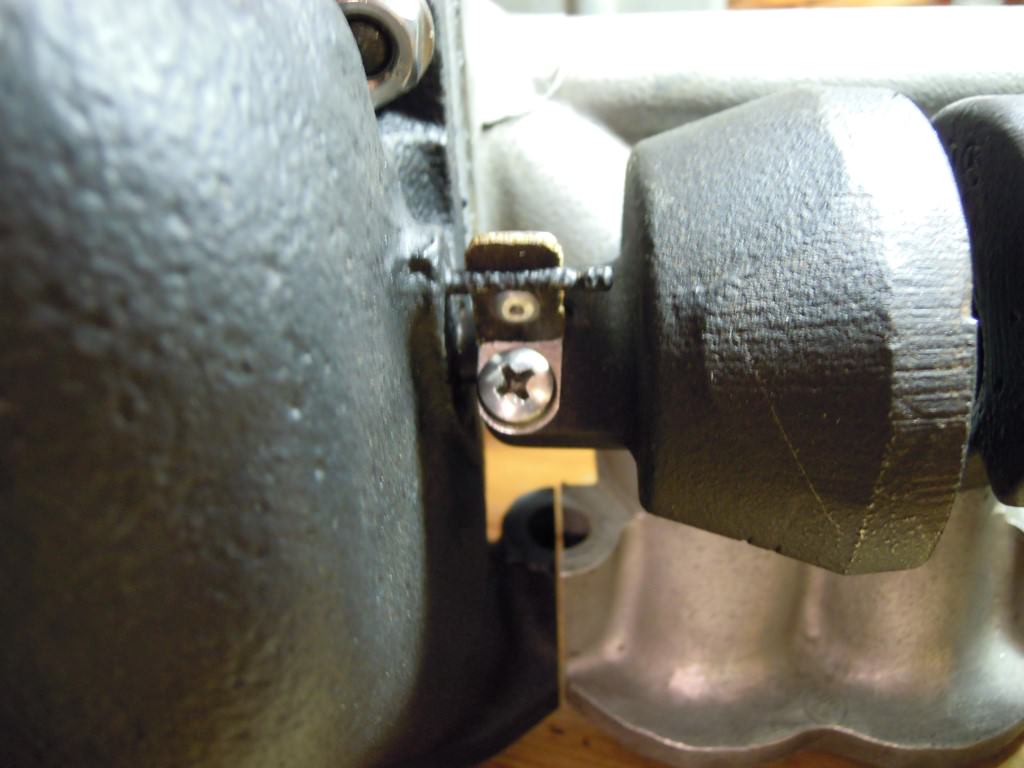
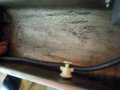
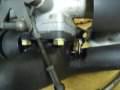
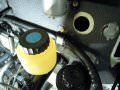
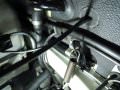
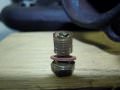
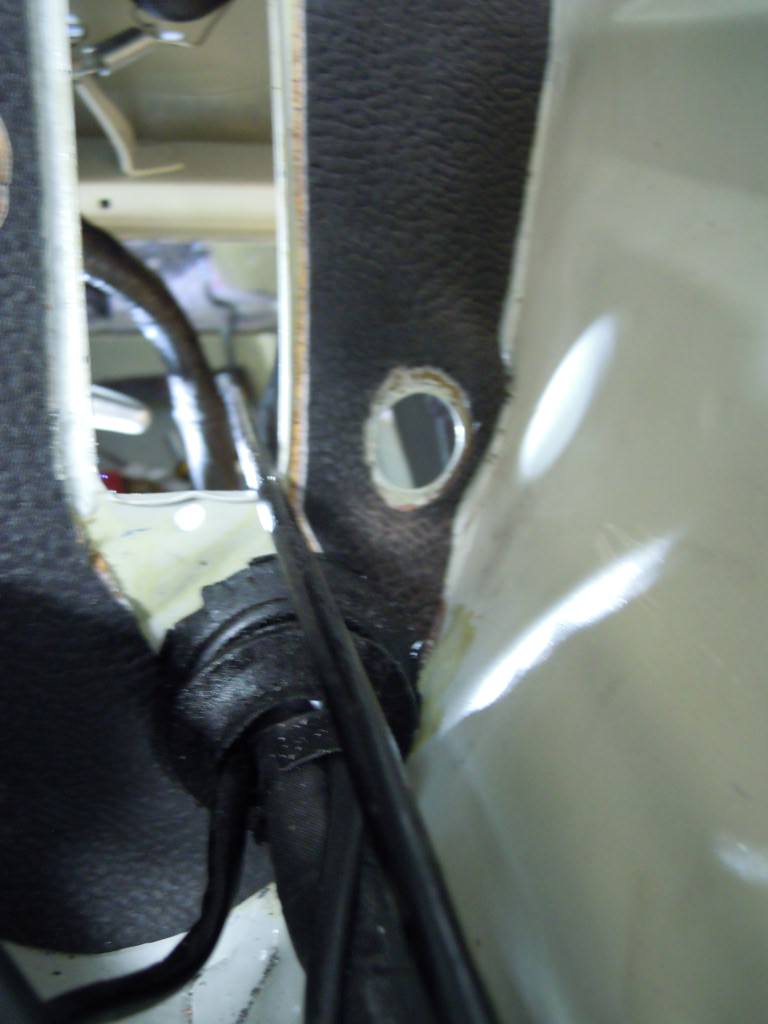
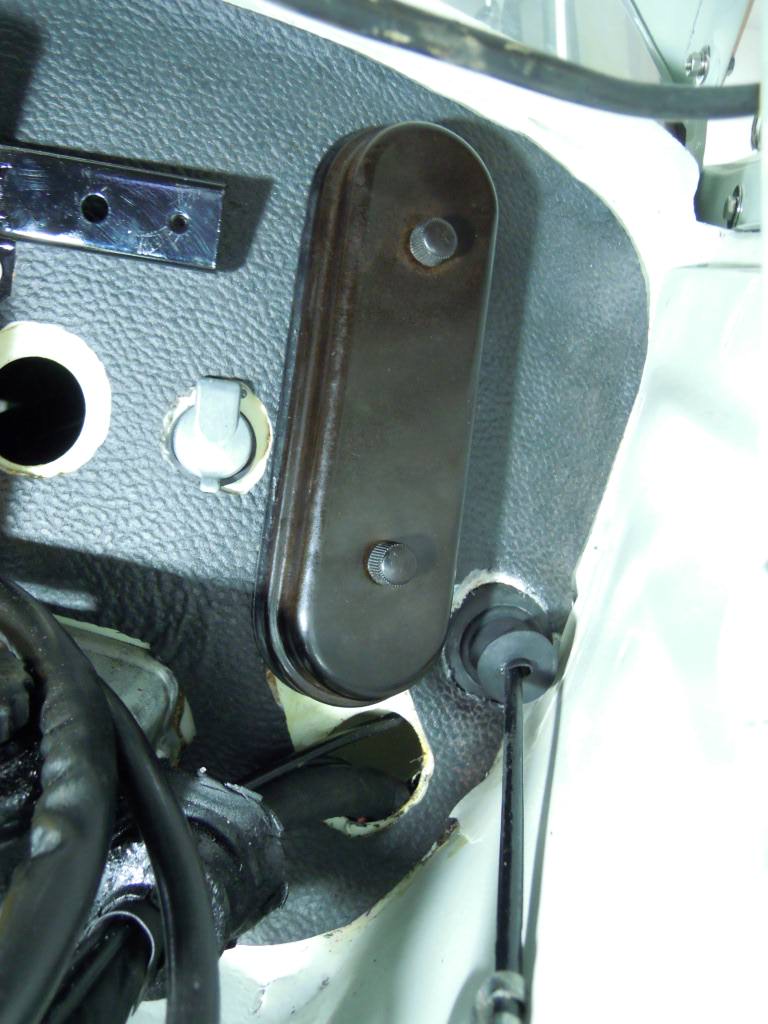
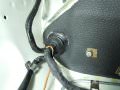
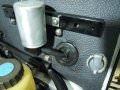
Fiz mais uma peça em inox para suportar a porca de aperto do tubo de borracha do óleo da embraiagem..
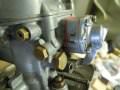
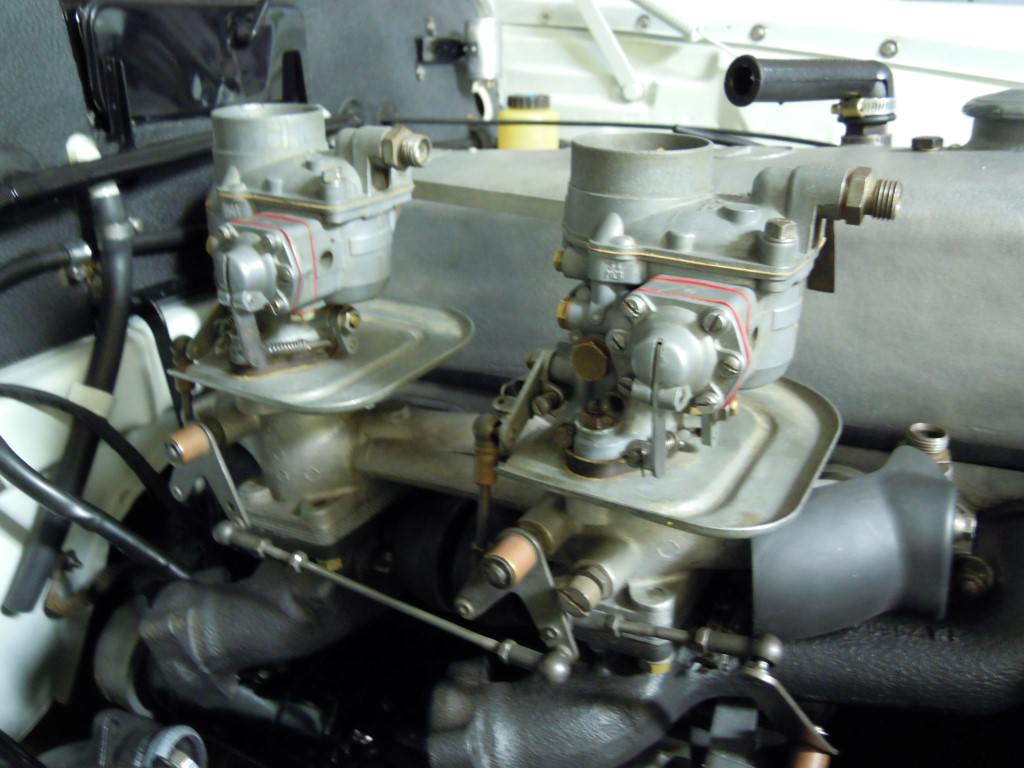
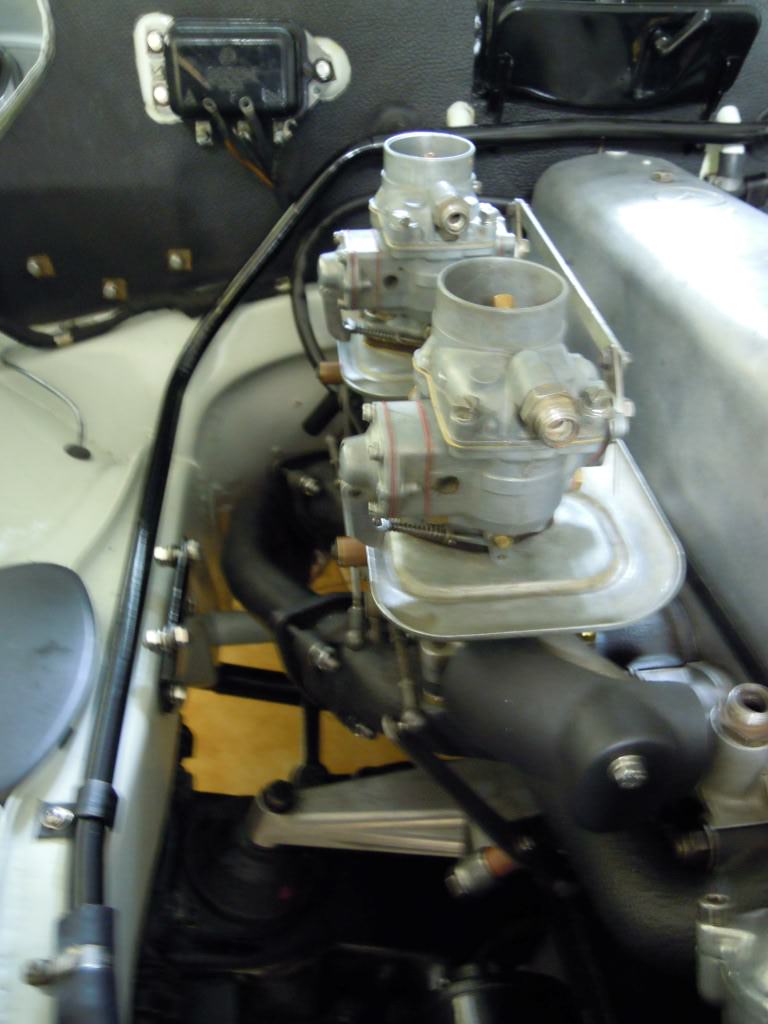
Também acabei os amortecedores dos pesos dos coletores do carburador metendo-lhes um pedaço de material resistente ao calor, rebitado.
Fiz mais uma peça em inox para suportar a porca de aperto do tubo de borracha do óleo da embraiagem..
Também acabei os amortecedores dos pesos dos coletores do carburador metendo-lhes um pedaço de material resistente ao calor, rebitado.
Anexos
-
 DSCN1788.JPG91.4 KB · Vistos: 34
 -
 DSCN1791.JPG97.2 KB · Vistos: 29
 -
 DSCN1792.JPG138.8 KB · Vistos: 32
 -
 DSCN1797.JPG127.9 KB · Vistos: 32
 -
 DSCN1798.JPG173 KB · Vistos: 34
 -
 DSCN1801.JPG138.7 KB · Vistos: 32
 -
 DSCN1802.JPG132.2 KB · Vistos: 32
 -
 DSCN1803.JPG342.4 KB · Vistos: 32
 -
 DSCN1805.JPG186.3 KB · Vistos: 32
 -
 DSCN1807.JPG202.7 KB · Vistos: 32
 -
 DSCN1810.JPG134.5 KB · Vistos: 28


Última edição:
Fabio Joel Fernandes
MINEIRO
Bom trabalho Fernando.
Tenho andado desaparecido, mas as minhas visitas continuam assíduas.
Um grande abraço
Tenho andado desaparecido, mas as minhas visitas continuam assíduas.
Um grande abraço
Fernando L. G. Pinto
Veterano
Olá Fábio,espero que tenha sido por bons motivos, uma estrangeira boa, por exemplo, lol.
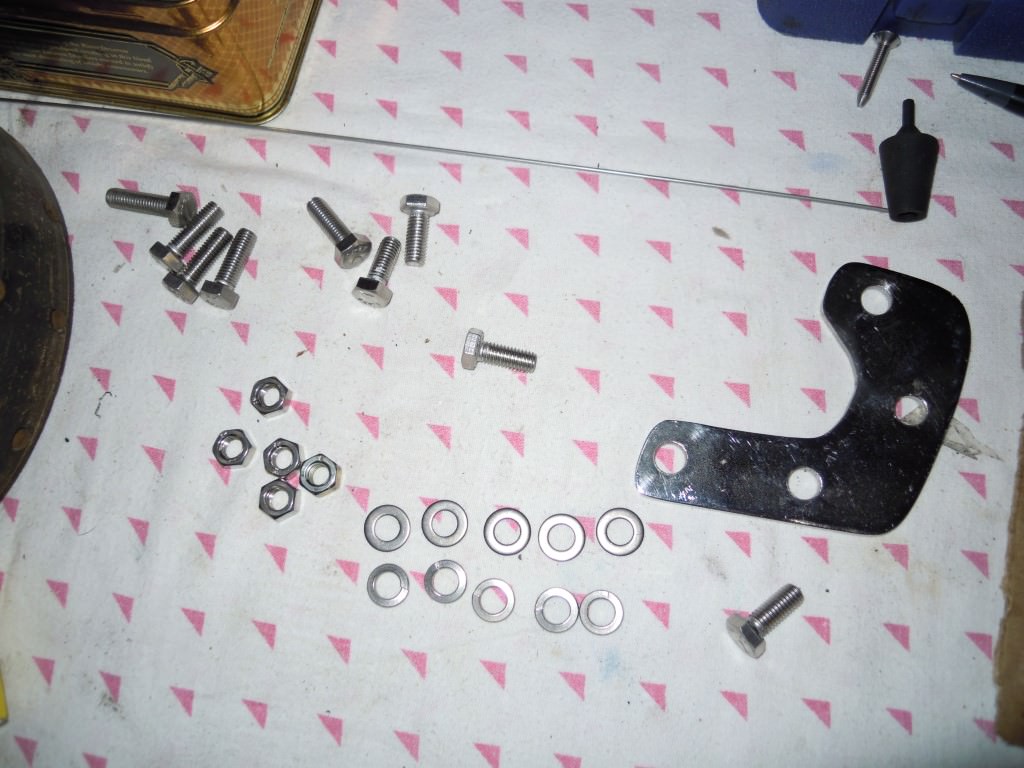
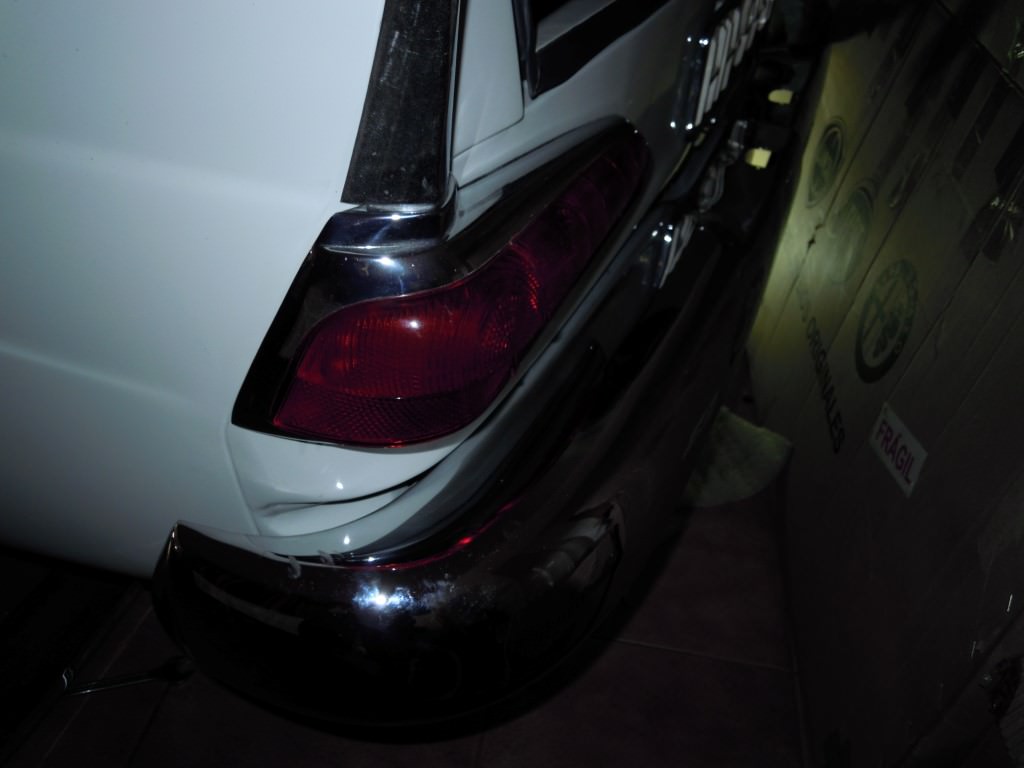
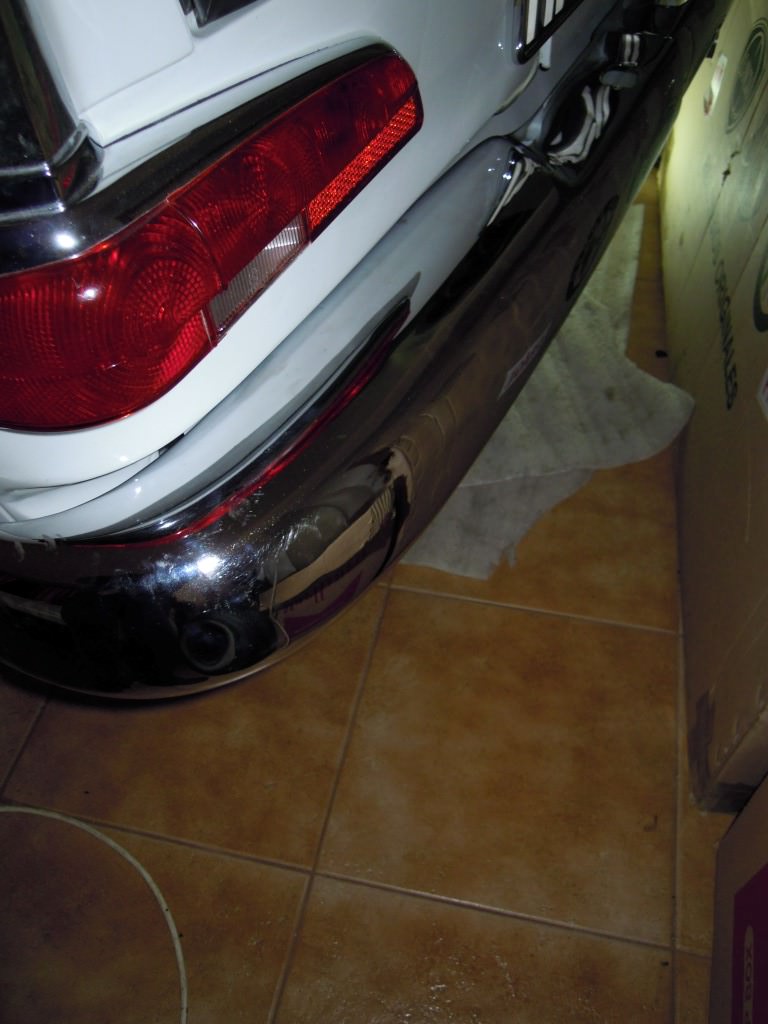
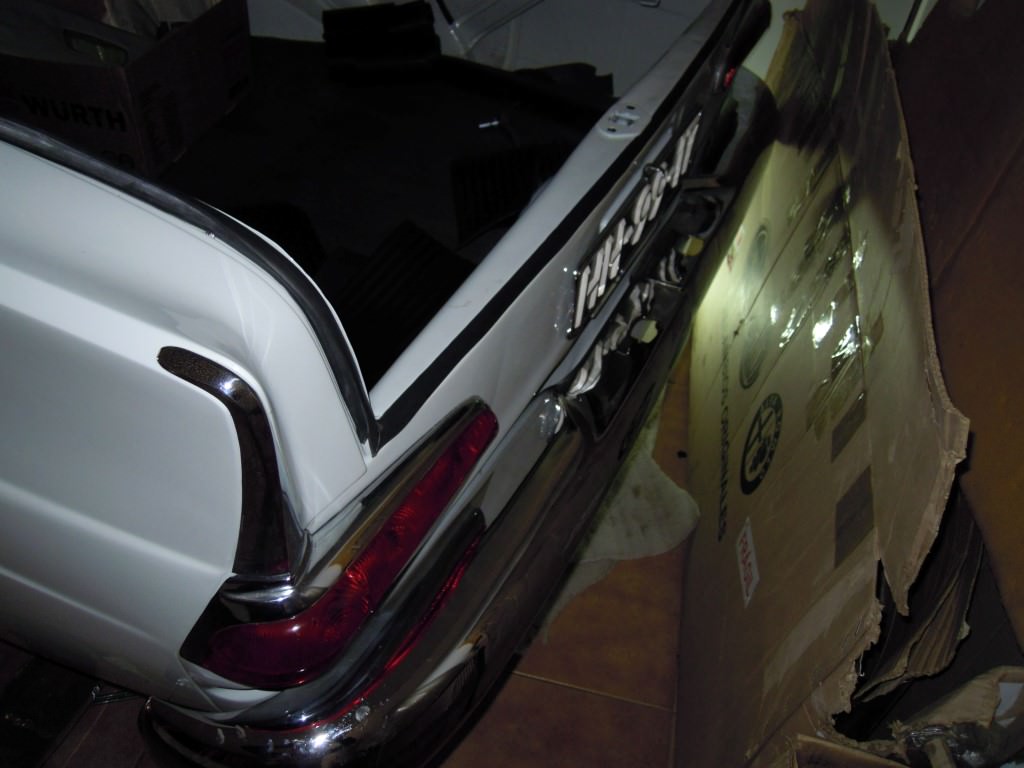
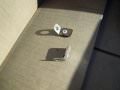
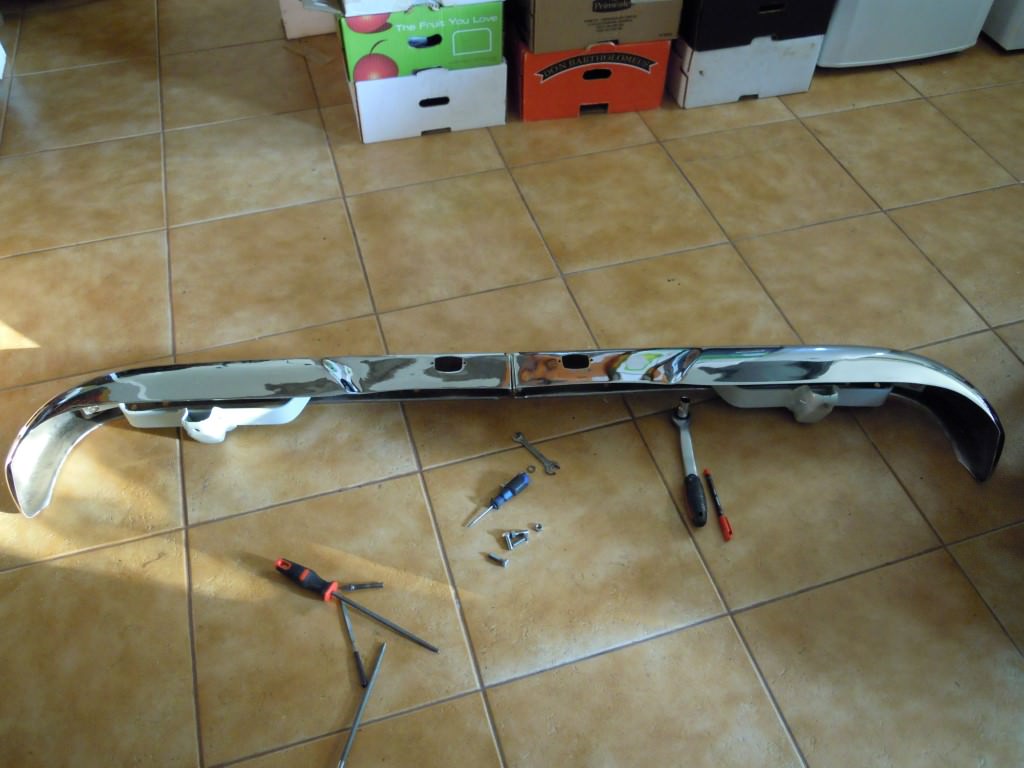
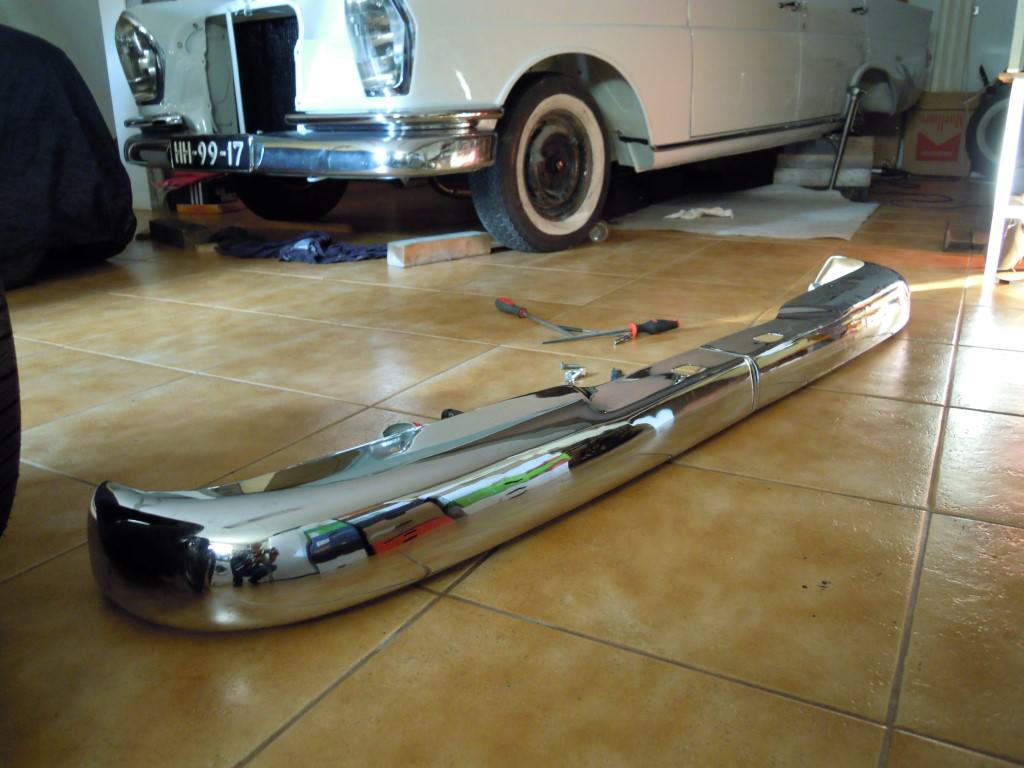
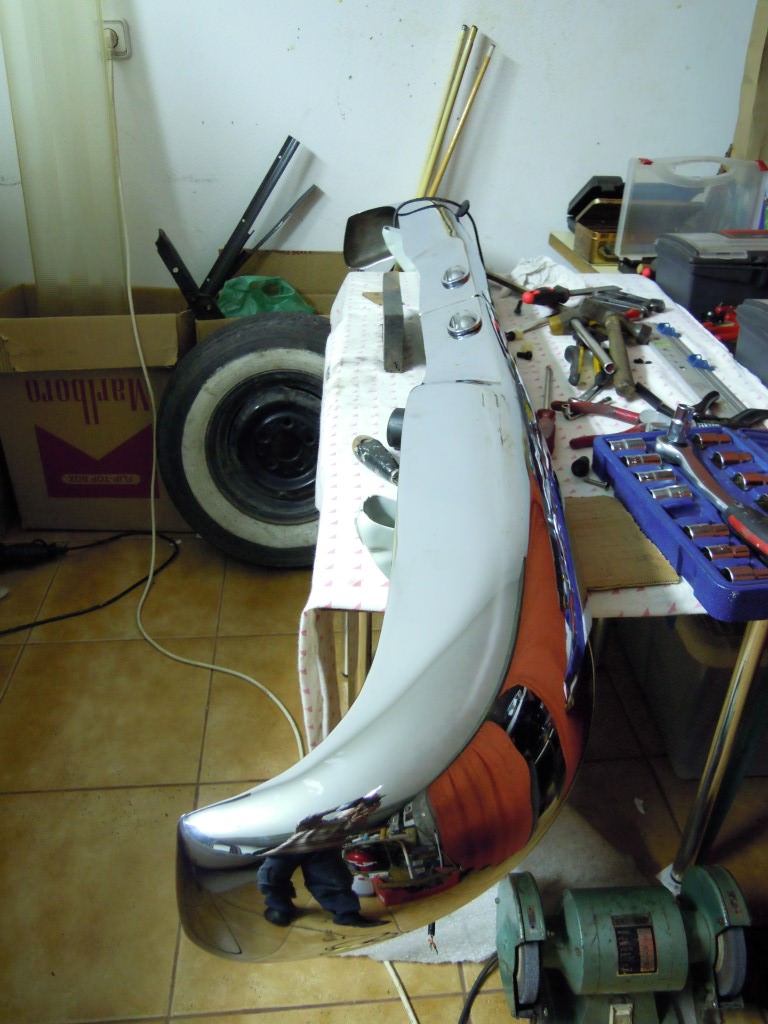
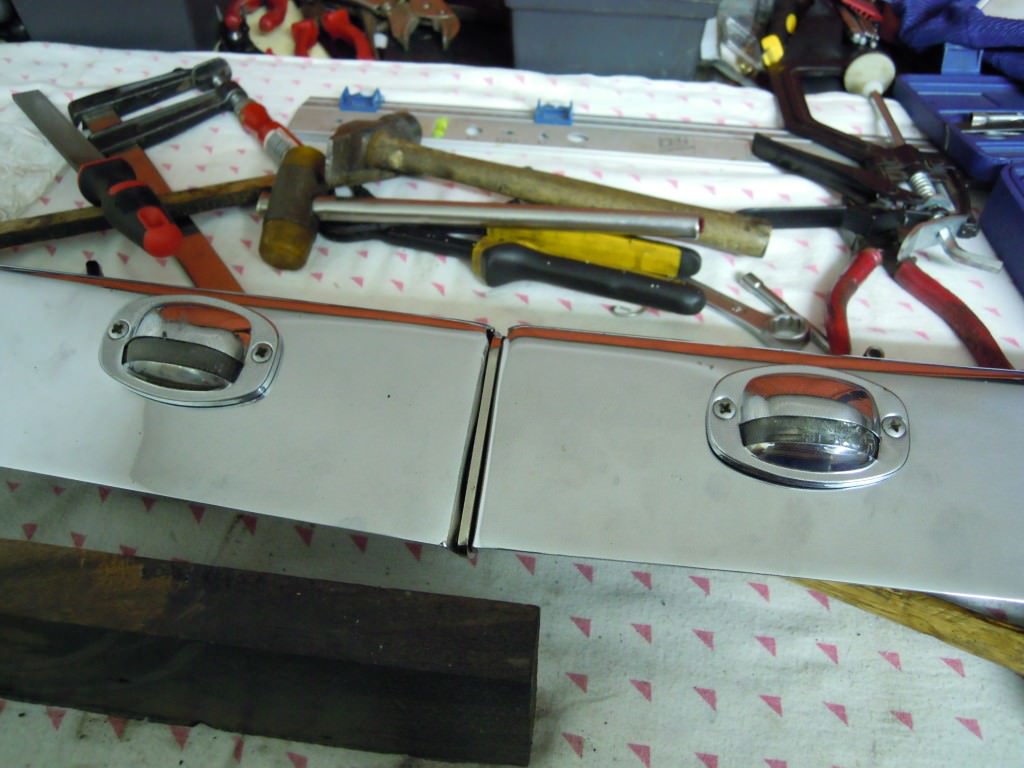
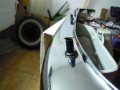
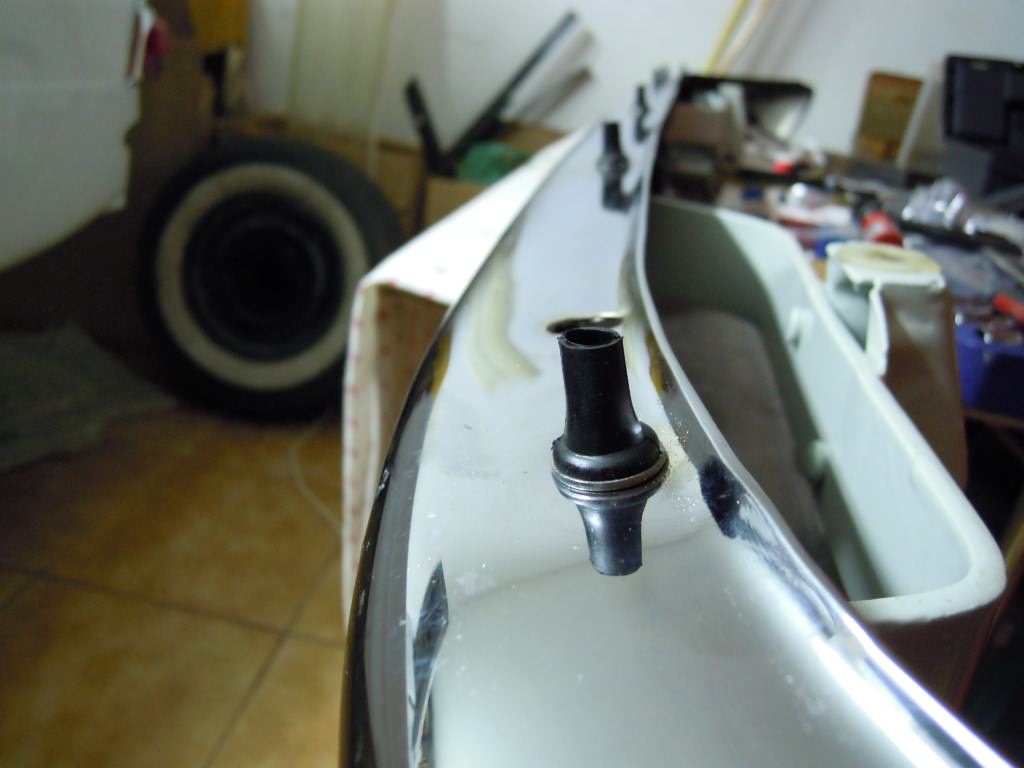
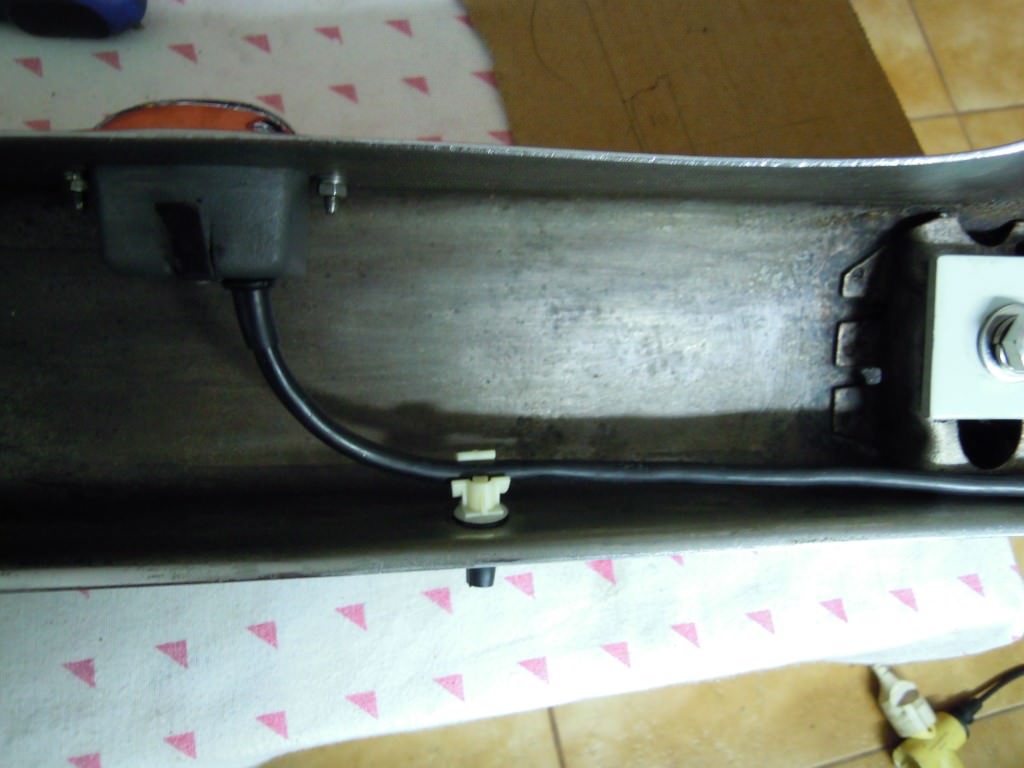
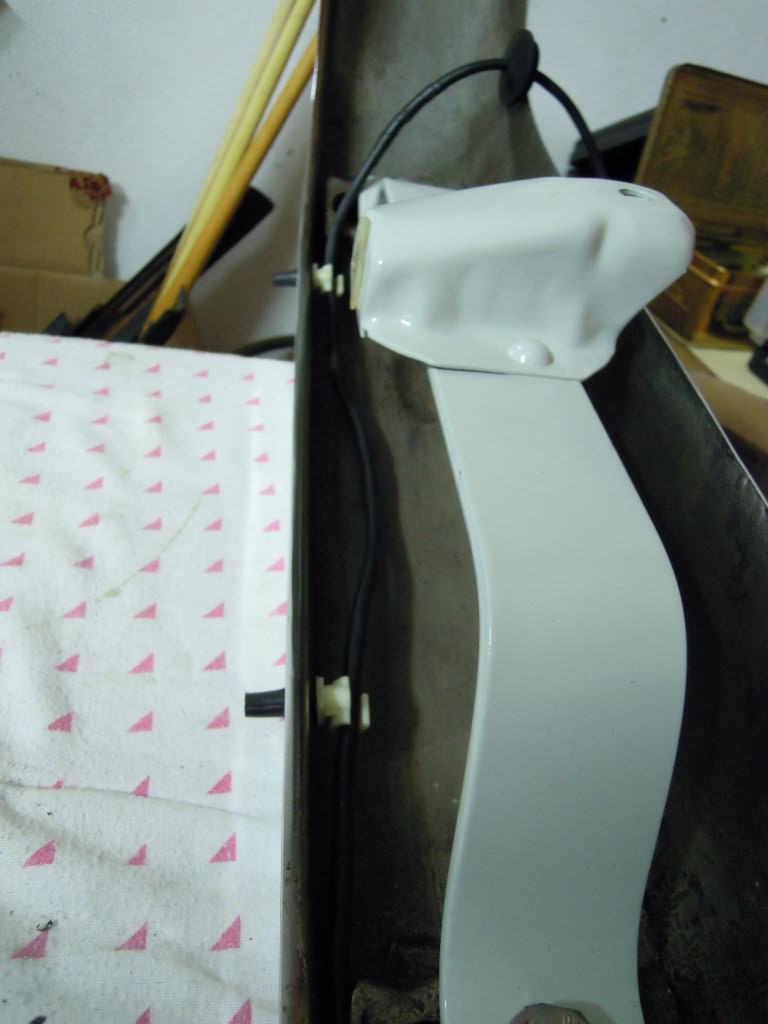
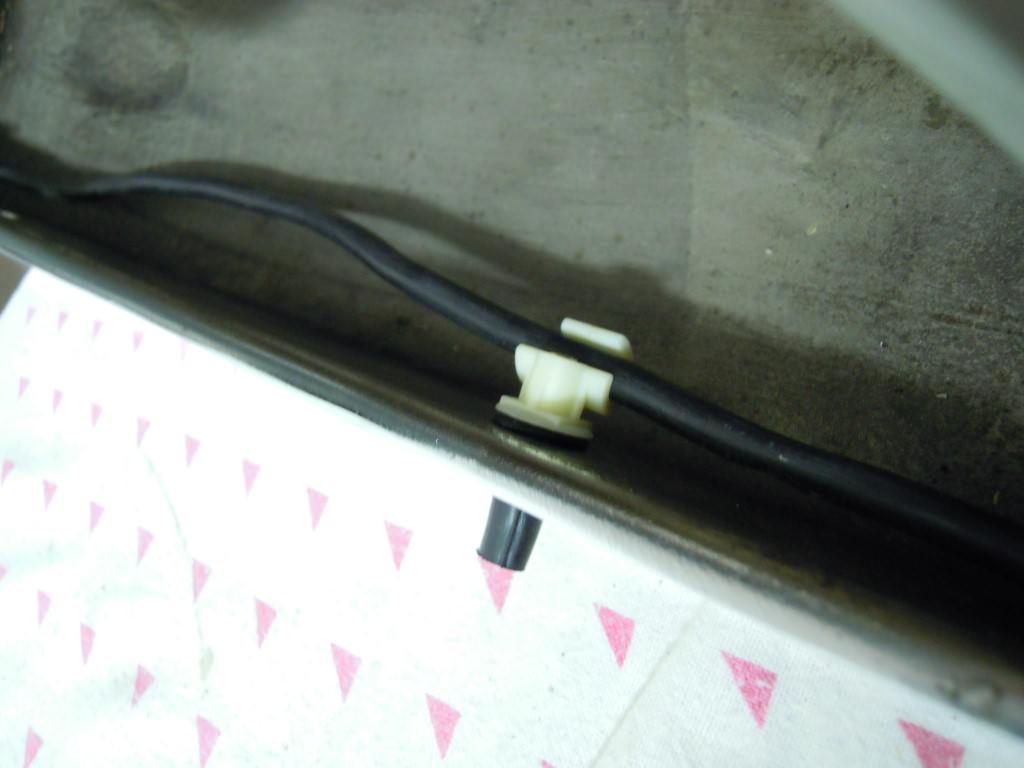
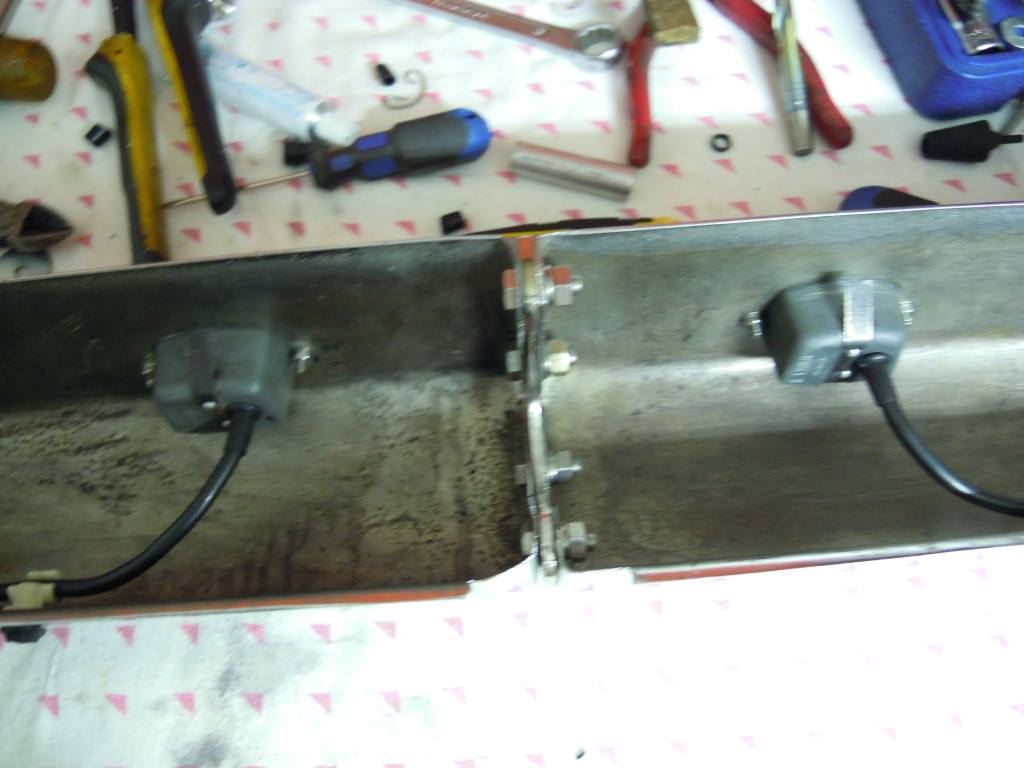
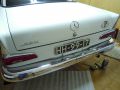
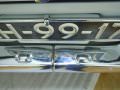
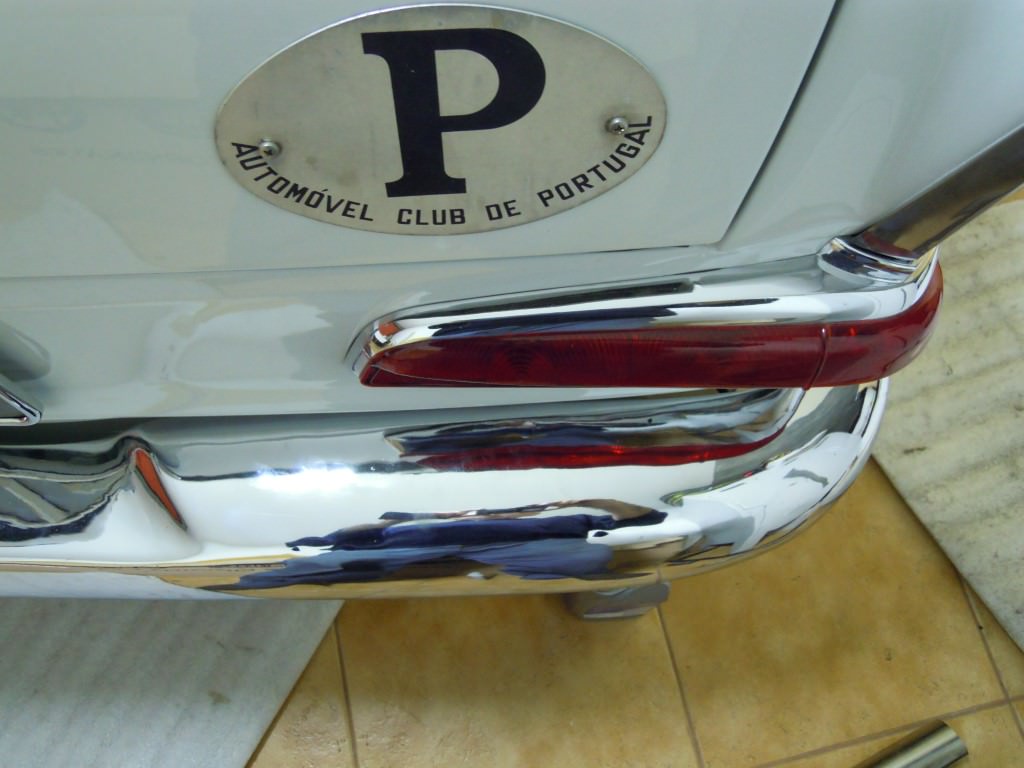
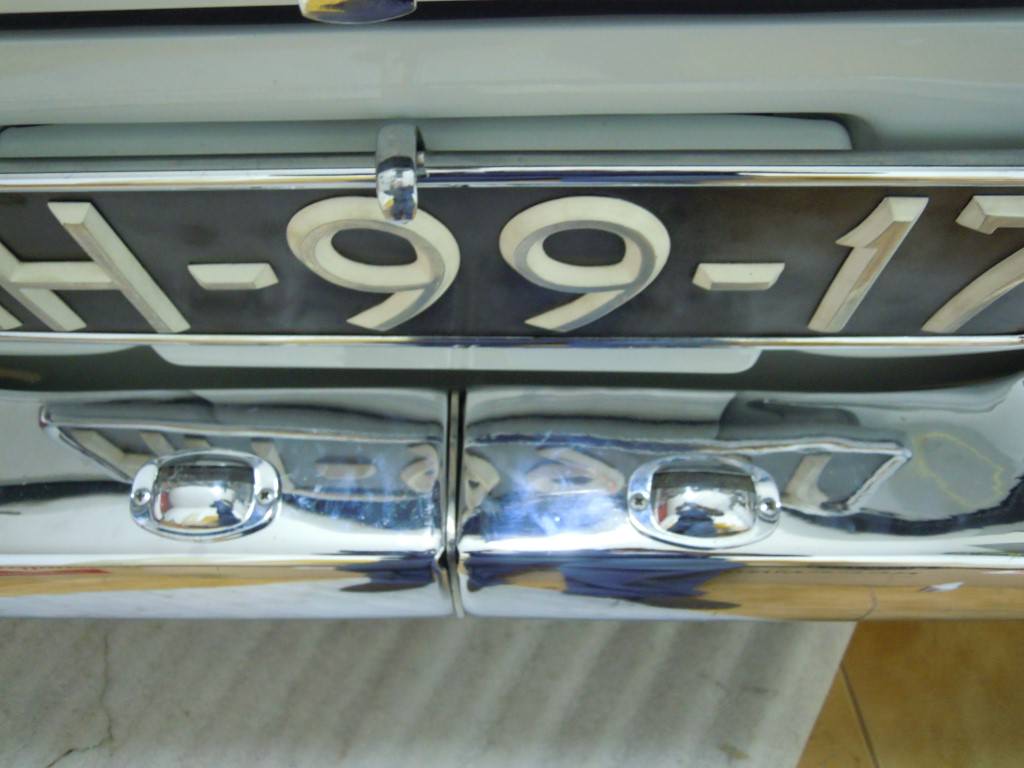
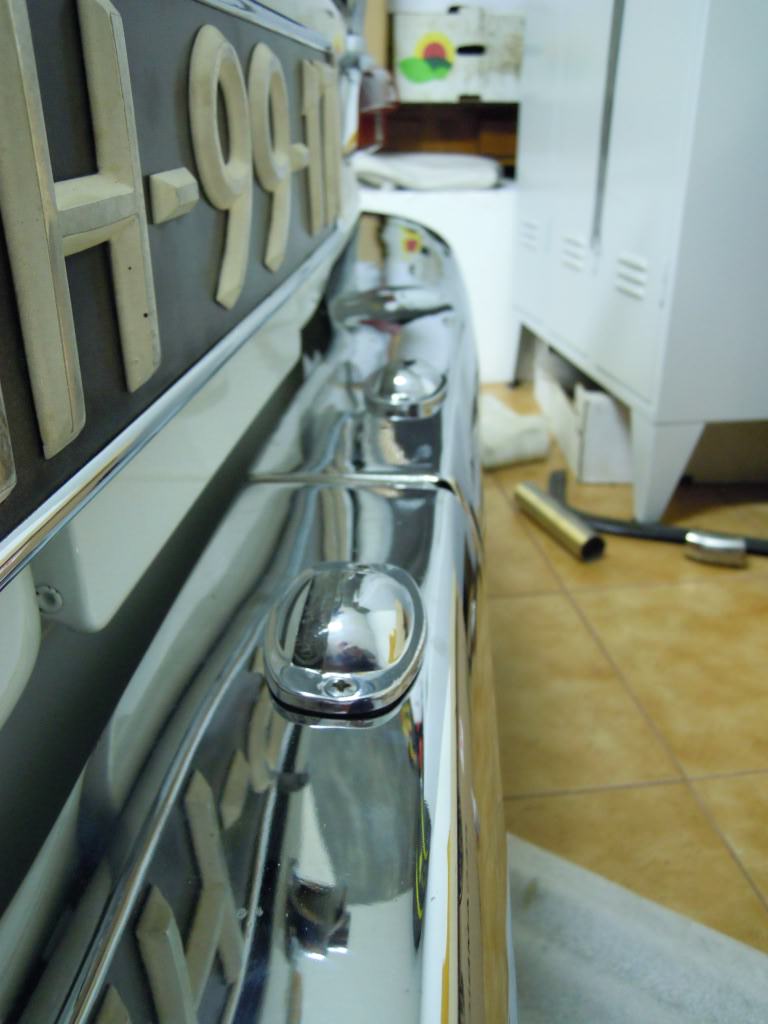
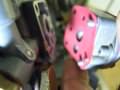
Desta vez virei-me para o pára-choques traseiro, adaptei-lhe umas molas para suportar o cabo dos farolins da matrícula, mas ainda está em estudo.
Desta vez virei-me para o pára-choques traseiro, adaptei-lhe umas molas para suportar o cabo dos farolins da matrícula, mas ainda está em estudo.
Anexos
-
 DSCN1811.JPG153.8 KB · Vistos: 37
 -
 DSCN1812.JPG129.4 KB · Vistos: 36
 -
 DSCN1814.JPG165.9 KB · Vistos: 34
 -
 DSCN1816.JPG162.6 KB · Vistos: 33
 -
 DSCN1819.JPG144.2 KB · Vistos: 34
 -
 DSCN1821.JPG114.5 KB · Vistos: 35
 -
 DSCN1823.JPG111.8 KB · Vistos: 37
 -
 DSCN1824.JPG125.2 KB · Vistos: 37
 -
 DSCN1825.JPG179.4 KB · Vistos: 37
 -
 DSCN1827.JPG158.1 KB · Vistos: 36
 -
 DSCN1828.JPG119.6 KB · Vistos: 37
 -
 DSCN1829.JPG122.5 KB · Vistos: 30


Fernando L. G. Pinto
Veterano
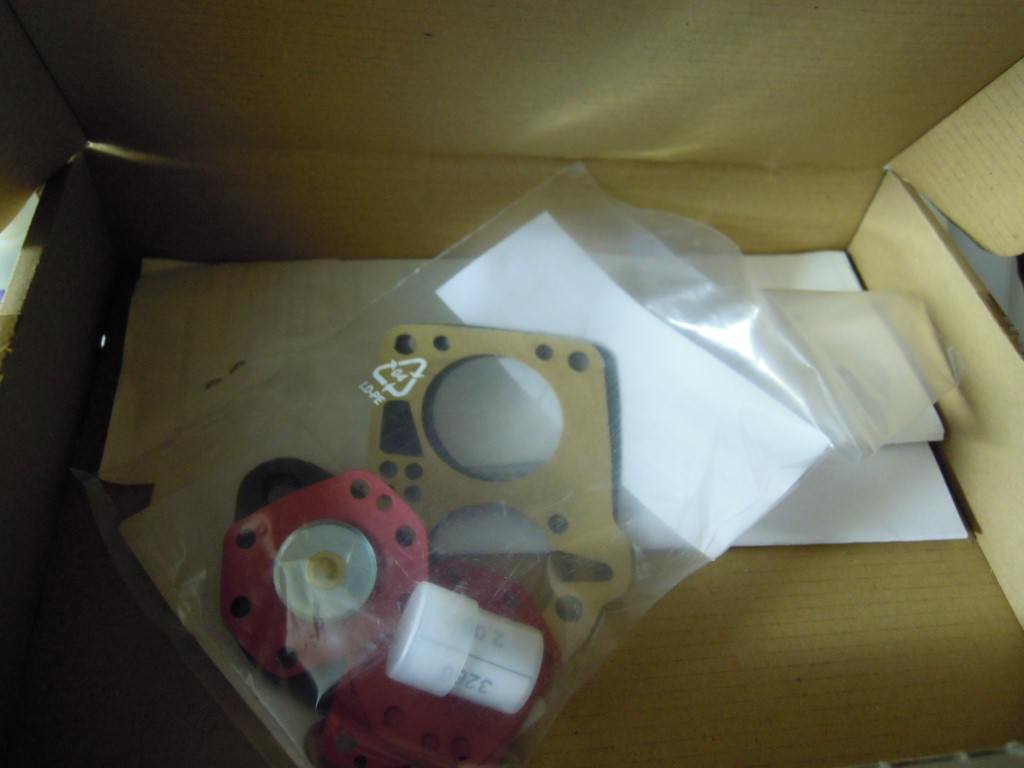
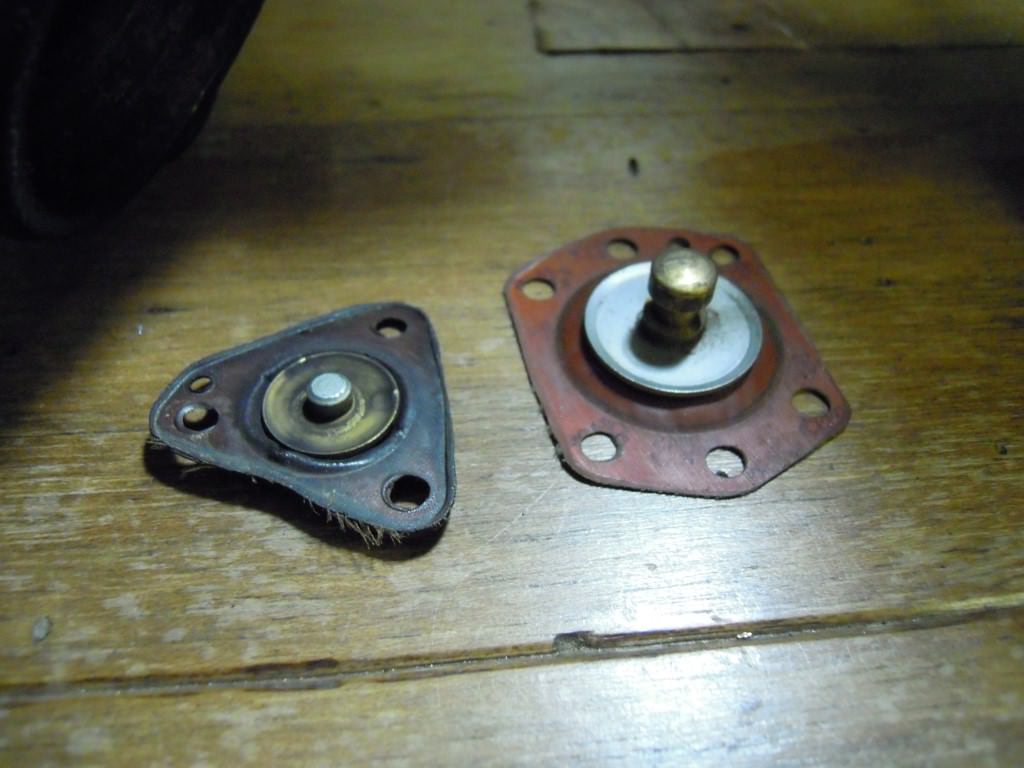
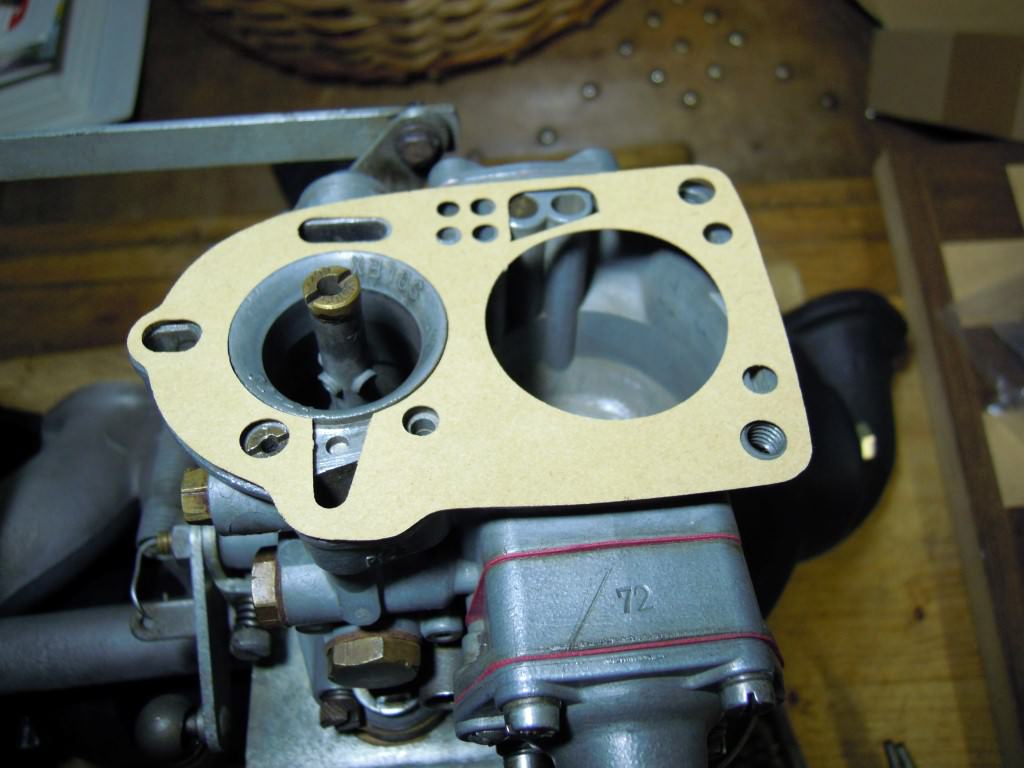
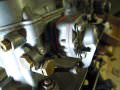
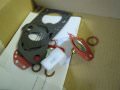
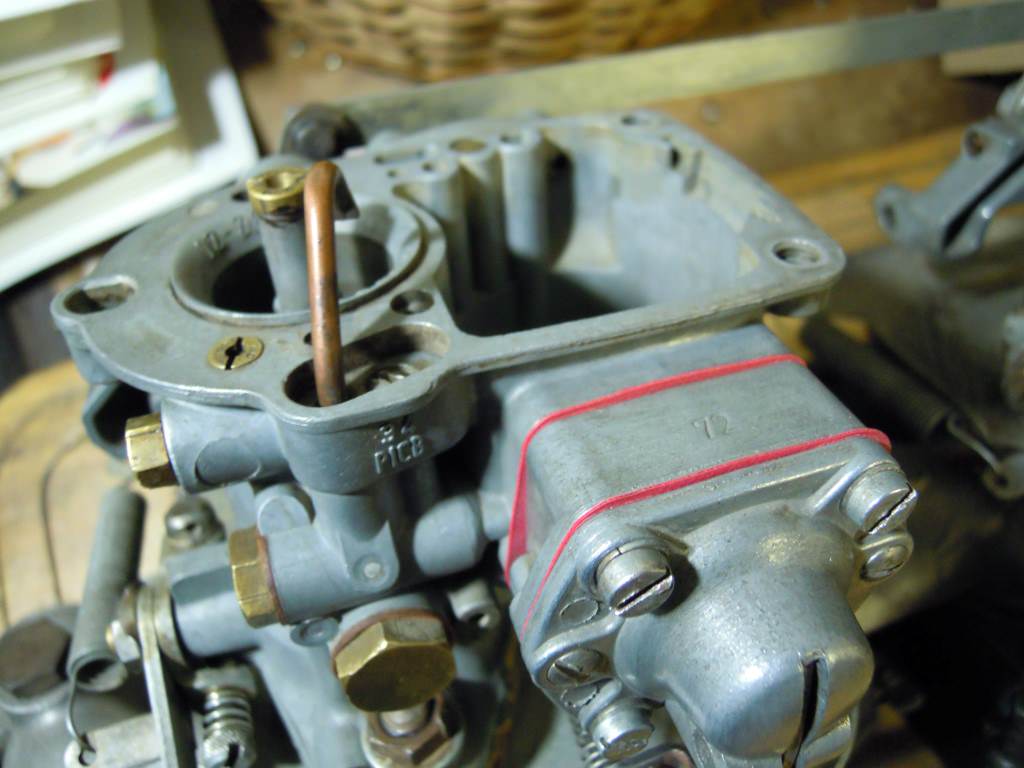
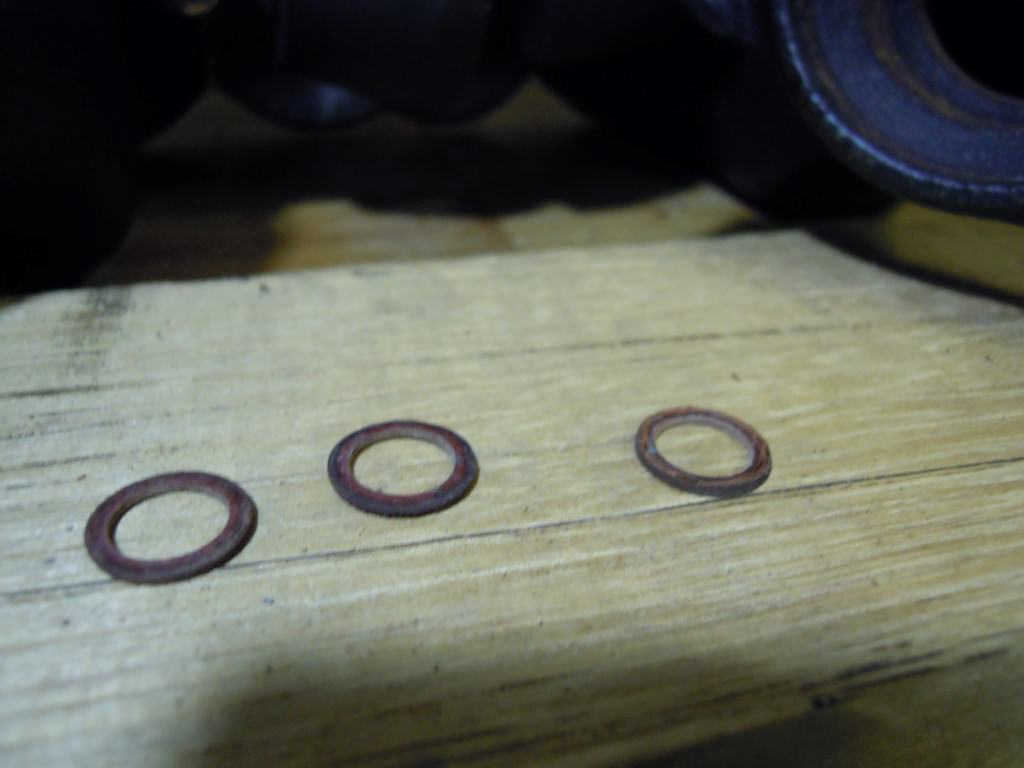
Ontem chegou o kit para reparação de um carburador(juntas, diafragmas e outros).
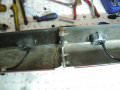
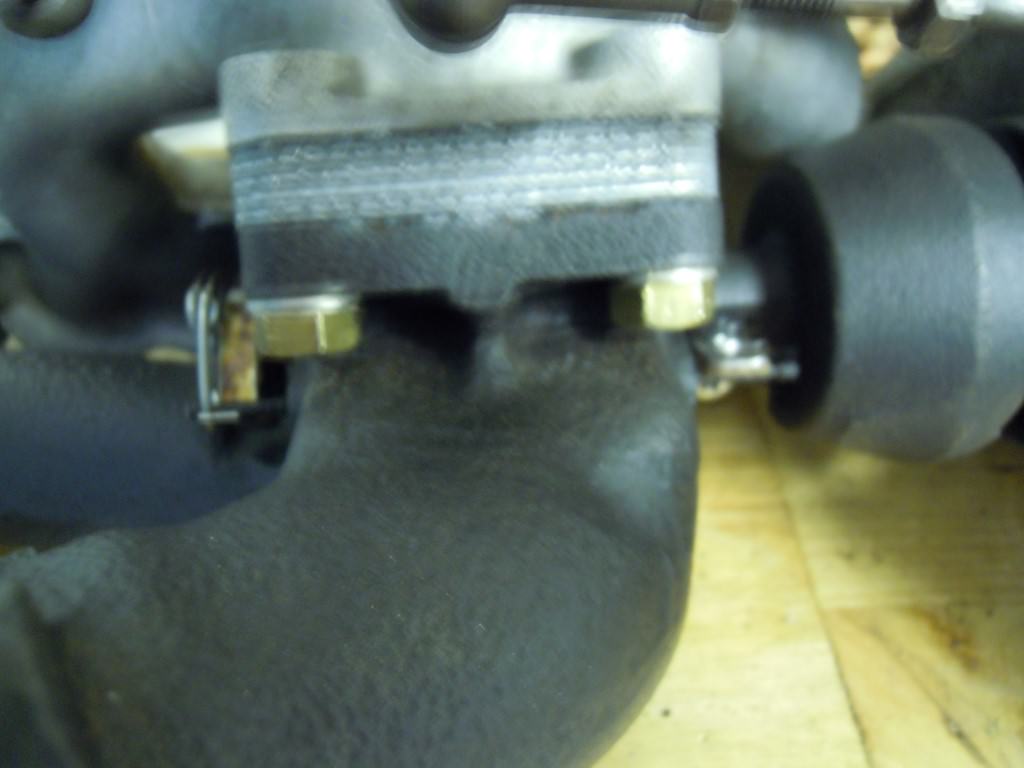
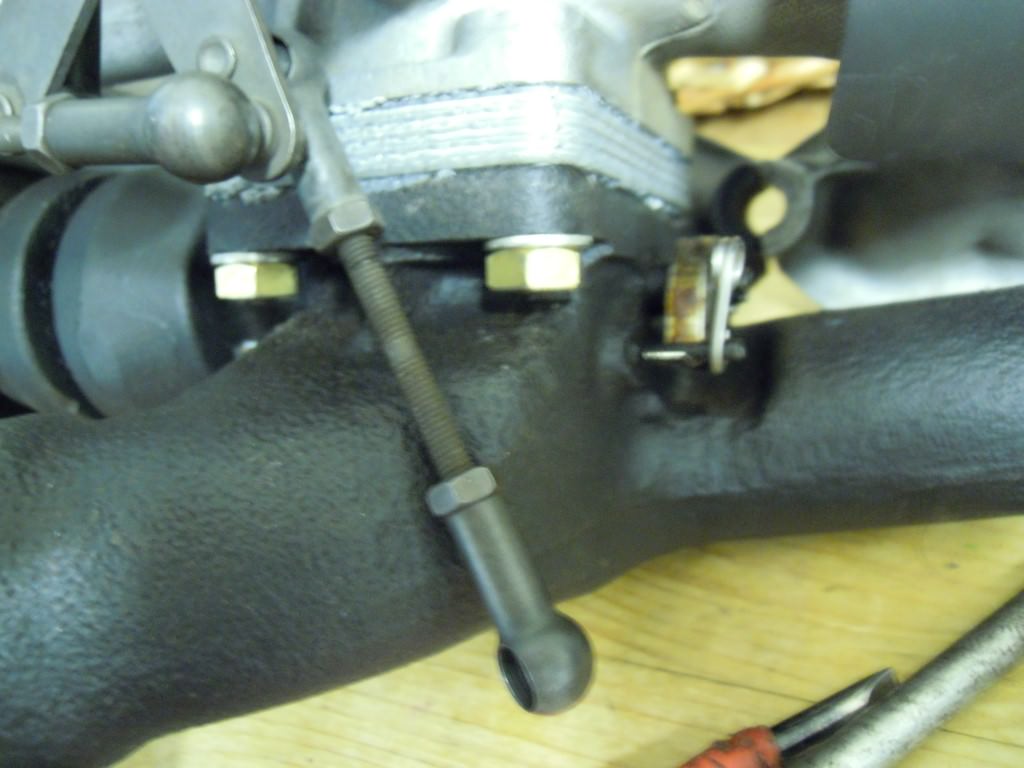
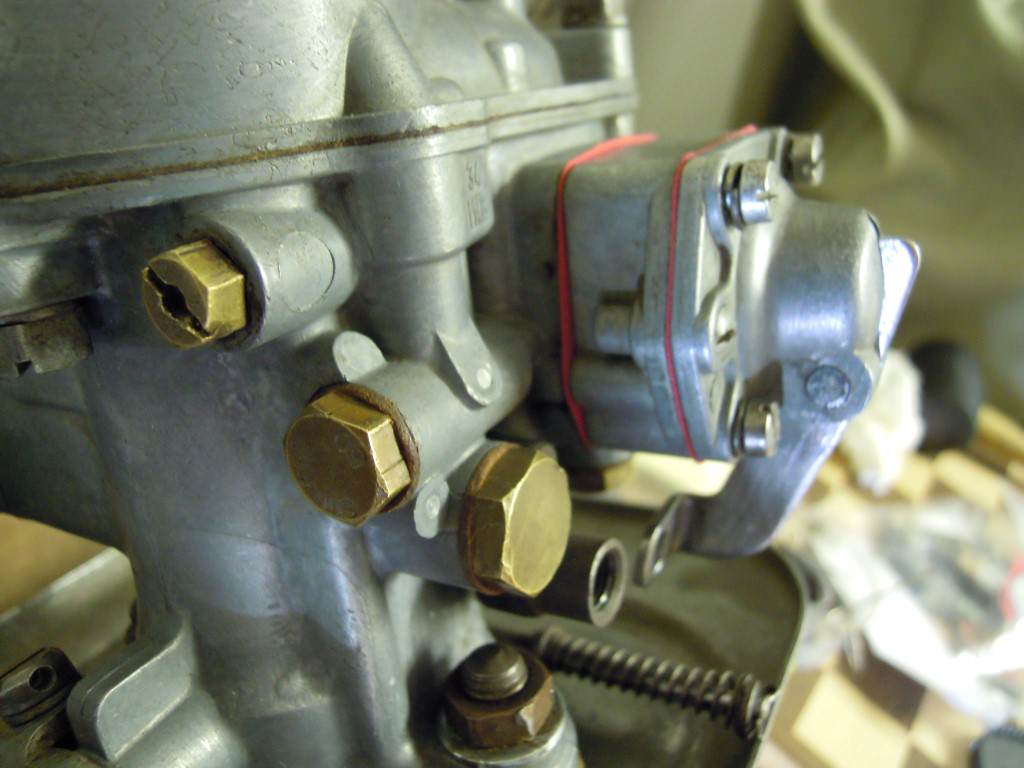
Coloquei porcas de latão e retirei as de inox, parece que são melhores, pelo menos é do mesmo material original.
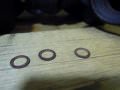
Entretanto, descobri uma maneira de adaptar as abraçadeiras com as borrachas e as anilhas de inox. Acho que não me saí nada mal...mas ainda lhes falta dar o toque final.
Coloquei porcas de latão e retirei as de inox, parece que são melhores, pelo menos é do mesmo material original.
Entretanto, descobri uma maneira de adaptar as abraçadeiras com as borrachas e as anilhas de inox. Acho que não me saí nada mal...mas ainda lhes falta dar o toque final.
Anexos
-
 DSCN1833.JPG108.9 KB · Vistos: 30
 -
 DSCN1834.JPG112.6 KB · Vistos: 27
 -
 DSCN1836.JPG121.1 KB · Vistos: 28
 -
 DSCN1837.JPG142.1 KB · Vistos: 28
 -
 DSCN1839.JPG138.9 KB · Vistos: 29
 -
 DSCN1840.JPG150.4 KB · Vistos: 31
 -
 DSCN1842.JPG116.2 KB · Vistos: 29
 -
 DSCN1843.JPG132 KB · Vistos: 31
 -
 DSCN1844.JPG128.6 KB · Vistos: 31
 -
 DSCN1845.JPG110.9 KB · Vistos: 30
 -
 DSCN1846.JPG133.1 KB · Vistos: 30
 -
 DSCN1847.JPG106.3 KB · Vistos: 30
 -
 DSCN1849.JPG128.8 KB · Vistos: 25


Fernando L. G. Pinto
Veterano
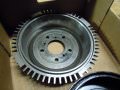
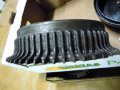
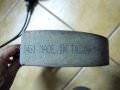
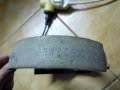
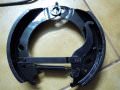
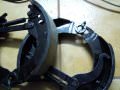
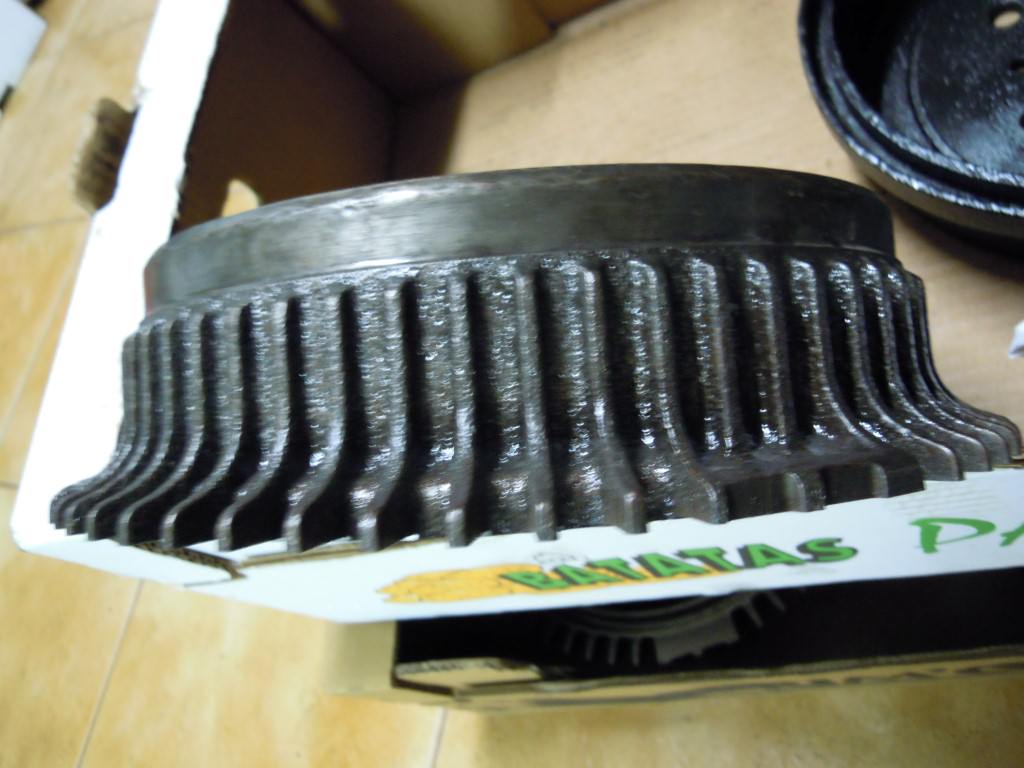
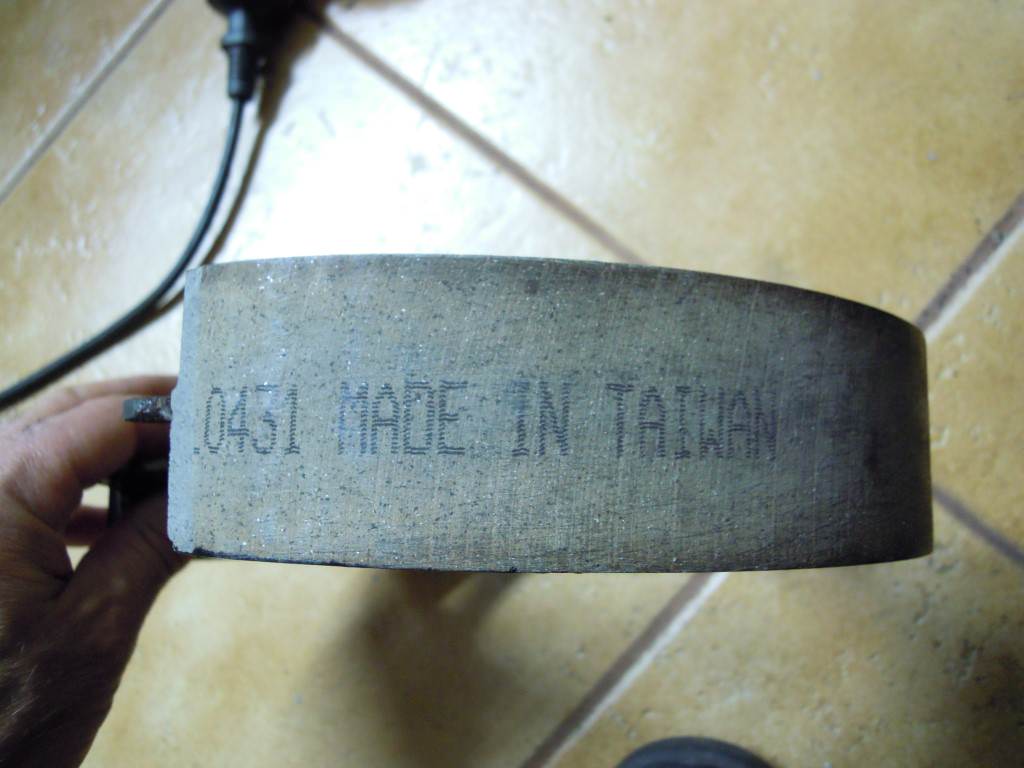
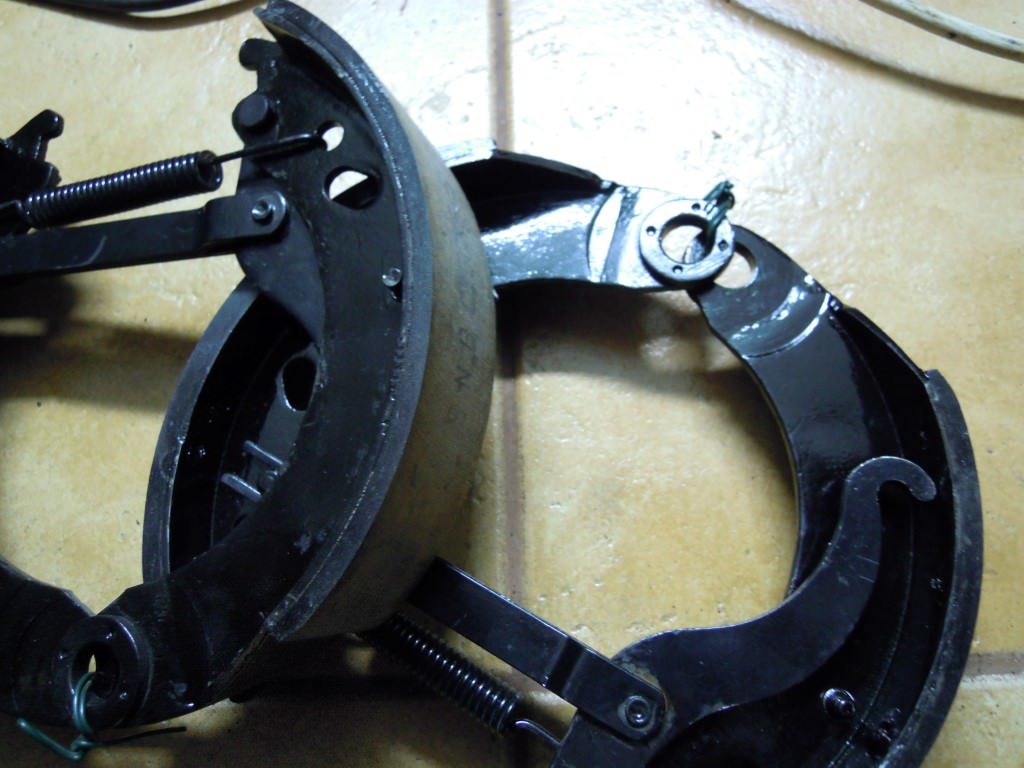
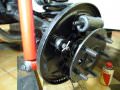
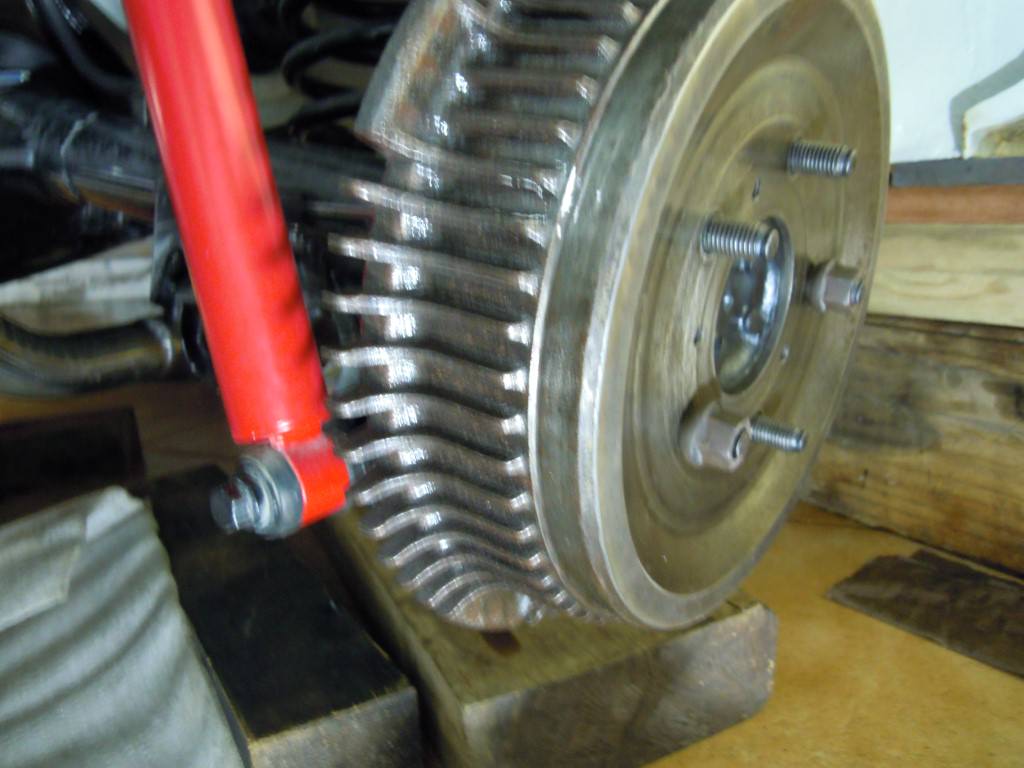
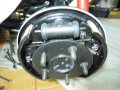
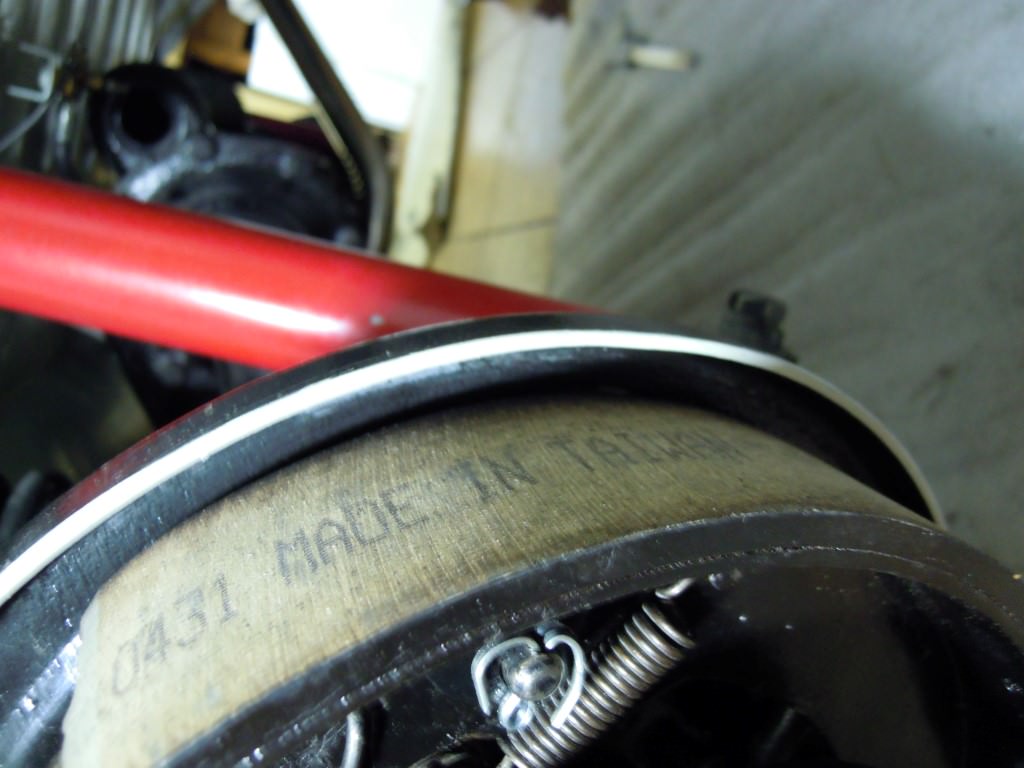
Mandei retificar os tambores de trás para a medida dos pratos e meter novas cintas.
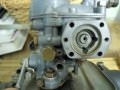
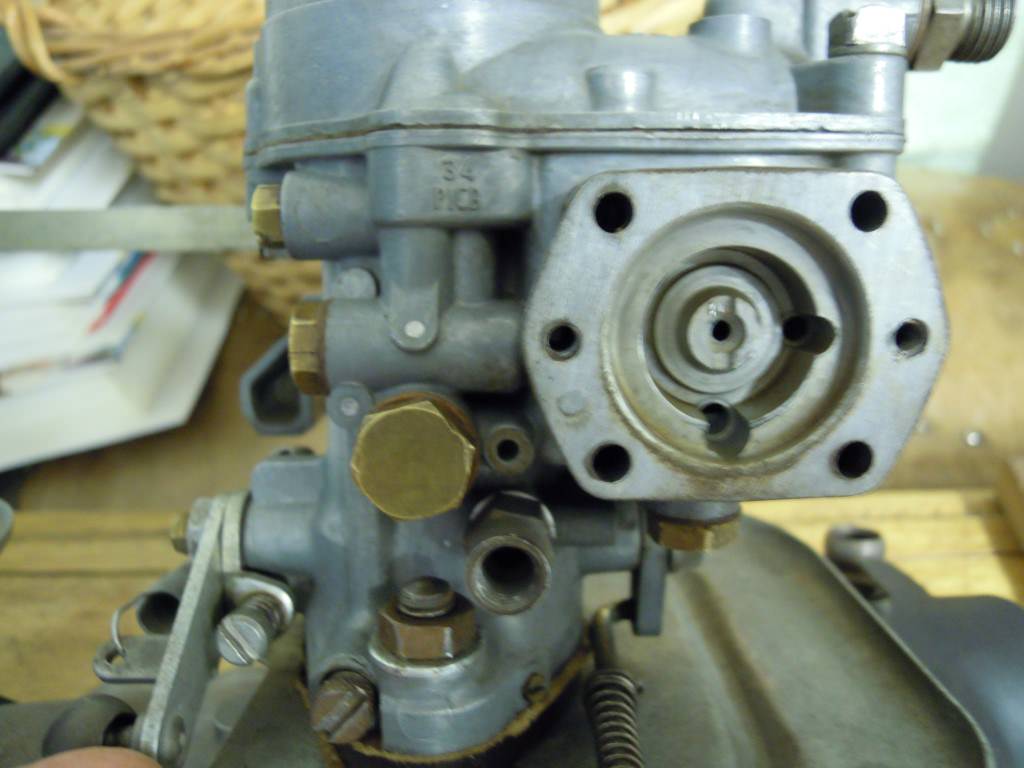
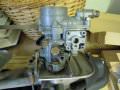
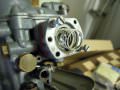
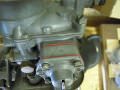
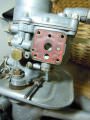
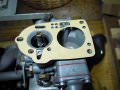
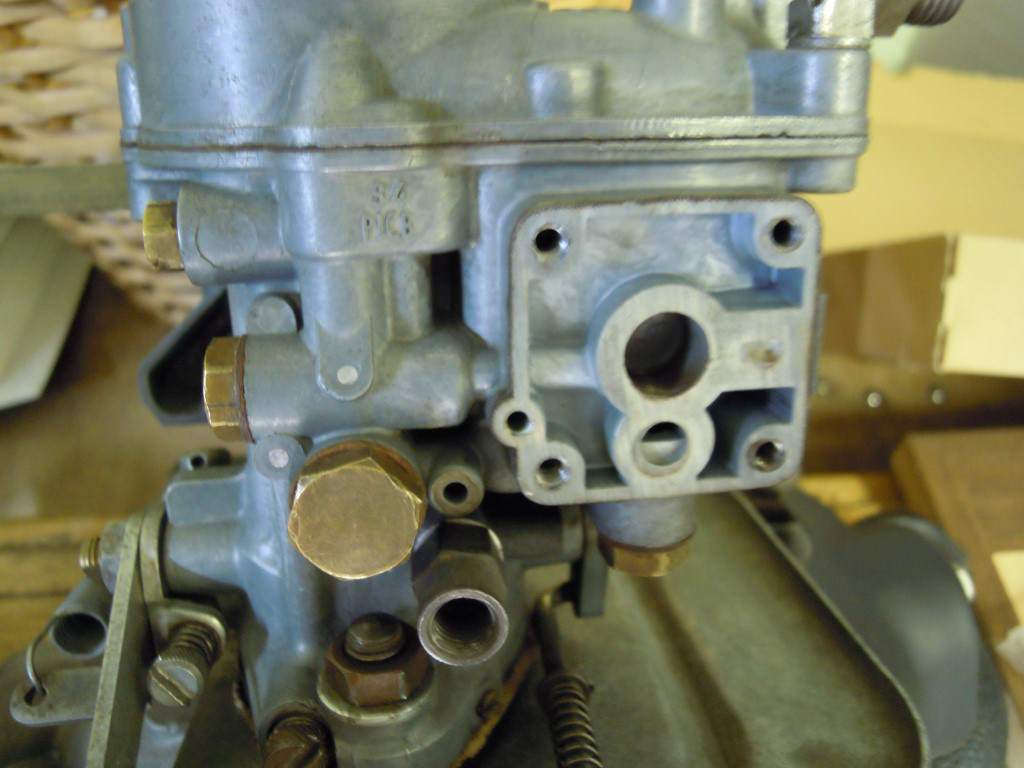
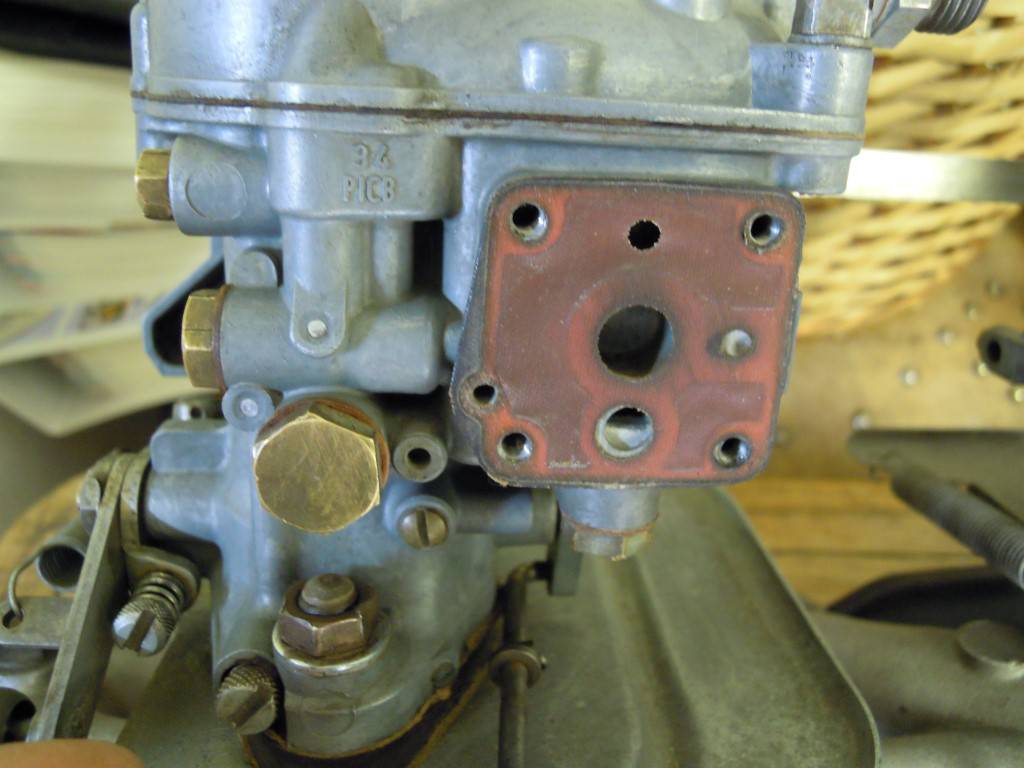
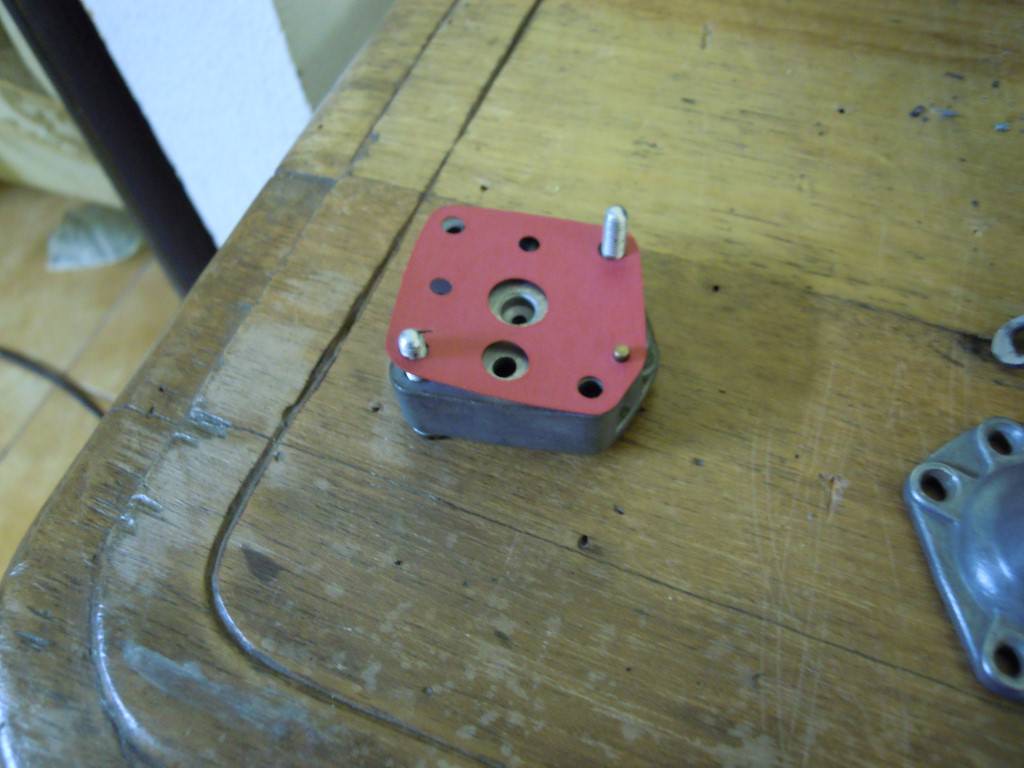
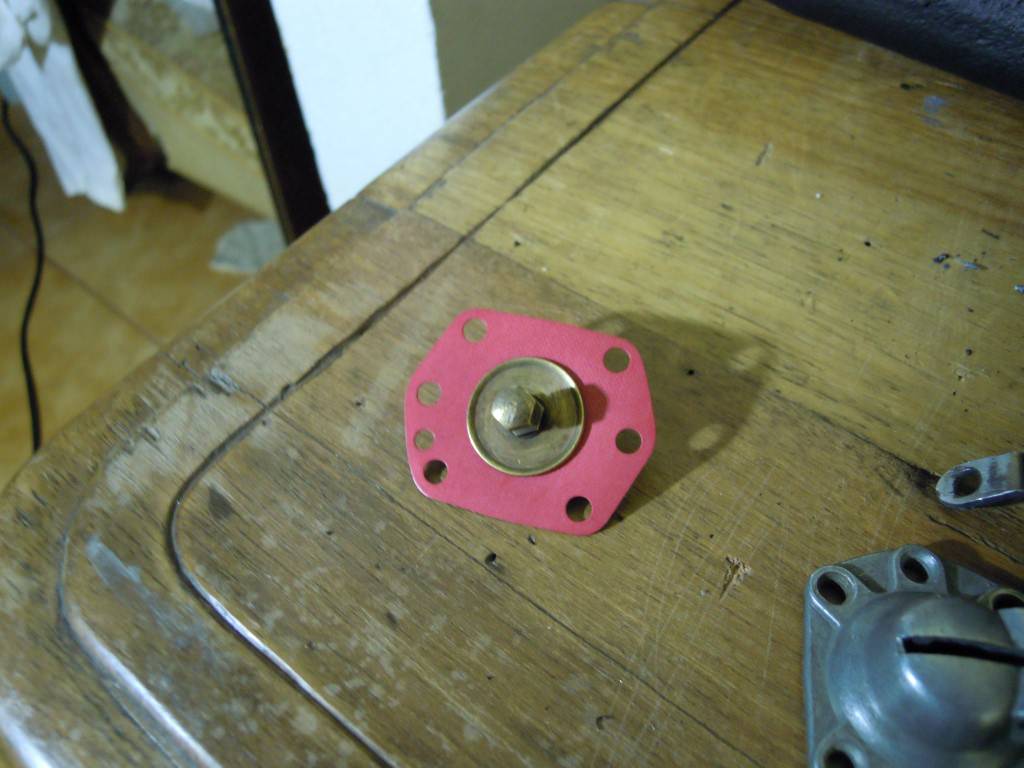
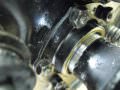
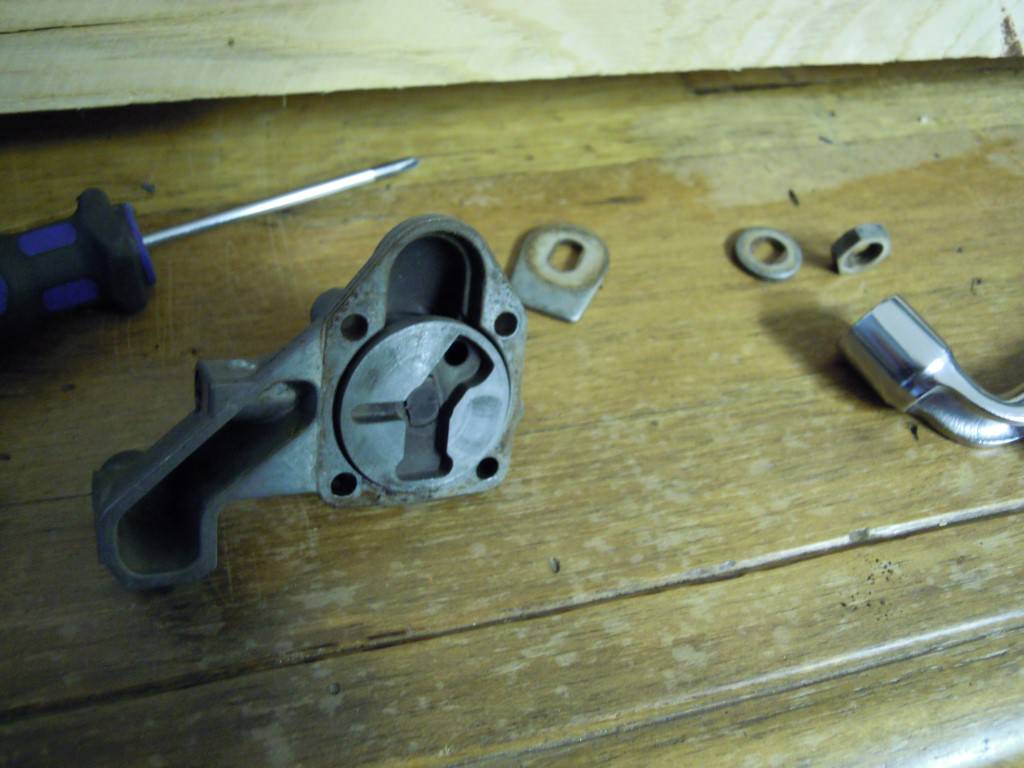
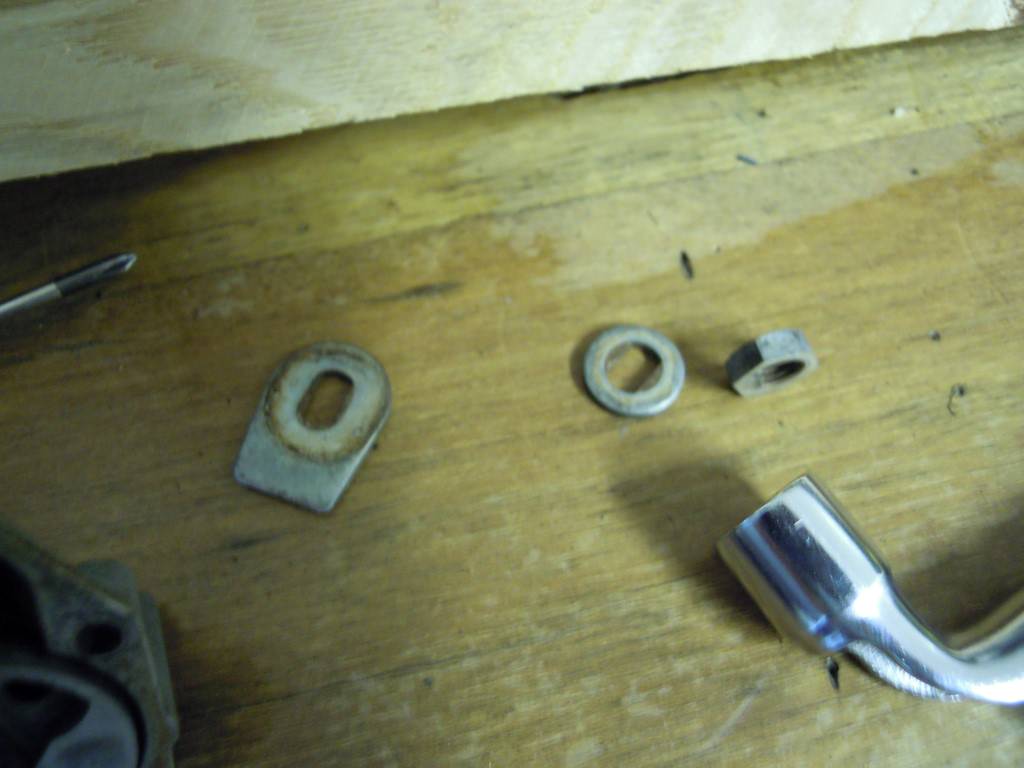
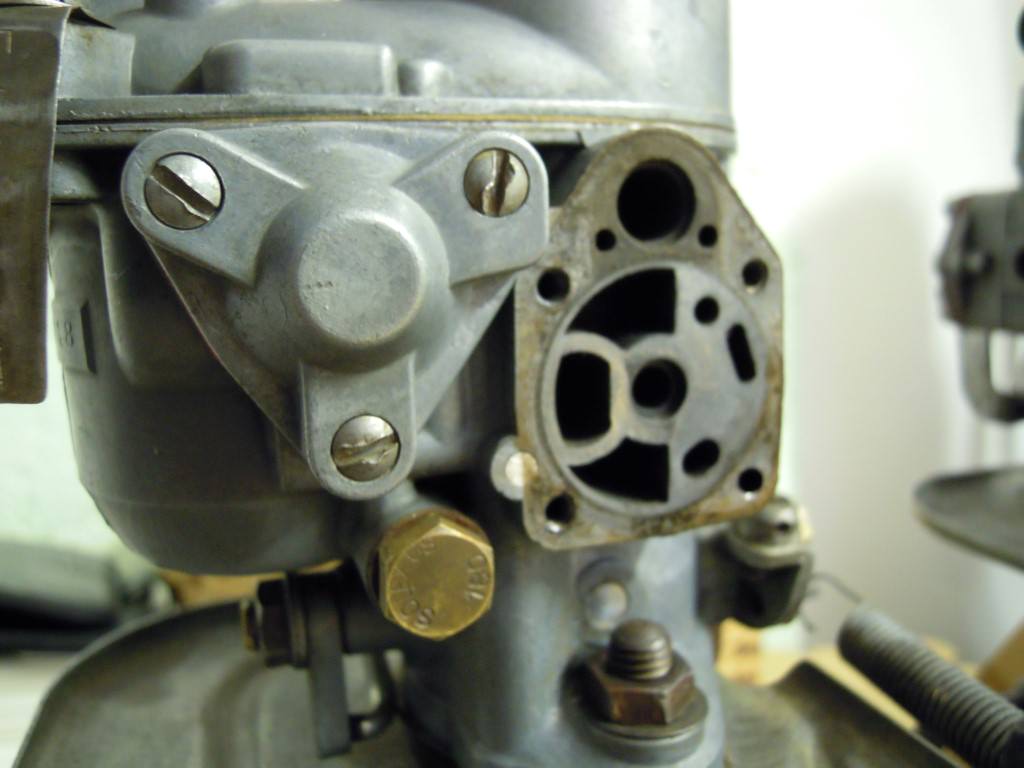
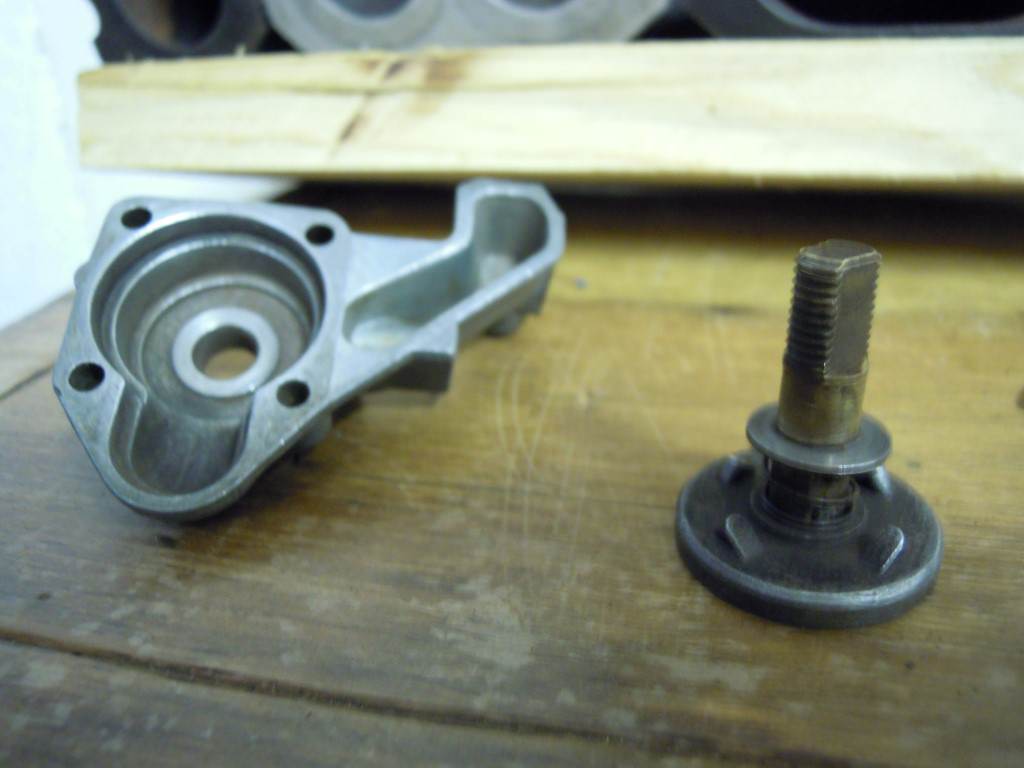
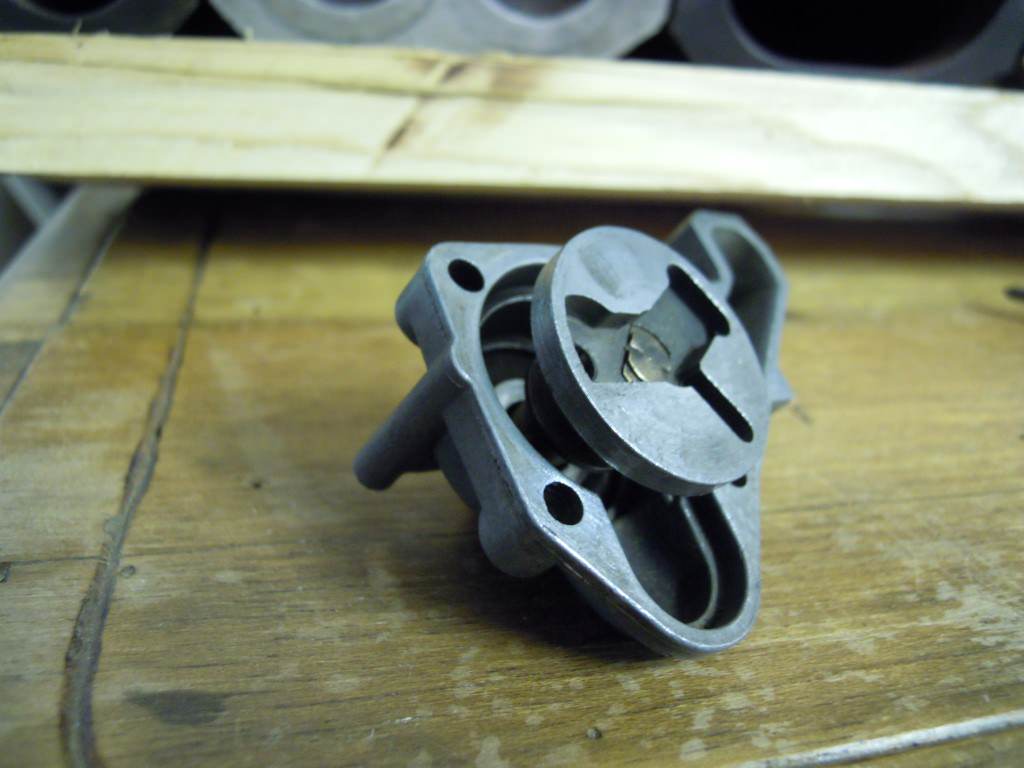
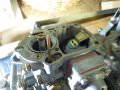
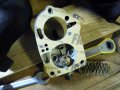
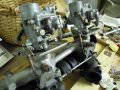
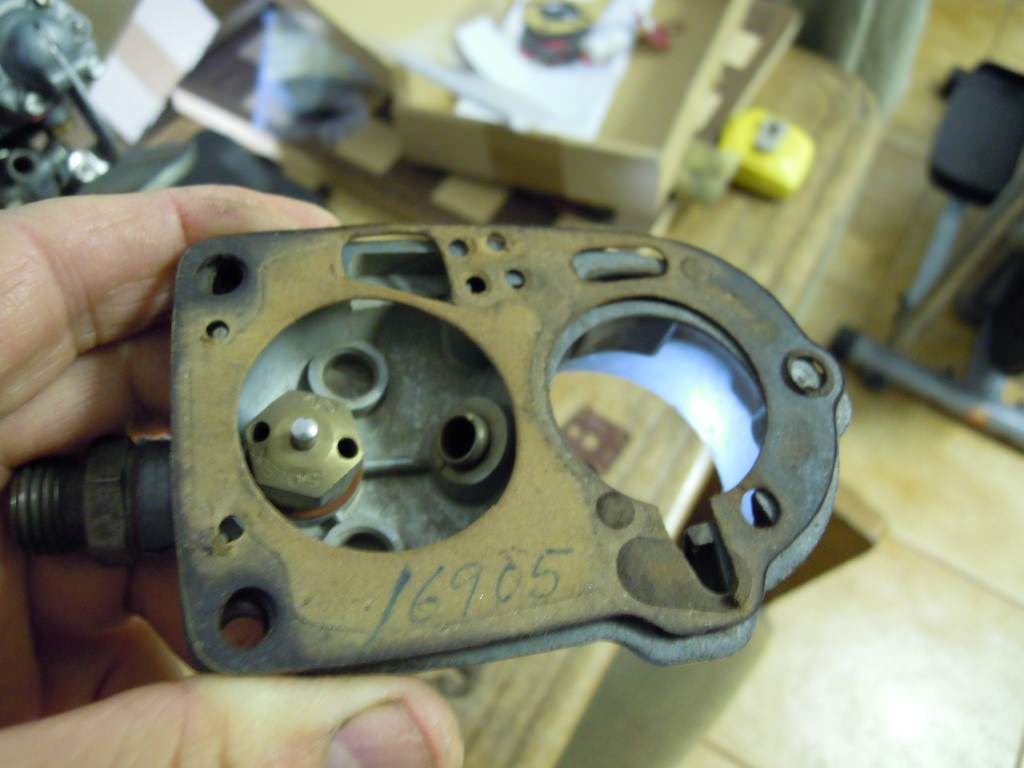
Comecei a colocar as juntas e diafragmas que vinham no kit que comprei. Vou precisar de encher com solda algumas peças que estão desgastadas pelo uso.
Agora sei que o carburador precisa de mais restauro do que imaginava.
Comecei a colocar as juntas e diafragmas que vinham no kit que comprei. Vou precisar de encher com solda algumas peças que estão desgastadas pelo uso.
Agora sei que o carburador precisa de mais restauro do que imaginava.
Anexos
-
 DSCN1850.JPG152.8 KB · Vistos: 25
 -
 DSCN1851.JPG153.1 KB · Vistos: 24
 -
 DSCN1853.JPG138.8 KB · Vistos: 20
 -
 DSCN1854.JPG125.3 KB · Vistos: 21
 -
 DSCN1855.JPG178.3 KB · Vistos: 22
 -
 DSCN1856.JPG159.1 KB · Vistos: 21
 -
 DSCN1858.JPG157 KB · Vistos: 22
 -
 DSCN1861.JPG139.2 KB · Vistos: 22
 -
 DSCN1862.JPG147.9 KB · Vistos: 21
 -
 DSCN1864.JPG163.6 KB · Vistos: 22
 -
 DSCN1865.JPG142.5 KB · Vistos: 22
 -
 DSCN1867.JPG135.4 KB · Vistos: 23
 -
 DSCN1869.JPG156 KB · Vistos: 23
 -
 DSCN1874.JPG132.4 KB · Vistos: 24
 -
 DSCN1874.JPG132.4 KB · Vistos: 23
 -
 DSCN1875.JPG143.1 KB · Vistos: 23
 -
 DSCN1877.JPG143.2 KB · Vistos: 23
 -
 DSCN1879.JPG177.5 KB · Vistos: 24
 -
 DSCN1881.JPG189.2 KB · Vistos: 25
 -
 DSCN1882.JPG144.8 KB · Vistos: 26
 -
 DSCN1886.JPG151 KB · Vistos: 19


Fernando L. G. Pinto
Veterano
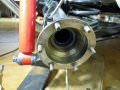
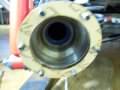
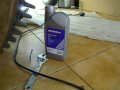
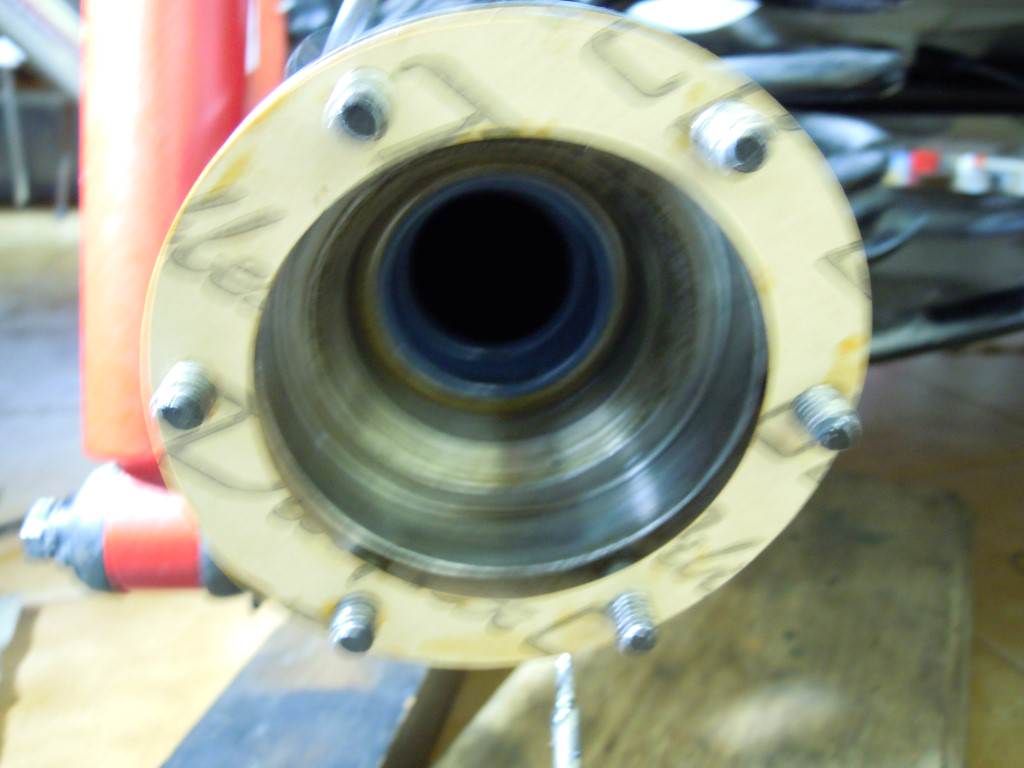
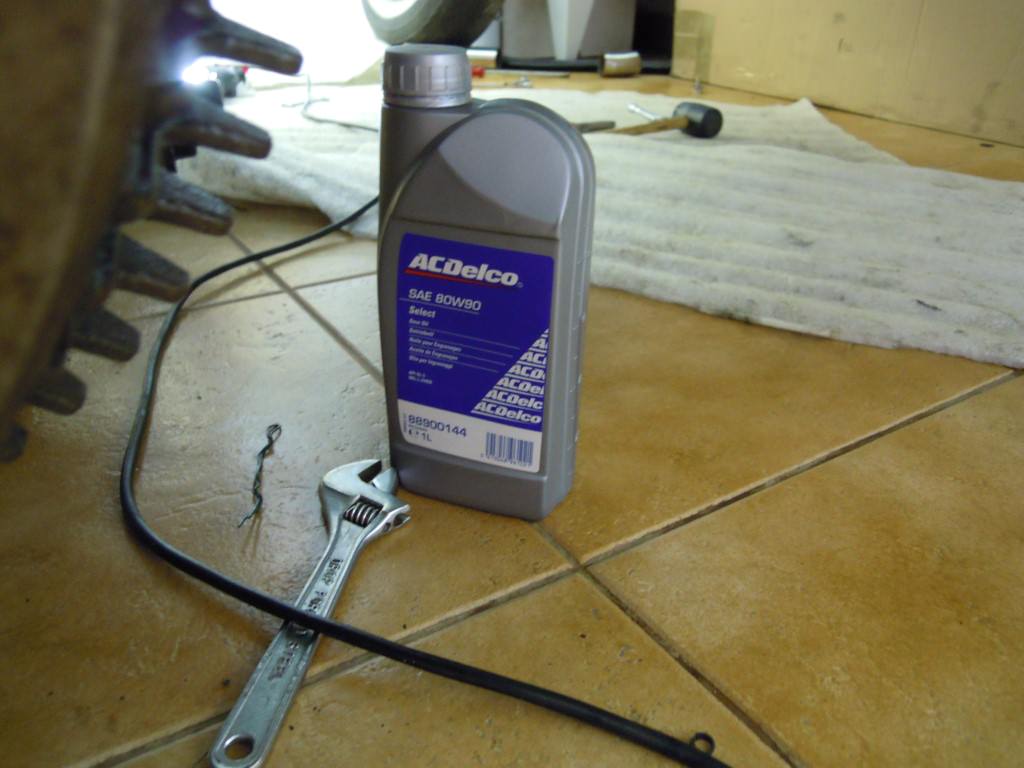
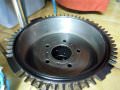
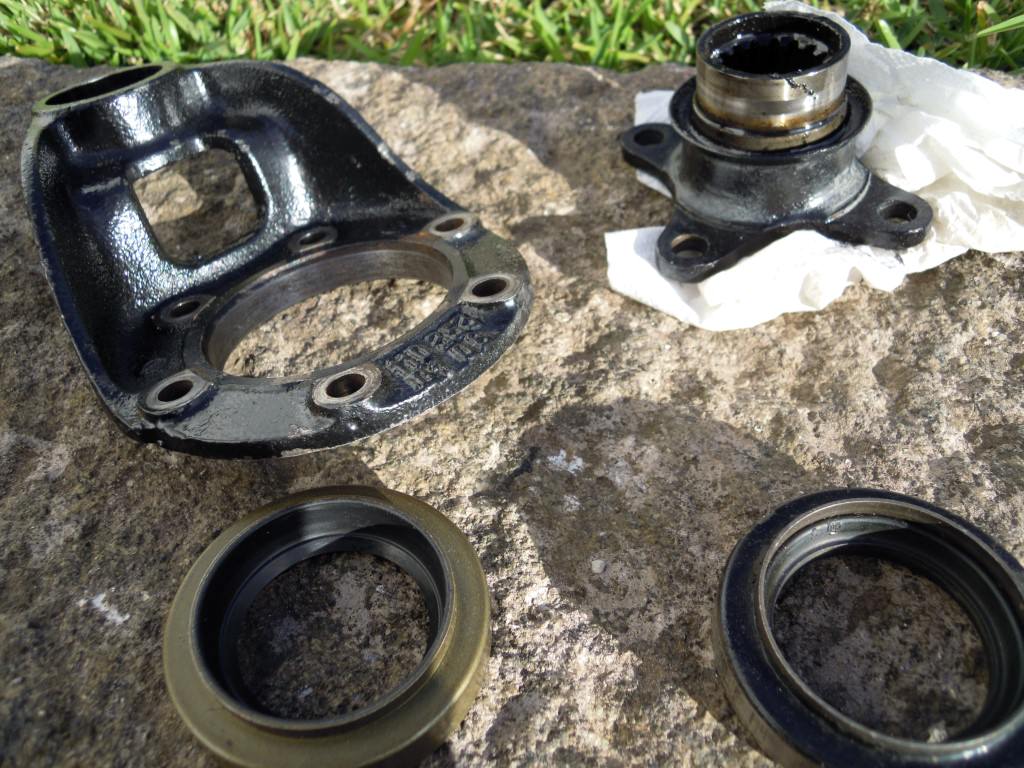
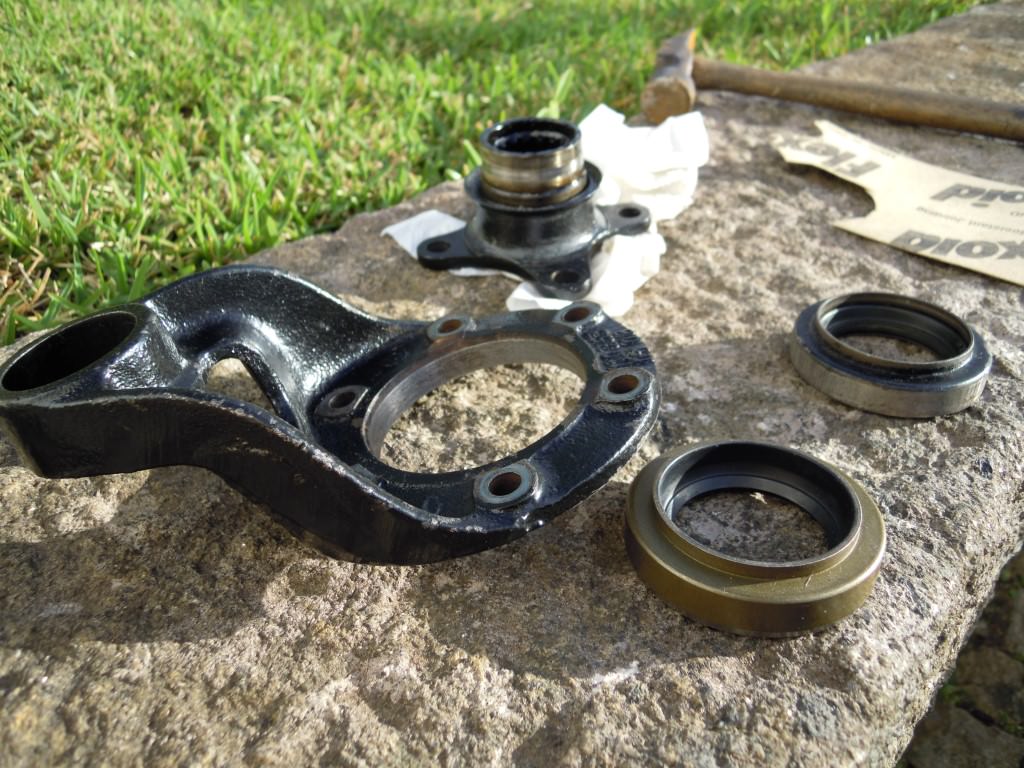
Ora vamos lá então montar os semi-eixos(retentor, junta, etc.).
Estive no diferencial a deitar a pouca valvulina que em tempos tinha sobrado.
Estive no diferencial a deitar a pouca valvulina que em tempos tinha sobrado.
Anexos
-
 DSCN1888.JPG146.7 KB · Vistos: 18
 -
 DSCN1889.JPG144.4 KB · Vistos: 18
 -
 DSCN1890.JPG128.7 KB · Vistos: 17
 -
 DSCN1891.JPG156.3 KB · Vistos: 18
 -
 DSCN1892.JPG119.2 KB · Vistos: 20
 -
 DSCN1895.JPG134.7 KB · Vistos: 21
 -
 DSCN1896.JPG158.6 KB · Vistos: 22
 -
 DSCN1897.JPG137.5 KB · Vistos: 21
 -
 DSCN1898.JPG150.7 KB · Vistos: 21
 -
 DSCN1902.JPG132.5 KB · Vistos: 21
 -
 DSCN1903.JPG145.7 KB · Vistos: 22
 -
 DSCN1906.JPG149.9 KB · Vistos: 18


Fernando L. G. Pinto
Veterano
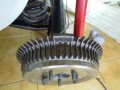
Mais algumas fotos de peças do carburador.
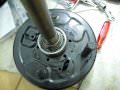
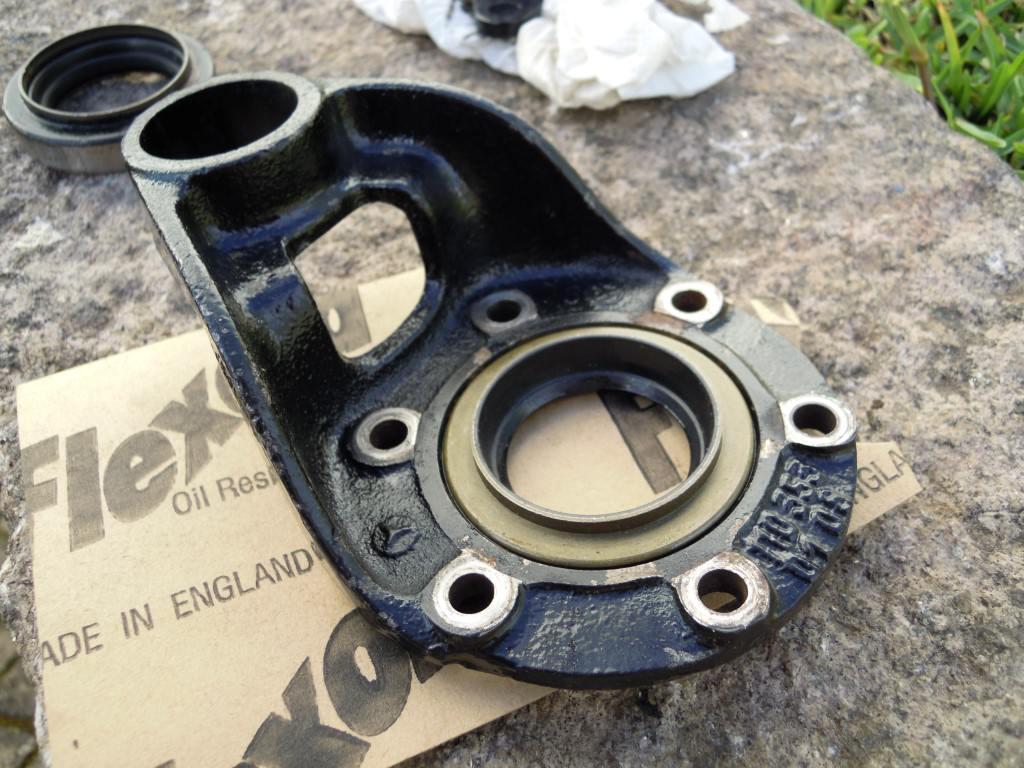
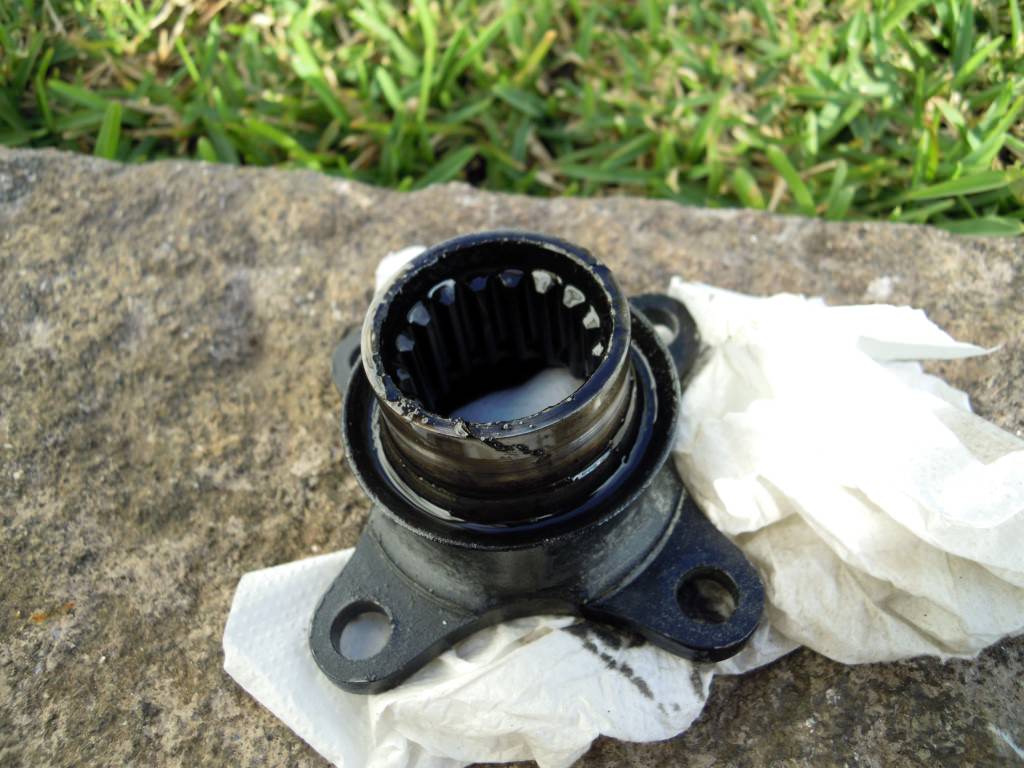
Uma também para estudo do modo como mudar o retentor do óleo do diferencial, que já comprei.
Uma também para estudo do modo como mudar o retentor do óleo do diferencial, que já comprei.
Anexos
Fernando L. G. Pinto
Veterano
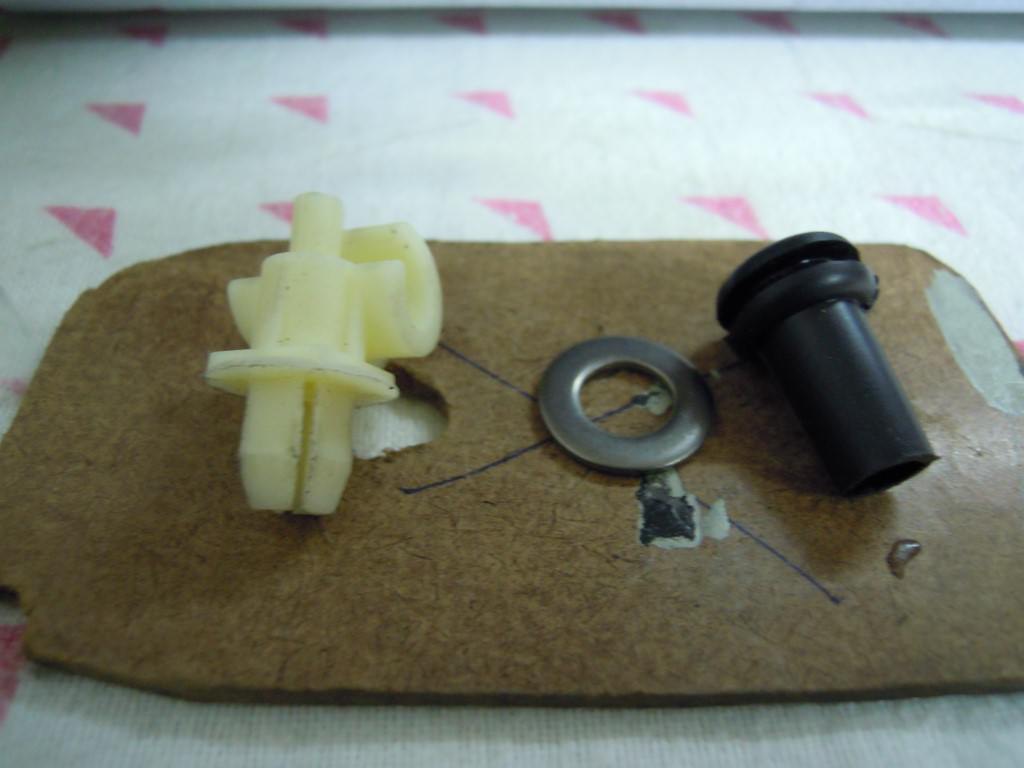
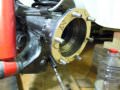
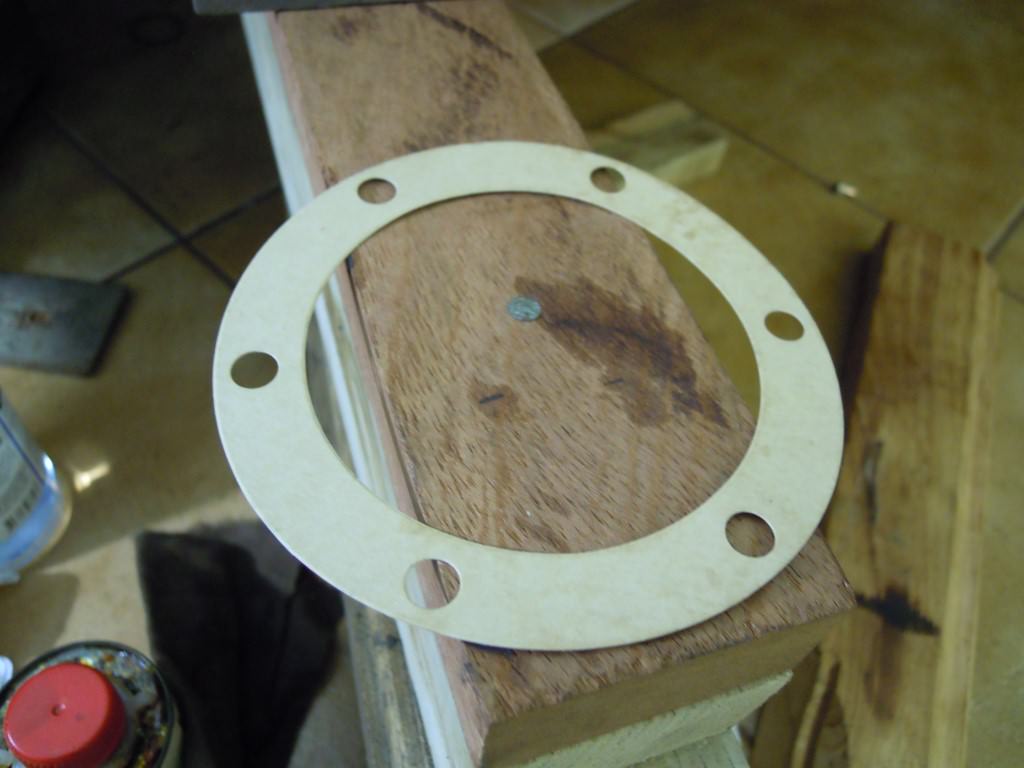
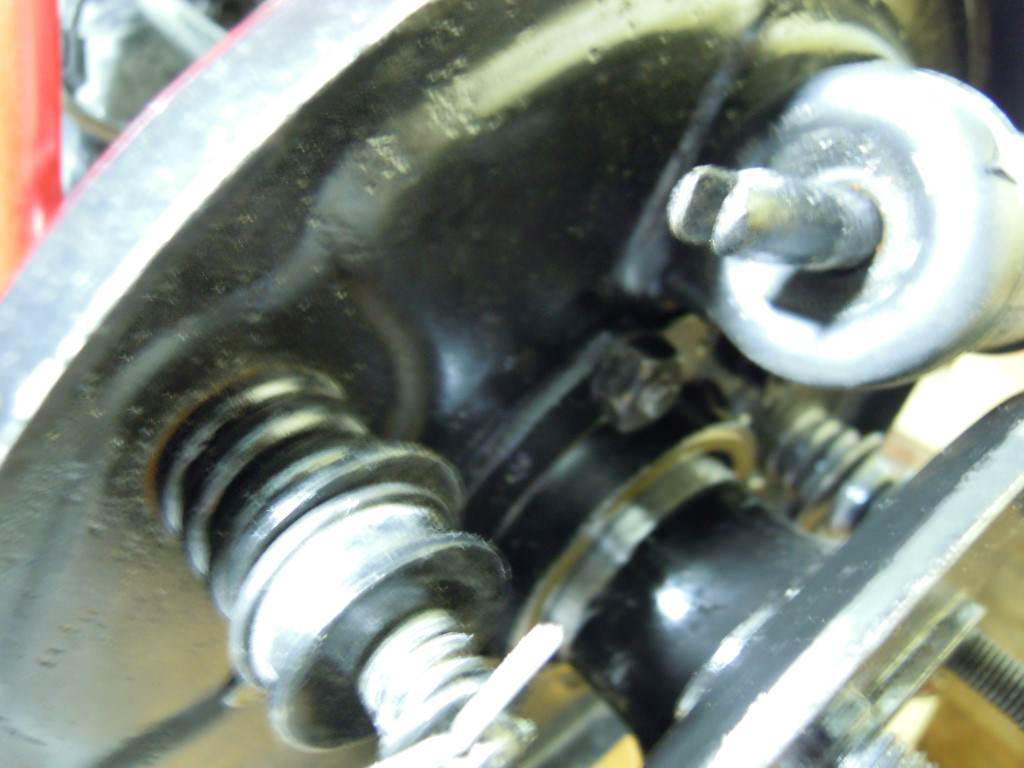
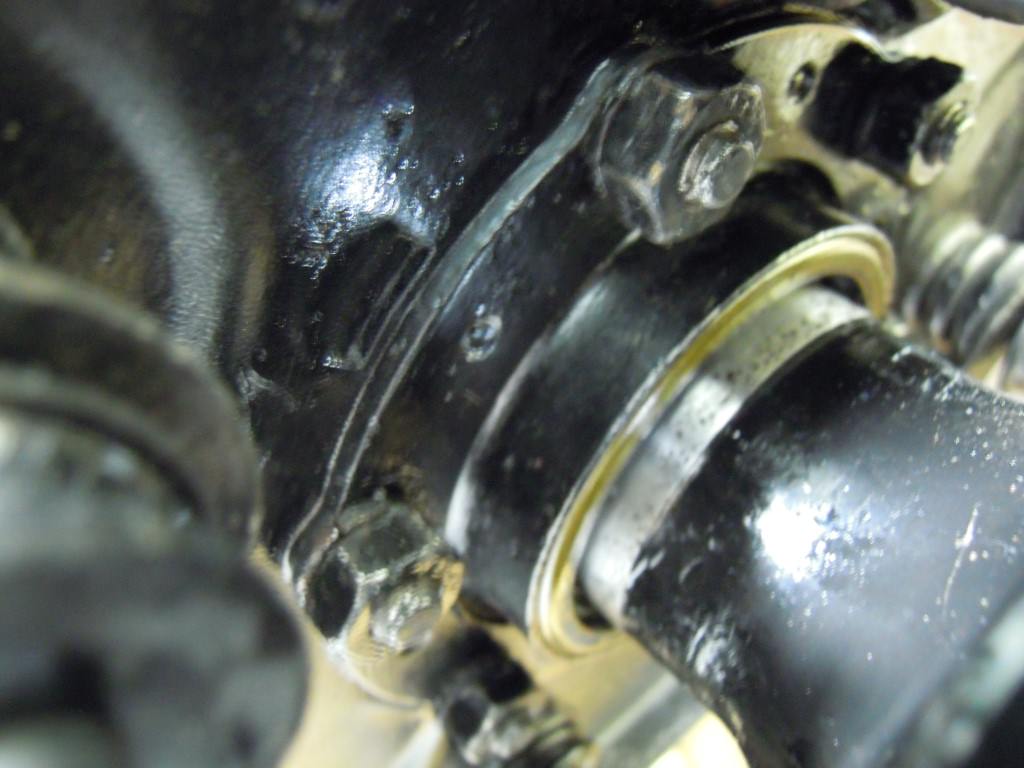
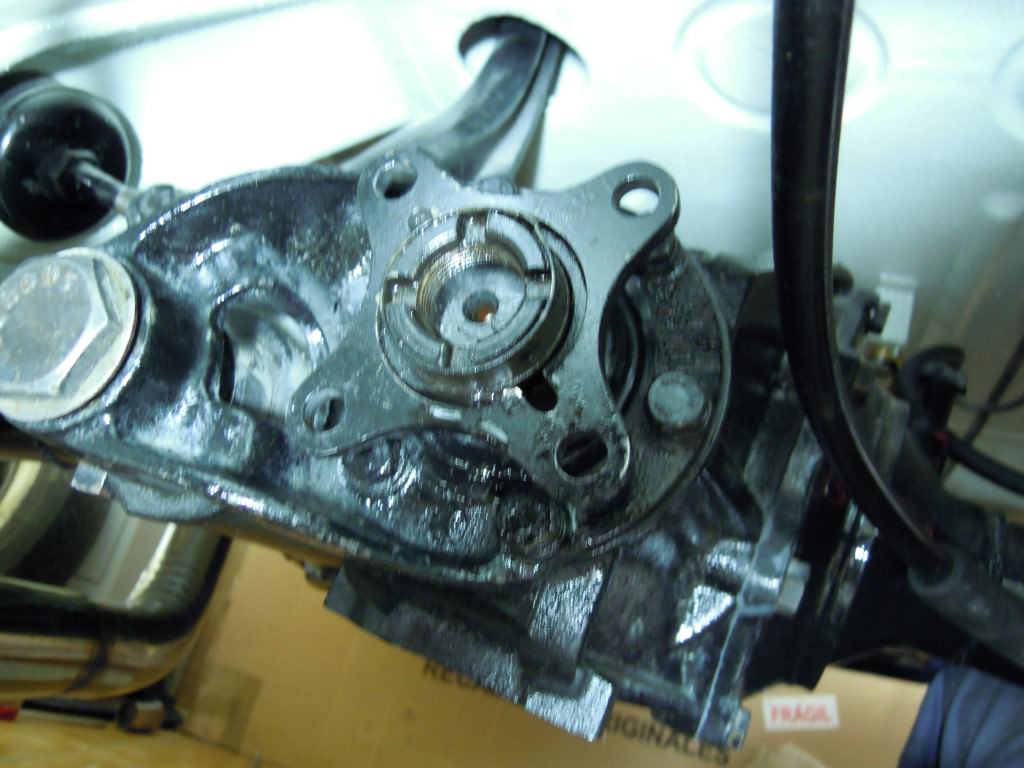
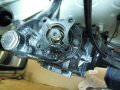
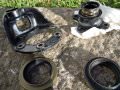
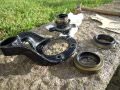
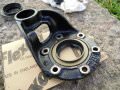
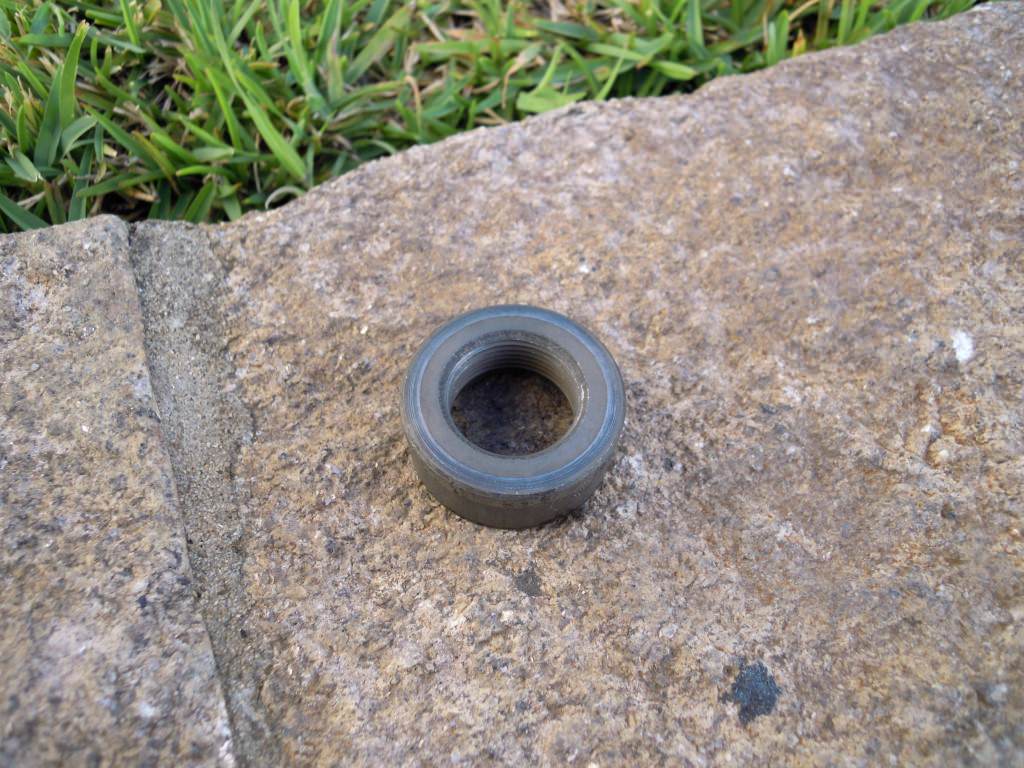
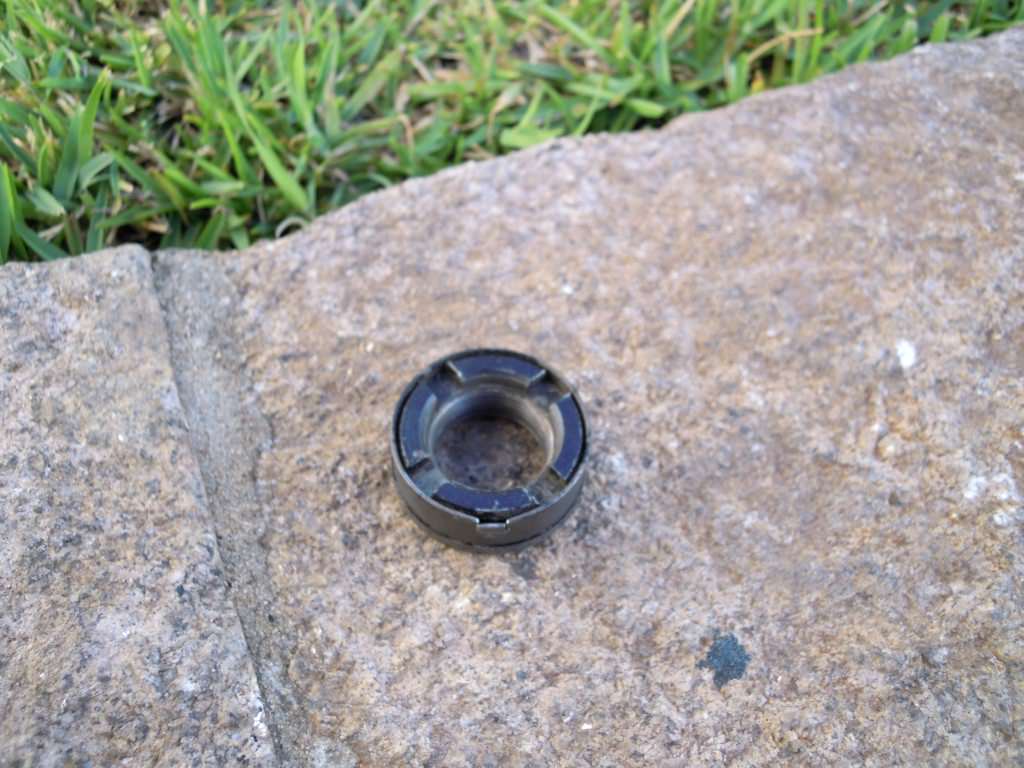
Desmontamos a parte da frente do diferencial para lhe introduzir o retentor novo.
Reparem no pormenor da porca com bucha metálica.
Reparem no pormenor da porca com bucha metálica.
Anexos
-
 DSCN1919.JPG172.8 KB · Vistos: 19
 -
 DSCN1921.JPG266.1 KB · Vistos: 19
 -
 DSCN1922.JPG270.1 KB · Vistos: 19
 -
 DSCN1925.JPG223.7 KB · Vistos: 20
 -
 DSCN1926.JPG219.7 KB · Vistos: 21
 -
 DSCN1927.JPG197.2 KB · Vistos: 22
 -
 DSCN1929.JPG271.8 KB · Vistos: 21
 -
 DSCN1930.JPG219.1 KB · Vistos: 22
 -
 DSCN1931.JPG156.6 KB · Vistos: 24
 -
 DSCN1932.JPG141 KB · Vistos: 22
 -
 DSCN1933.JPG146.6 KB · Vistos: 18


Última edição:
Fernando L. G. Pinto
Veterano
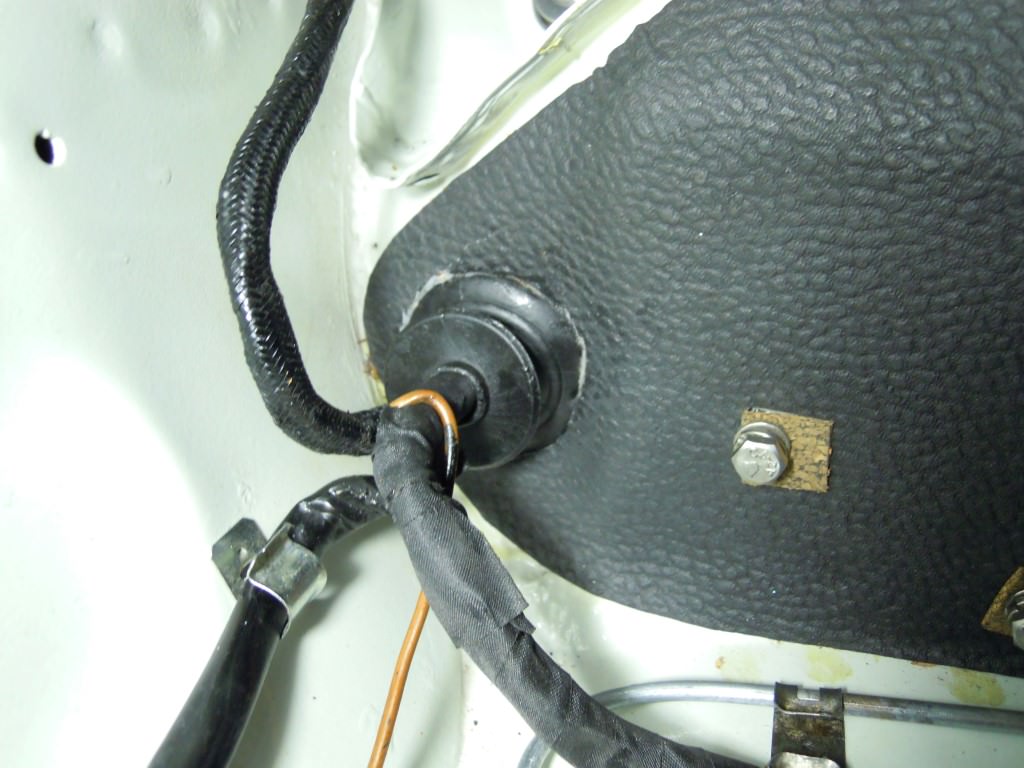
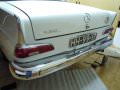
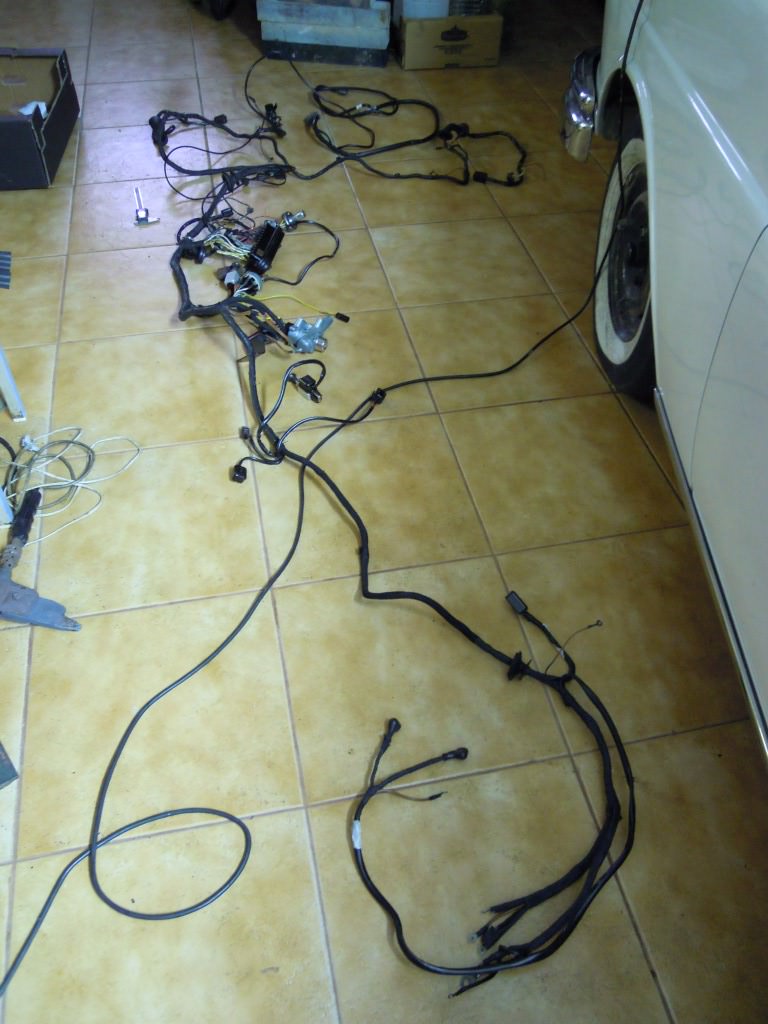
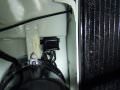
Mais uma fotos da traseira do MB.
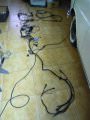
Agora estou-me a meter na aventura de colocar a cablagem, não vai ser nada fácil...
Agora estou-me a meter na aventura de colocar a cablagem, não vai ser nada fácil...
Anexos
-
 DSCN1938.JPG141.7 KB · Vistos: 33
 -
 DSCN1939.JPG148.3 KB · Vistos: 34
 -
 DSCN1940.JPG138.1 KB · Vistos: 35
 -
 DSCN1943.JPG139.5 KB · Vistos: 36
 -
 DSCN1944.JPG139.1 KB · Vistos: 35
 -
 DSCN1945.JPG150.2 KB · Vistos: 30
 -
 DSCN1946.JPG181.8 KB · Vistos: 32
 -
 DSCN1947.JPG236.7 KB · Vistos: 33
 -
 DSCN1950.JPG145.9 KB · Vistos: 33
 -
 DSCN1952.JPG254.8 KB · Vistos: 27


Jorge Viegas
Veterano
Mais uma vez digo que este restauro é digno de revista da especialidade
Mais uma vez digo que este restauro é digno de revista da especialidade
Sem dúvida! O nível de pormenor é incrível. Este é daqueles que quando estiver terminado está melhor do que quando saiu da fábrica
Fernando L. G. Pinto
Veterano
Obrigado a ambos pelos belos elogios. Hoje não estou a conseguir postar mais fotos porque estou com problemas na máquina. Espero consegui-lo amanhã.
Fernando L. G. Pinto
Veterano
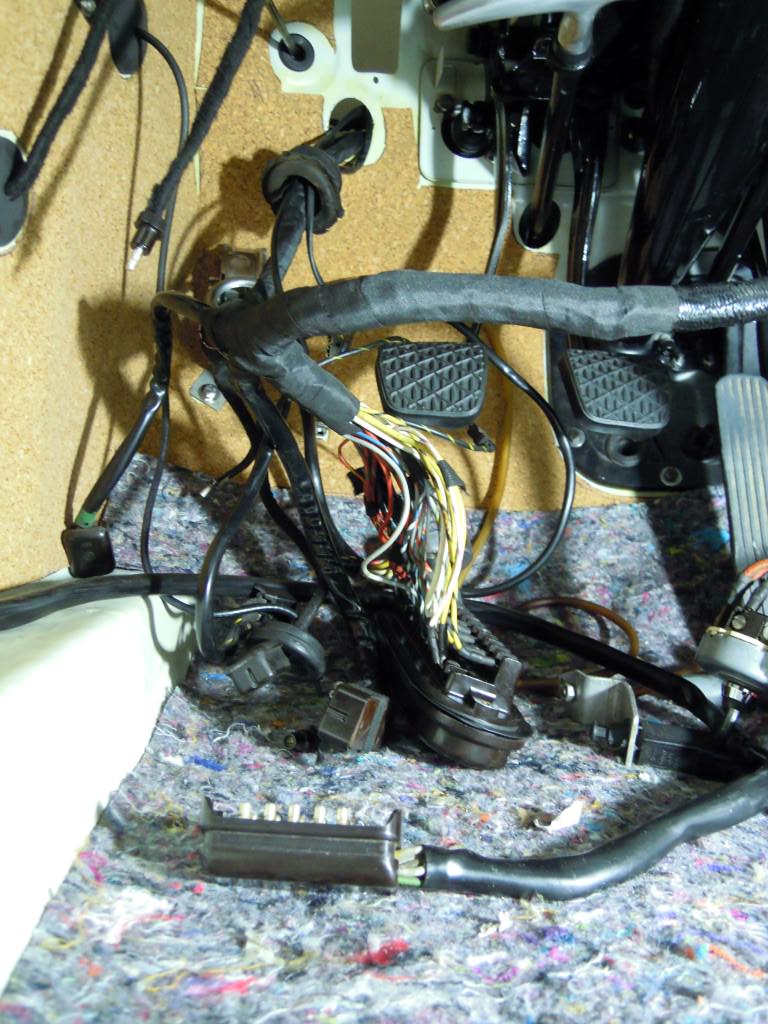
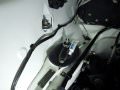
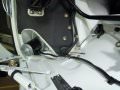
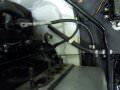
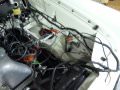
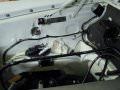
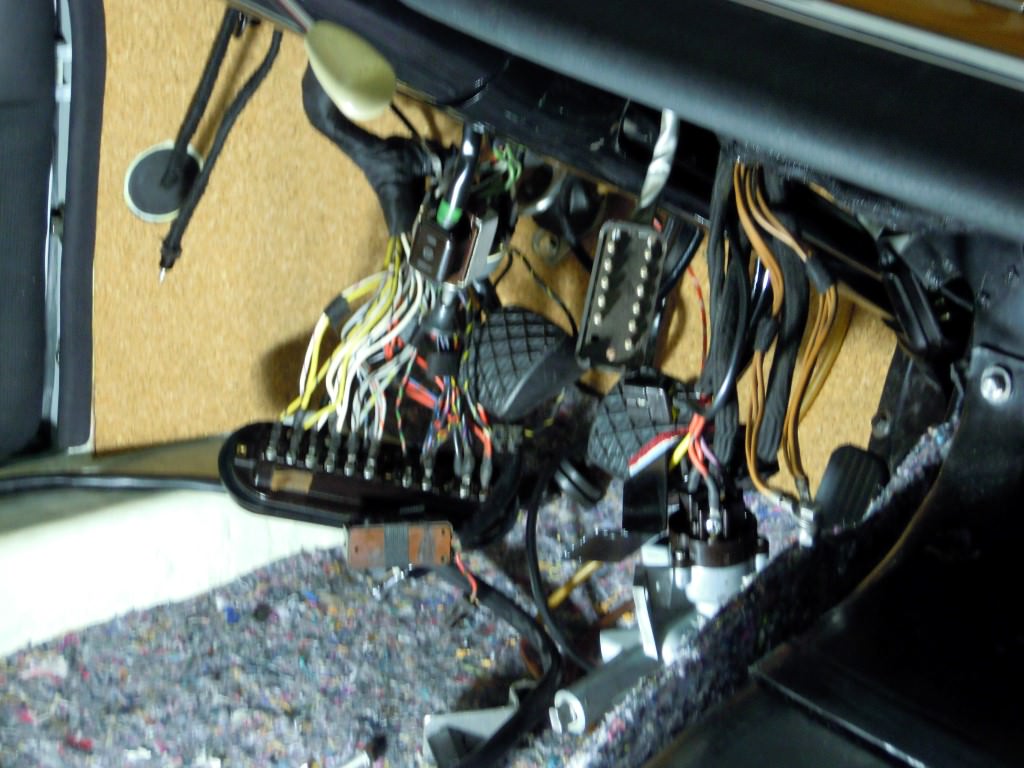
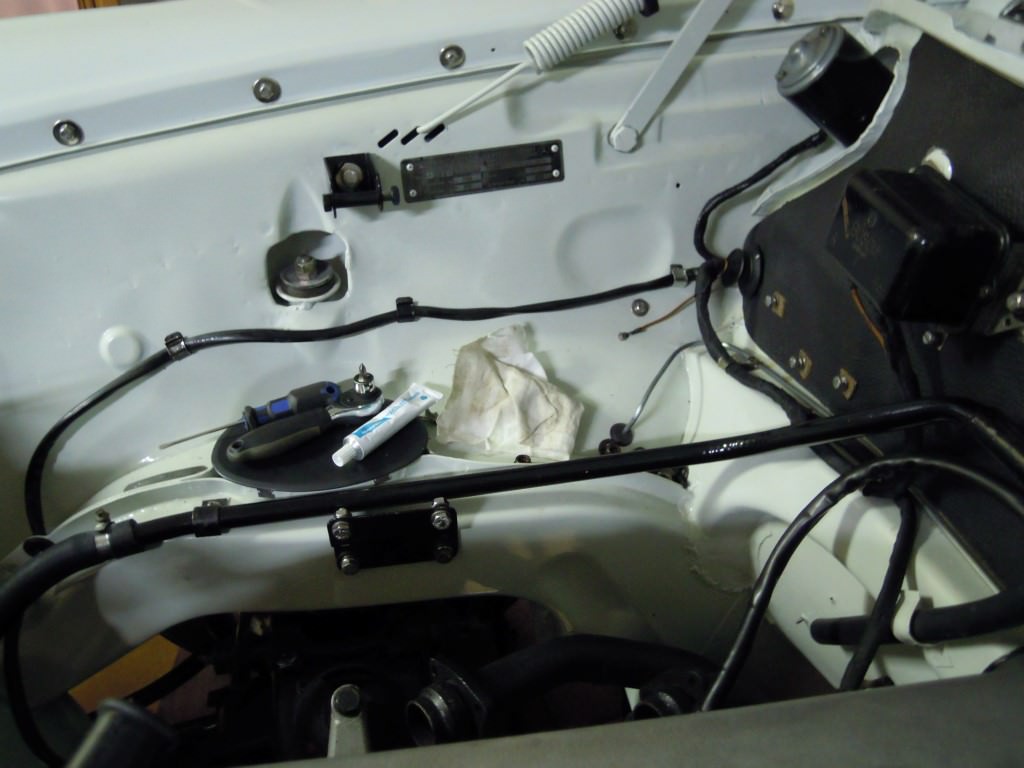
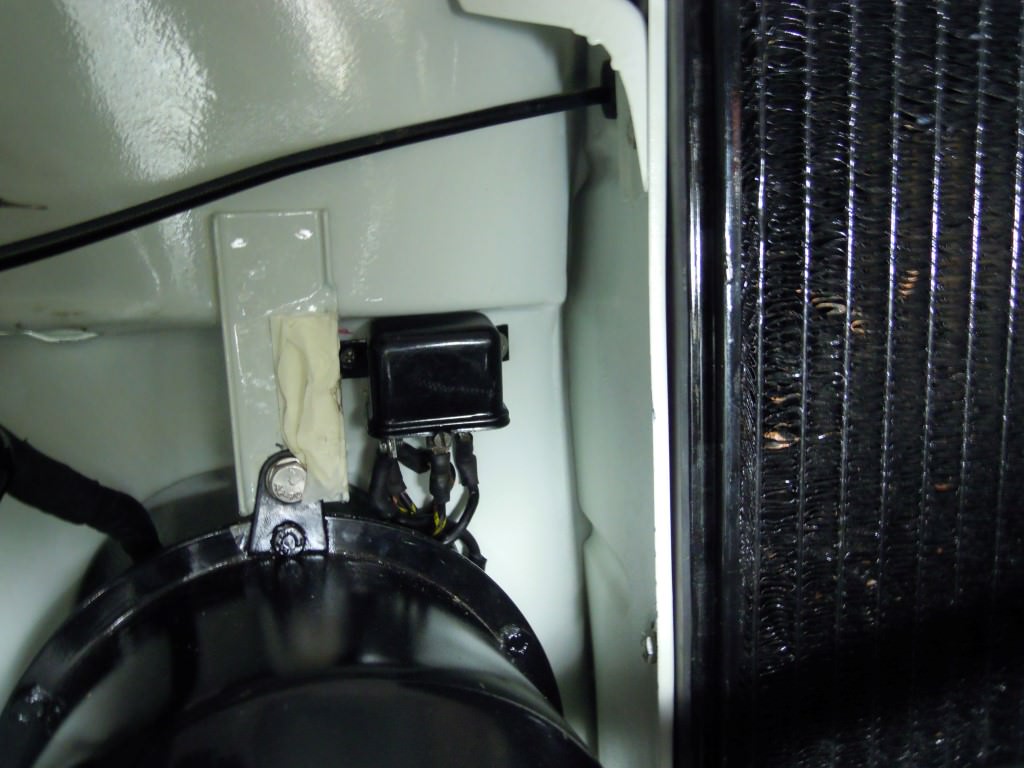
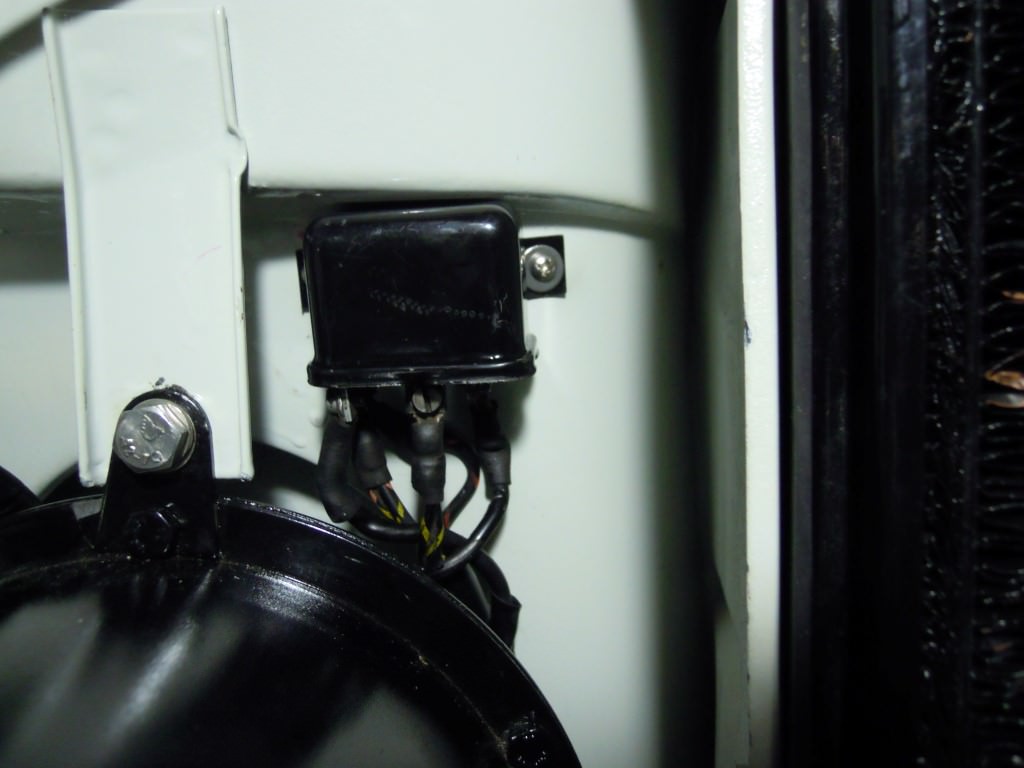
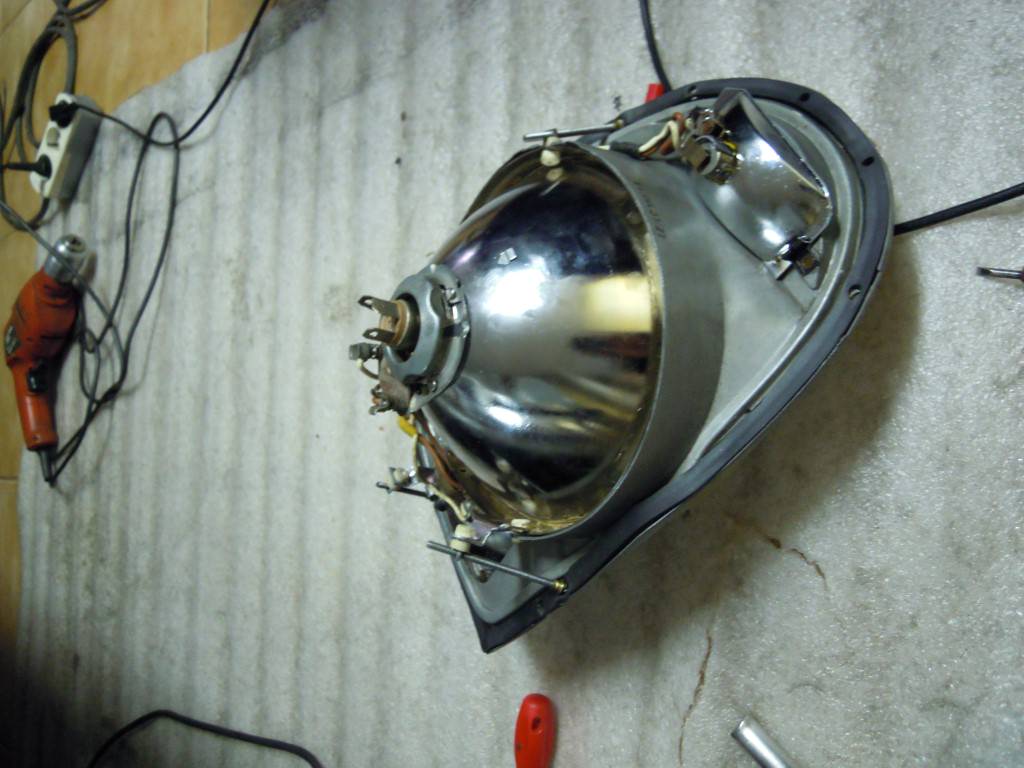
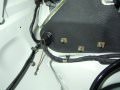
Finalmente, eis as novas fotos do desenvolvimento do restauro.
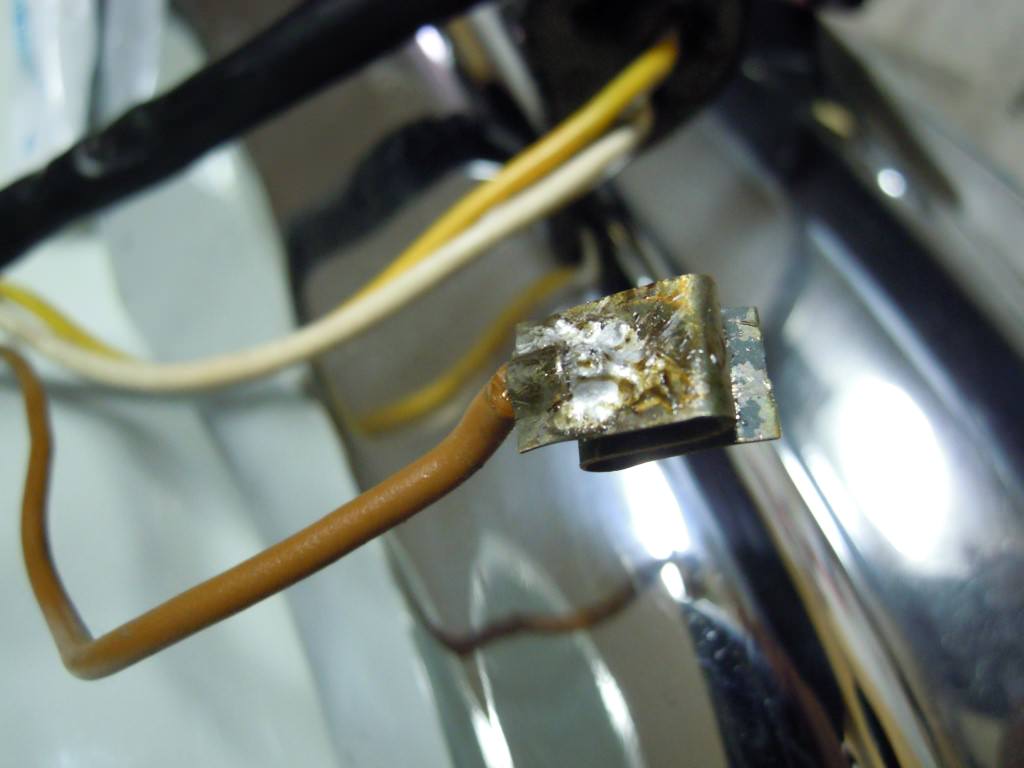
Fomos colocando parte da cablagem, ainda como que apalpando o terreno, tentando manter tudo como de origem, com alterações para melhor.
Fomos colocando parte da cablagem, ainda como que apalpando o terreno, tentando manter tudo como de origem, com alterações para melhor.
Anexos
-
 DSCN1955.JPG191.2 KB · Vistos: 28
 -
 DSCN1957.JPG114.4 KB · Vistos: 30
 -
 DSCN1958.JPG142.6 KB · Vistos: 31
 -
 DSCN1959.JPG124.3 KB · Vistos: 31
 -
 DSCN1960.JPG148.6 KB · Vistos: 31
 -
 DSCN1963.JPG153.9 KB · Vistos: 35
 -
 DSCN1964.JPG171.5 KB · Vistos: 34
 -
 DSCN1965.JPG134.6 KB · Vistos: 34
 -
 DSCN1966.JPG162.7 KB · Vistos: 33
 -
 DSCN1968.JPG109.8 KB · Vistos: 33
 -
 DSCN1969.JPG117.7 KB · Vistos: 35
 -
 DSCN1970.JPG165.4 KB · Vistos: 21


Fernando L. G. Pinto
Veterano
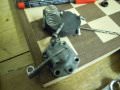
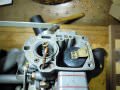
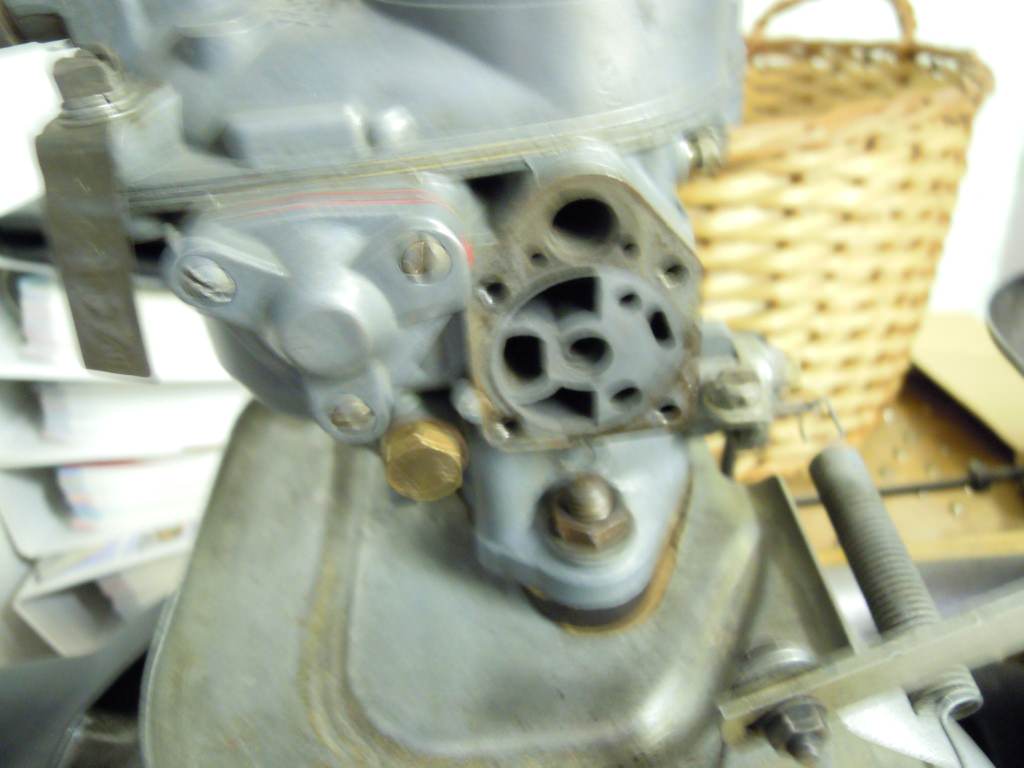
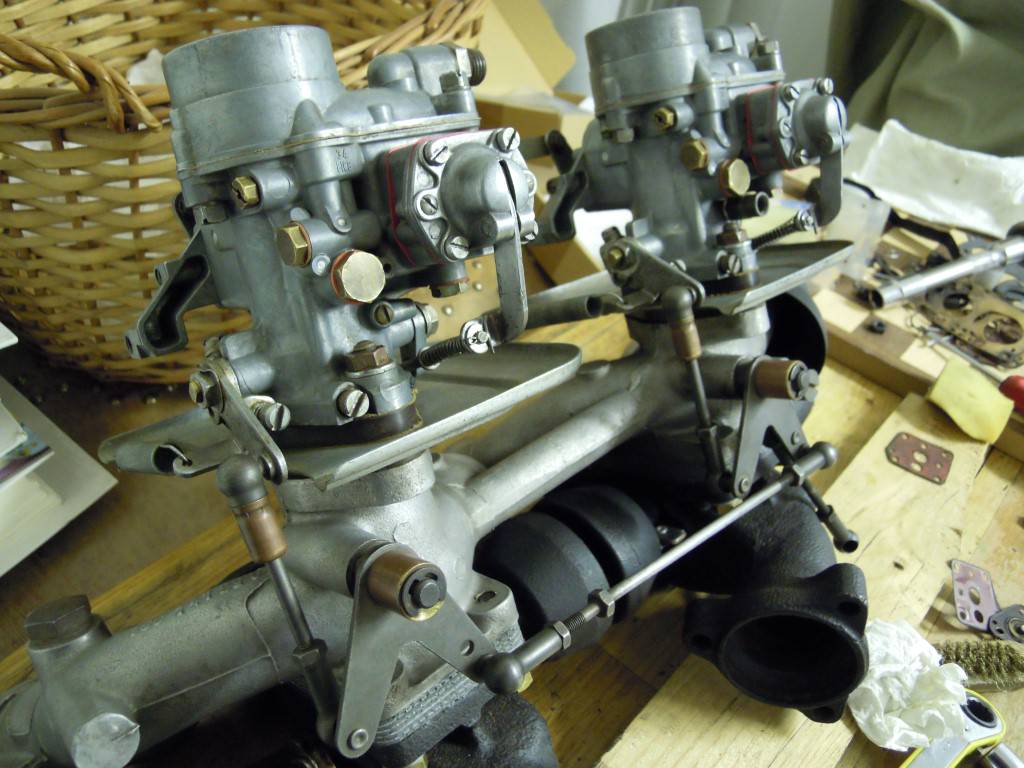
Viramo-nos para o 2º carburador, montamos juntas e diafragmas e limpamos algumas das peças
Anexos
-
 DSCN1972.JPG117.7 KB · Vistos: 21
 -
 DSCN1973.JPG144 KB · Vistos: 21
 -
 DSCN1974.JPG112 KB · Vistos: 24
 -
 DSCN1975.JPG132.3 KB · Vistos: 24
 -
 DSCN1976.JPG135.6 KB · Vistos: 24
 -
 DSCN1977.JPG161.1 KB · Vistos: 24
 -
 DSCN1978.JPG161.4 KB · Vistos: 24
 -
 DSCN1980.JPG152.4 KB · Vistos: 24
 -
 DSCN1981.JPG111.3 KB · Vistos: 24
 -
 DSCN1983.JPG115 KB · Vistos: 24
 -
 DSCN1984.JPG105.3 KB · Vistos: 26
 -
 DSCN1987.JPG199.6 KB · Vistos: 20


Fernando L. G. Pinto
Veterano
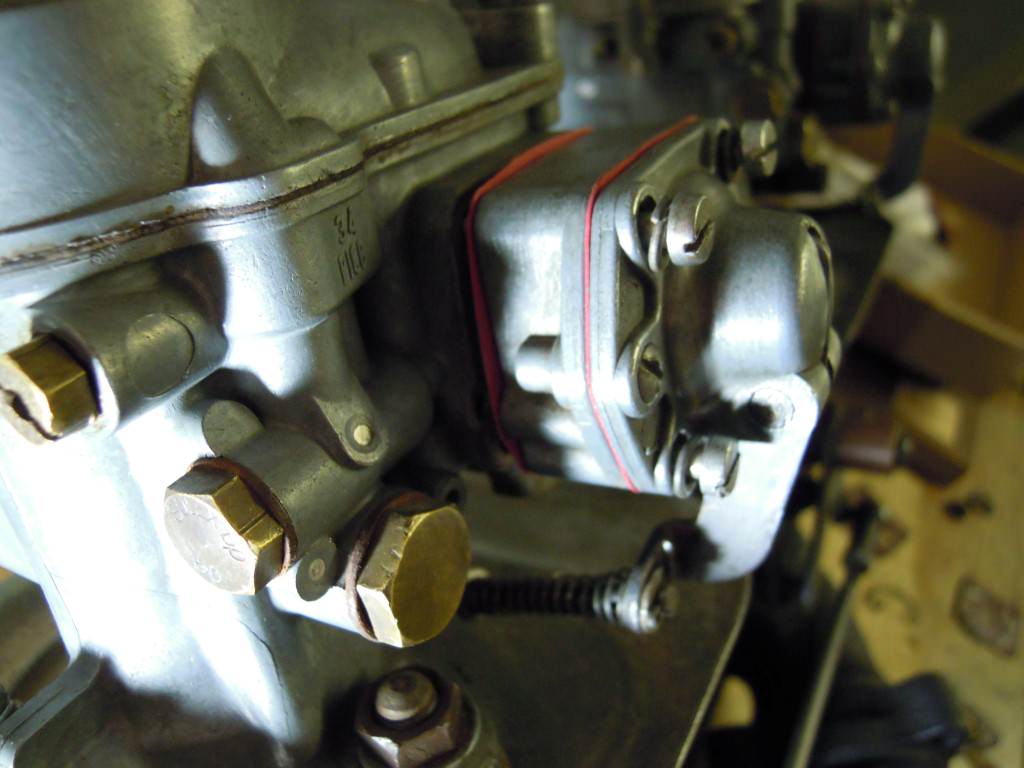
Coloquei o carburador e apertei os colectores do escape, bem como a caixa dos fusíveis.
Já contactei com o electricista para contar com o serviço já que por ser muito solicitado é difícil aparecer mesmo quando combinado.
Já contactei com o electricista para contar com o serviço já que por ser muito solicitado é difícil aparecer mesmo quando combinado.
Anexos


Última edição:
Fernando L. G. Pinto
Veterano
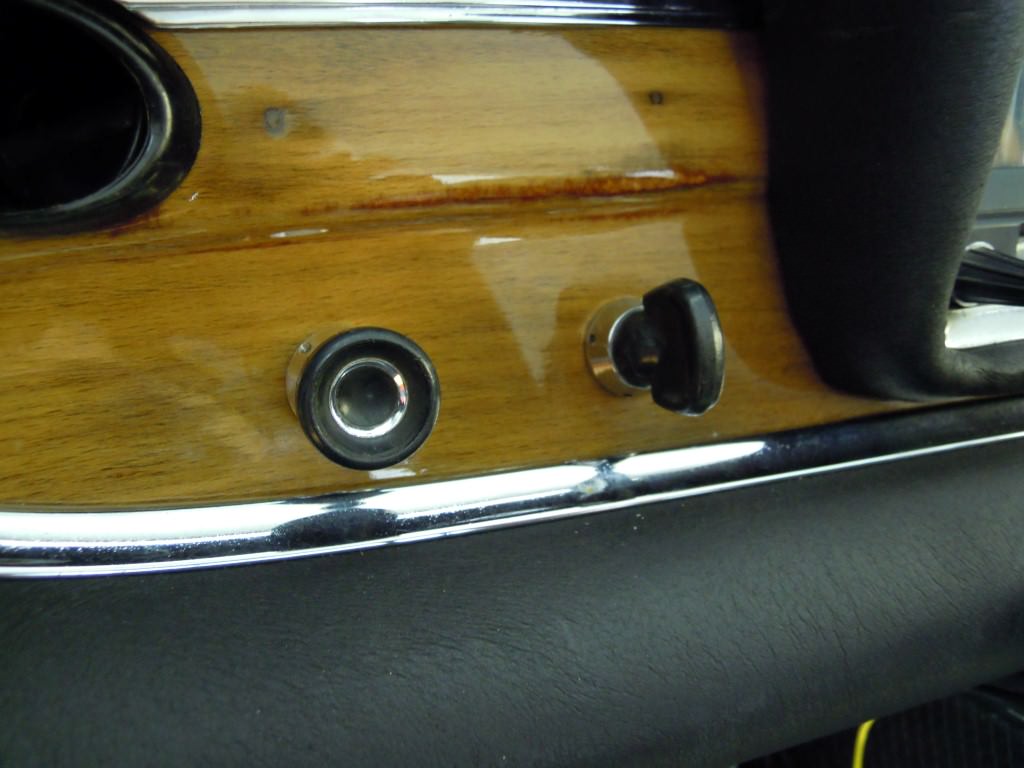
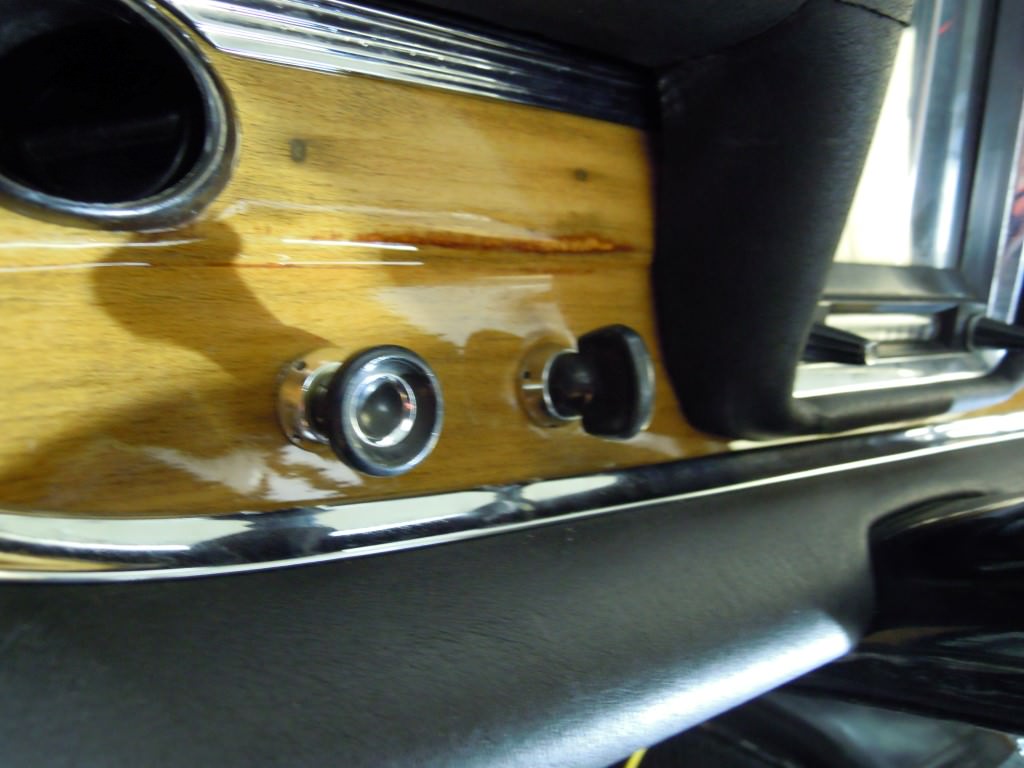
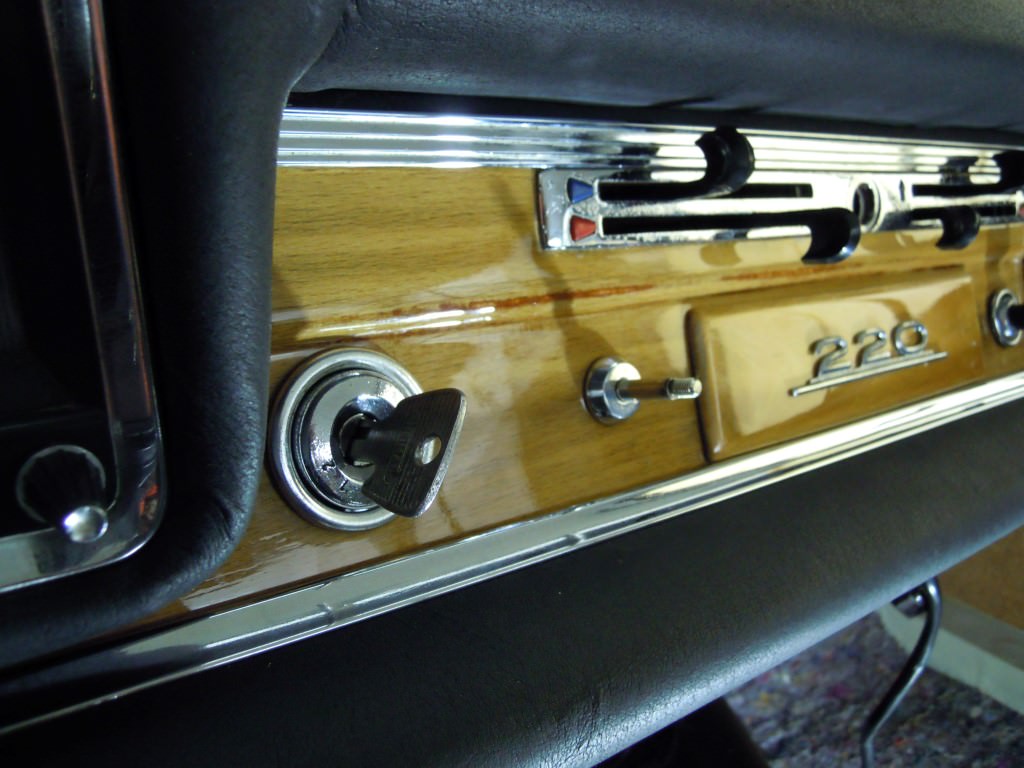
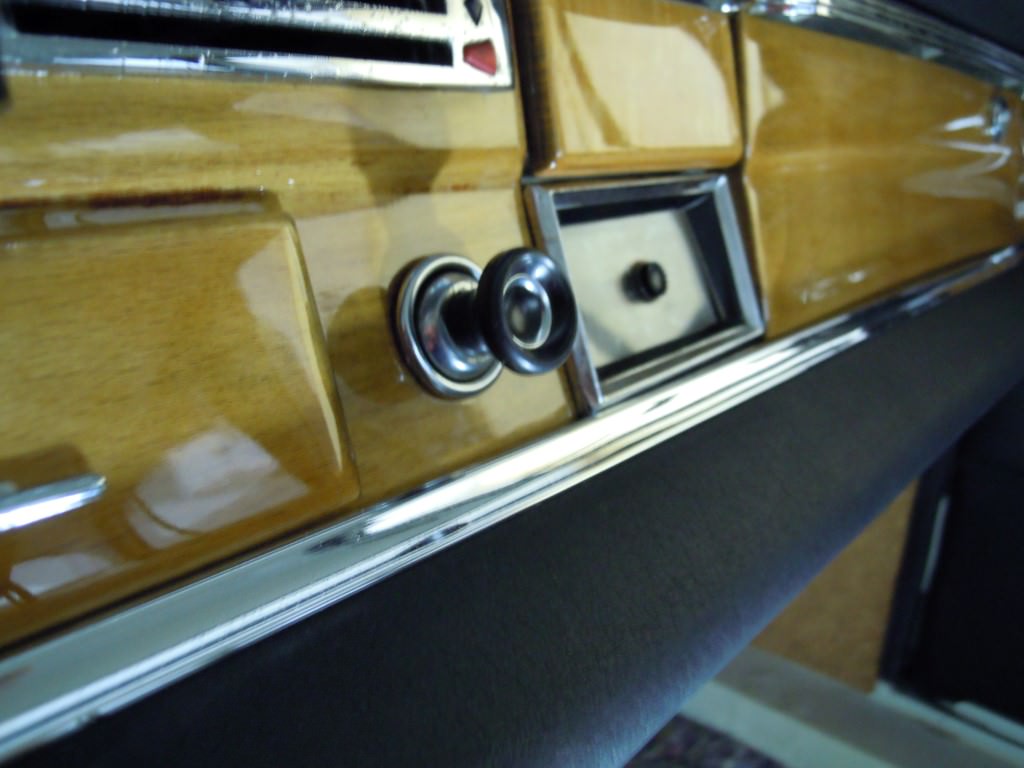
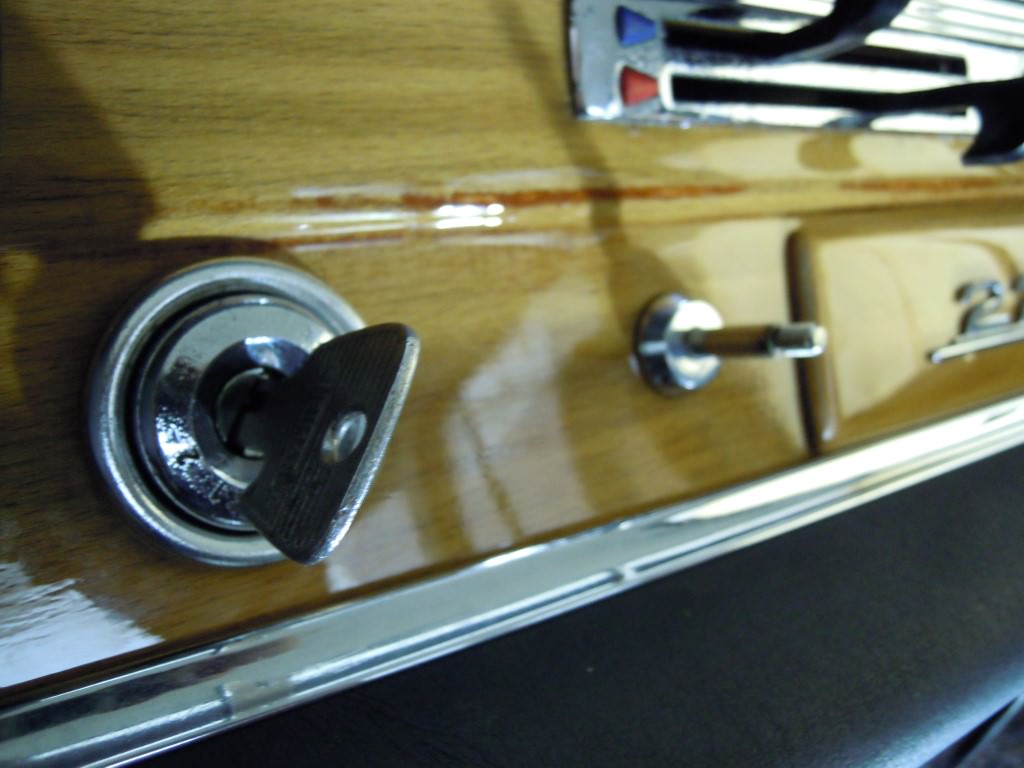
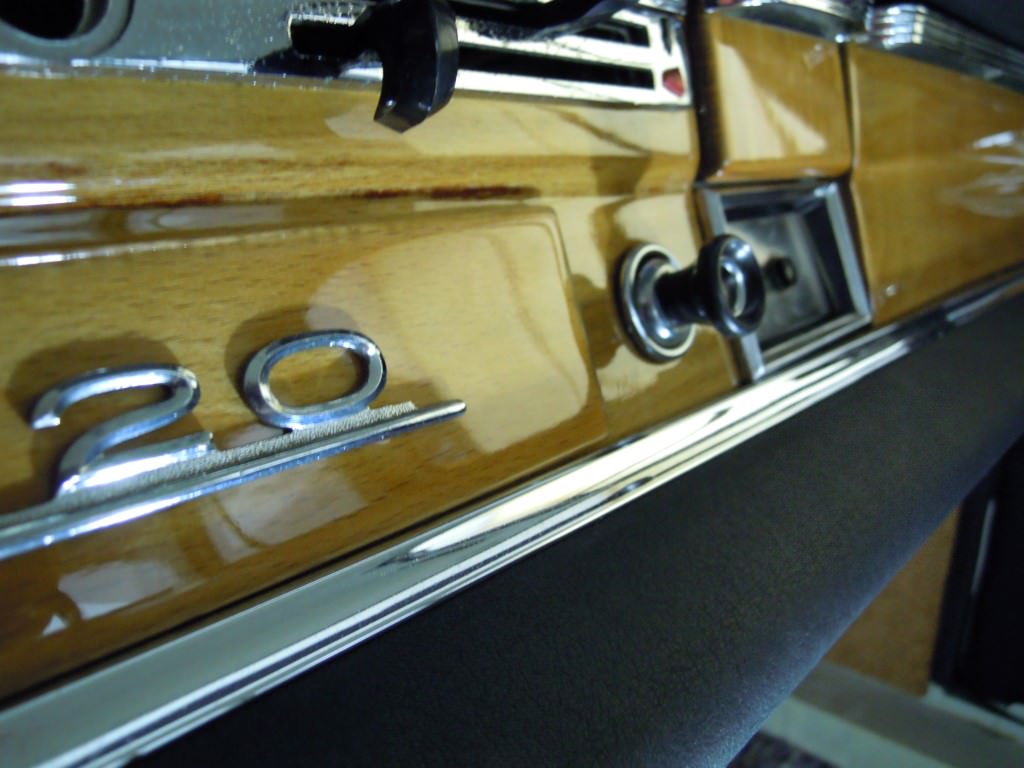
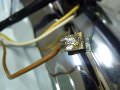
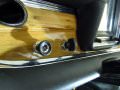
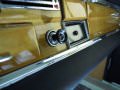
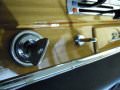
Fomos colocando os botões e o canhão da ignição que deu muita luta para acertar com os 3 parafusos que o prendem à estrutura do tablier.
Mais um pouco de adianto na cablagem.
Mais um pouco de adianto na cablagem.
Anexos
-
 DSCN2001.JPG178.5 KB · Vistos: 25
 -
 DSCN2002.JPG144.2 KB · Vistos: 24
 -
 DSCN2004.JPG144.9 KB · Vistos: 24
 -
 DSCN2005.JPG163.6 KB · Vistos: 26
 -
 DSCN2006.JPG135.5 KB · Vistos: 25
 -
 DSCN2007.JPG140.5 KB · Vistos: 25
 -
 DSCN2008.JPG152.7 KB · Vistos: 25
 -
 DSCN2009.JPG157.9 KB · Vistos: 27
 -
 DSCN2011.JPG166.7 KB · Vistos: 26
 -
 DSCN2013.JPG203.9 KB · Vistos: 20